Step 1: Clone the Template Repository to your Github
We have created a Template repository that you can use as a base to inject your code you can find a sample here with the GPT Neo model. Github Repo: https://github.com/inferless/templateStep 2: Login to the Inferless dashboard and click on Import model button
- Select on
"Github"Integration that you see on the top left
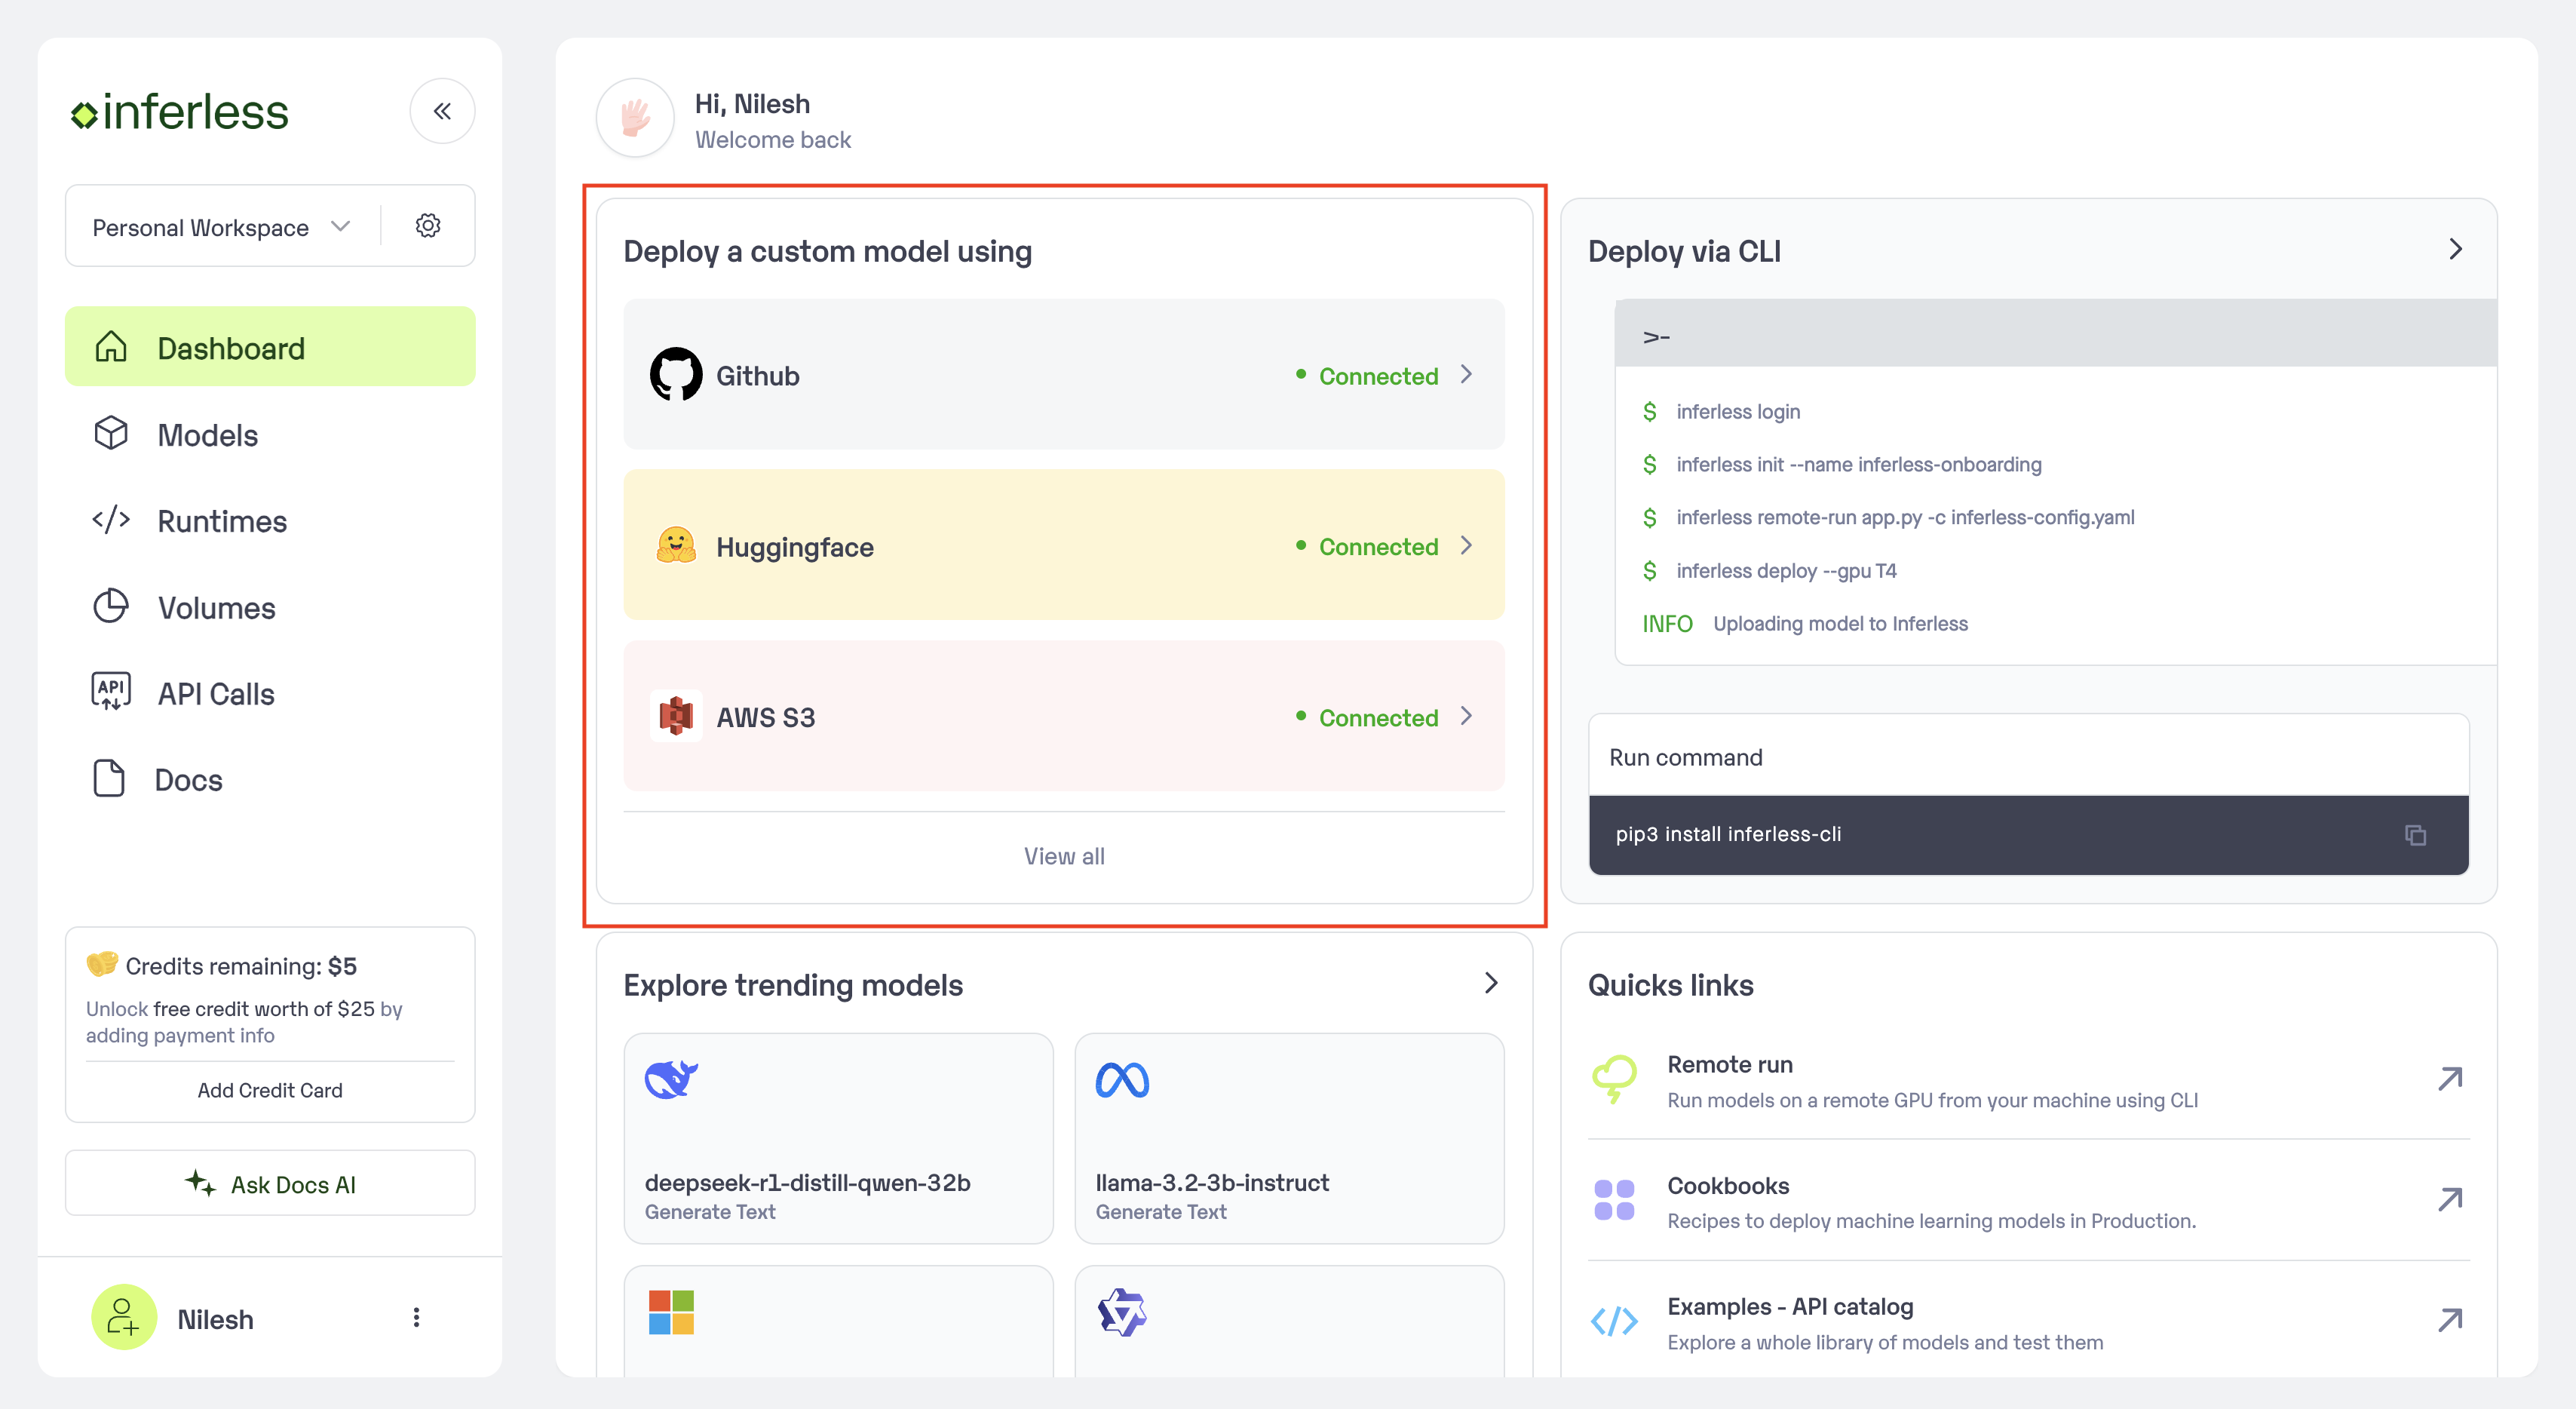
Click on Add Custom Model
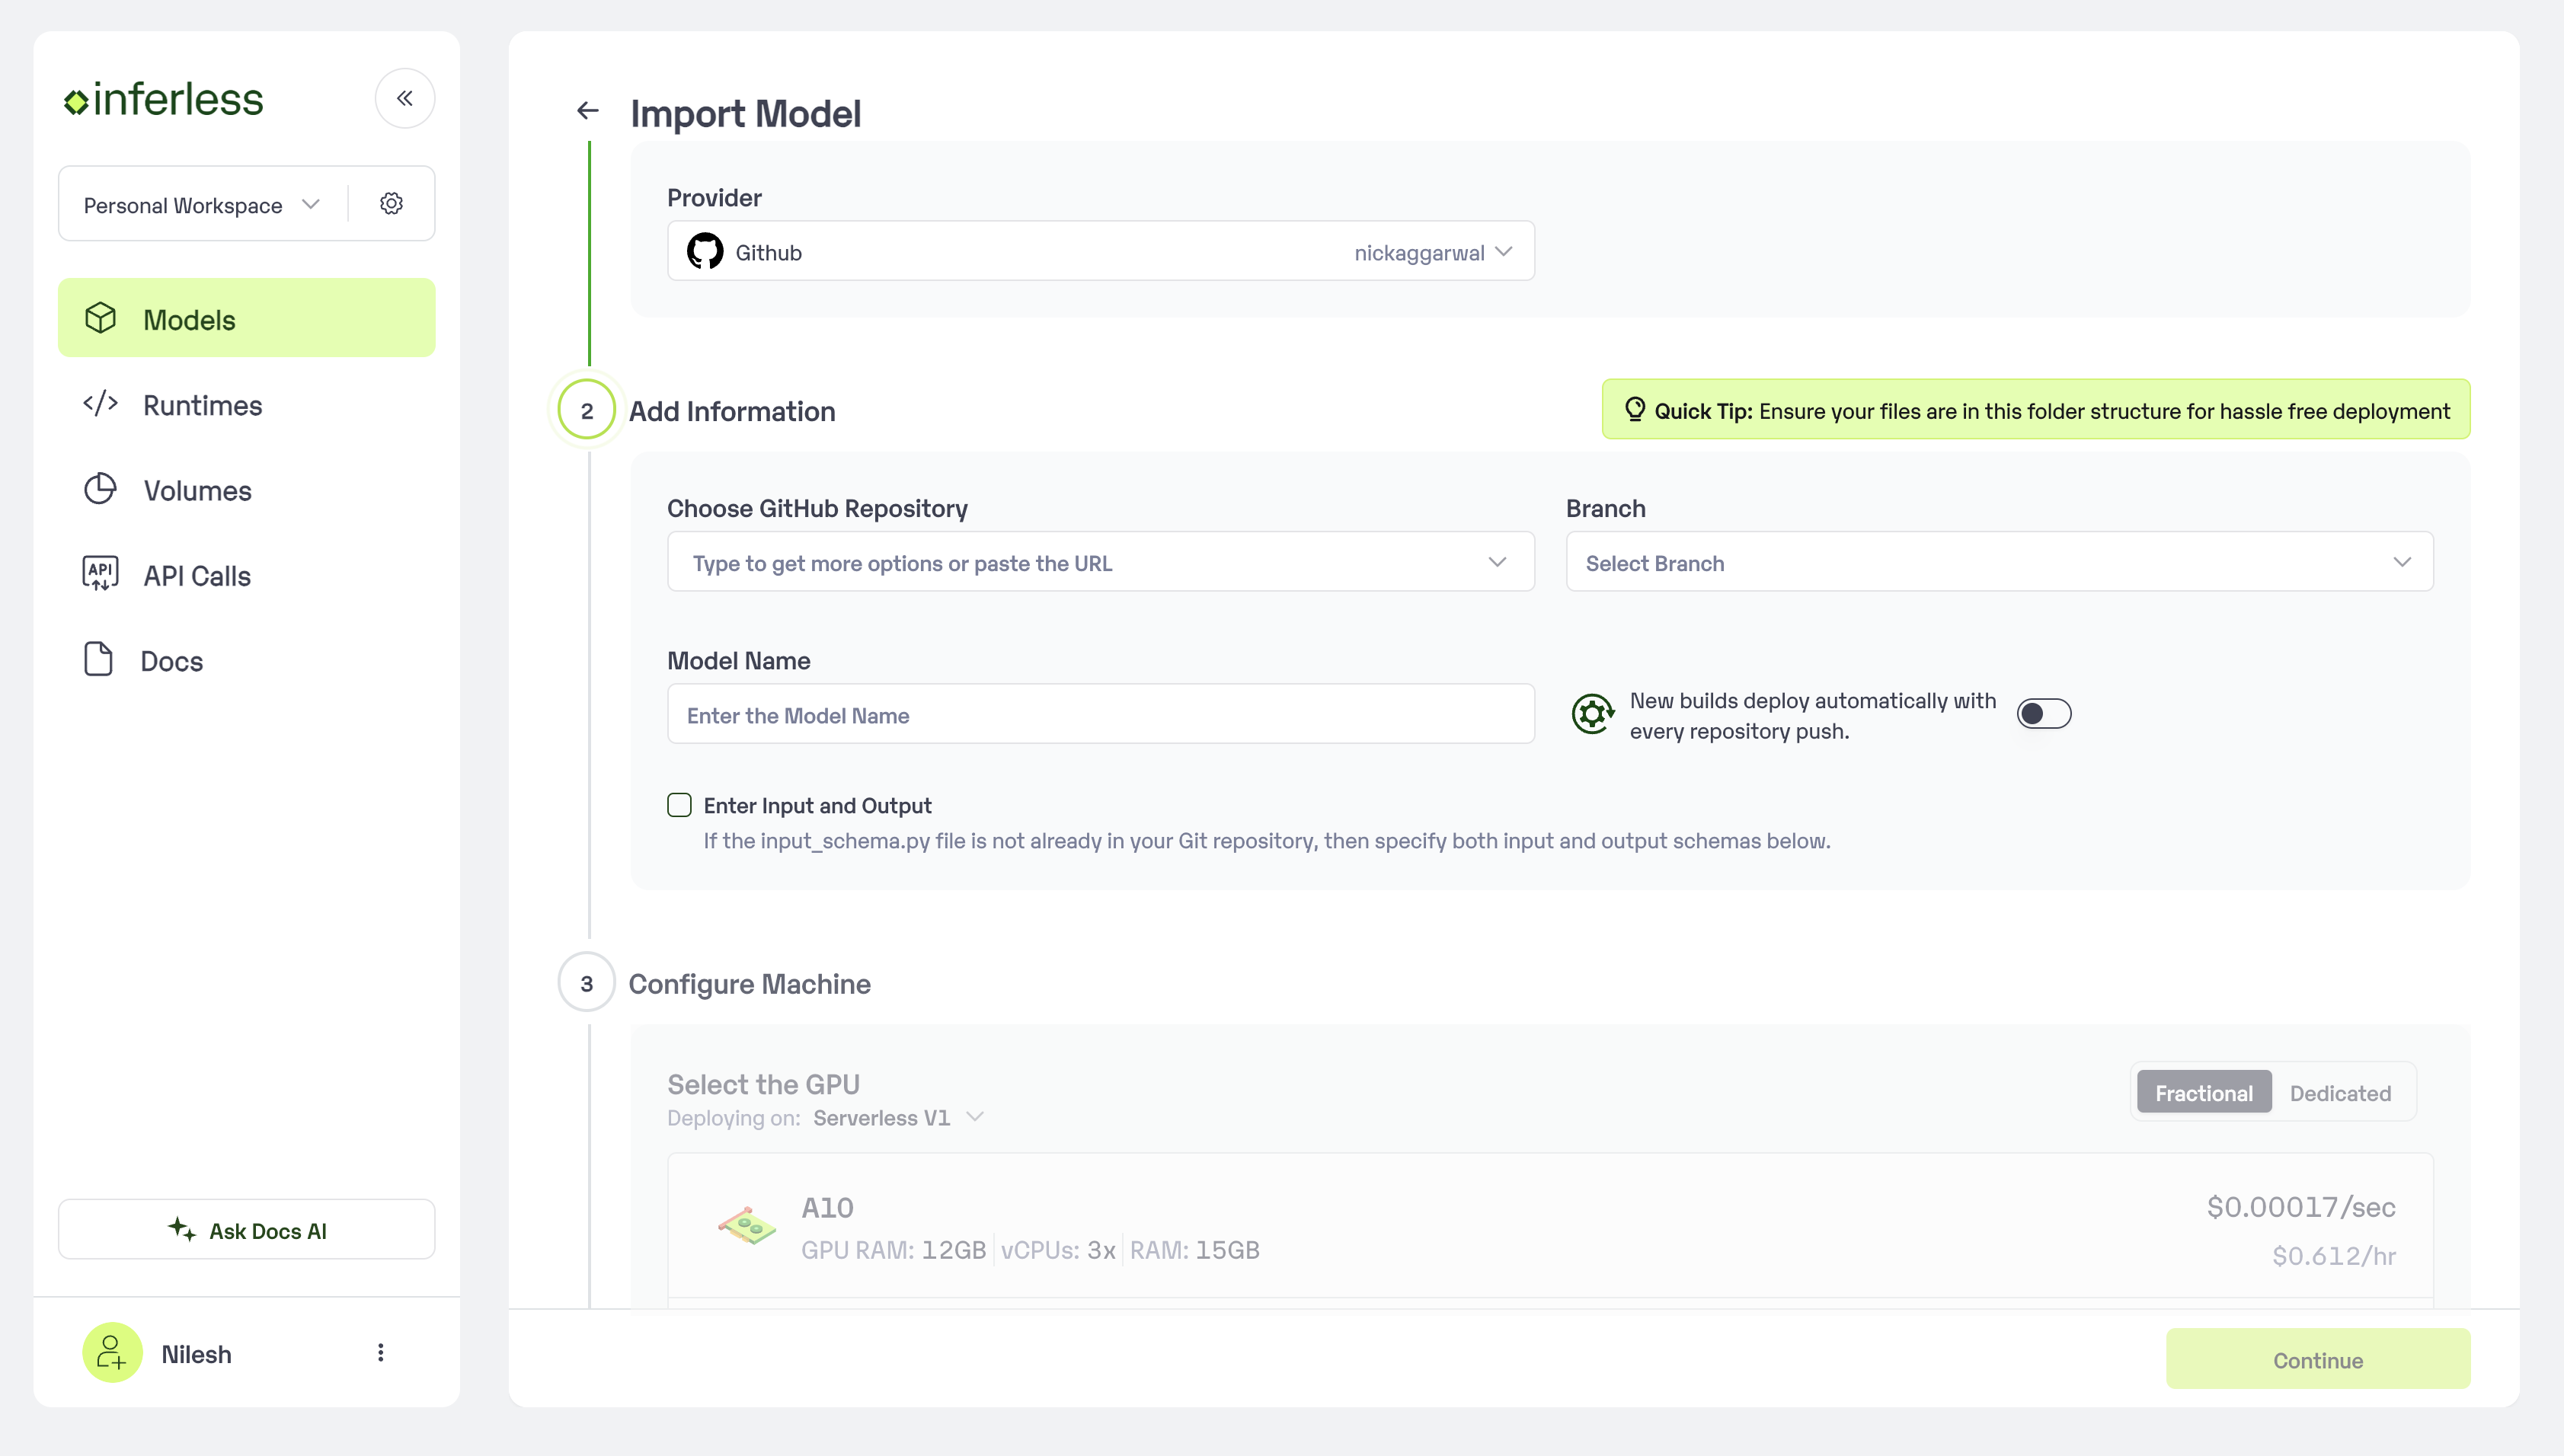
Step 3: Follow steps to complete the model import
- Navigate to the specific GitHub repository that contains your model’s code. Here, you will need to identify and enter the name of the model you wish to import.
- Choose the appropriate type of machine that suits your model’s requirements. Additionally, specify the minimum and maximum number of replicas to define the scalability range for deploying your model.
- Optionally, you have the option to enable automatic build and deployment. This feature triggers a new deployment automatically whenever there is a new code push to your repository.
- If your model requires additional software packages, configure the Custom Runtime settings by including necessary pip or apt packages. Also, set up environment variables such as Inference Timeout, Container Concurrency, and Scale Down Timeout to tailor the runtime environment according to your needs.
- Wait for the validation process to complete, ensuring that all settings are correct and functional. Once validation is successful, click on the “Import” button to finalize the import of your model.
Model Details
Step 4: Wait for the model build to complete usually takes ~5-10 minutes
You can see the progress of the model build on the progress page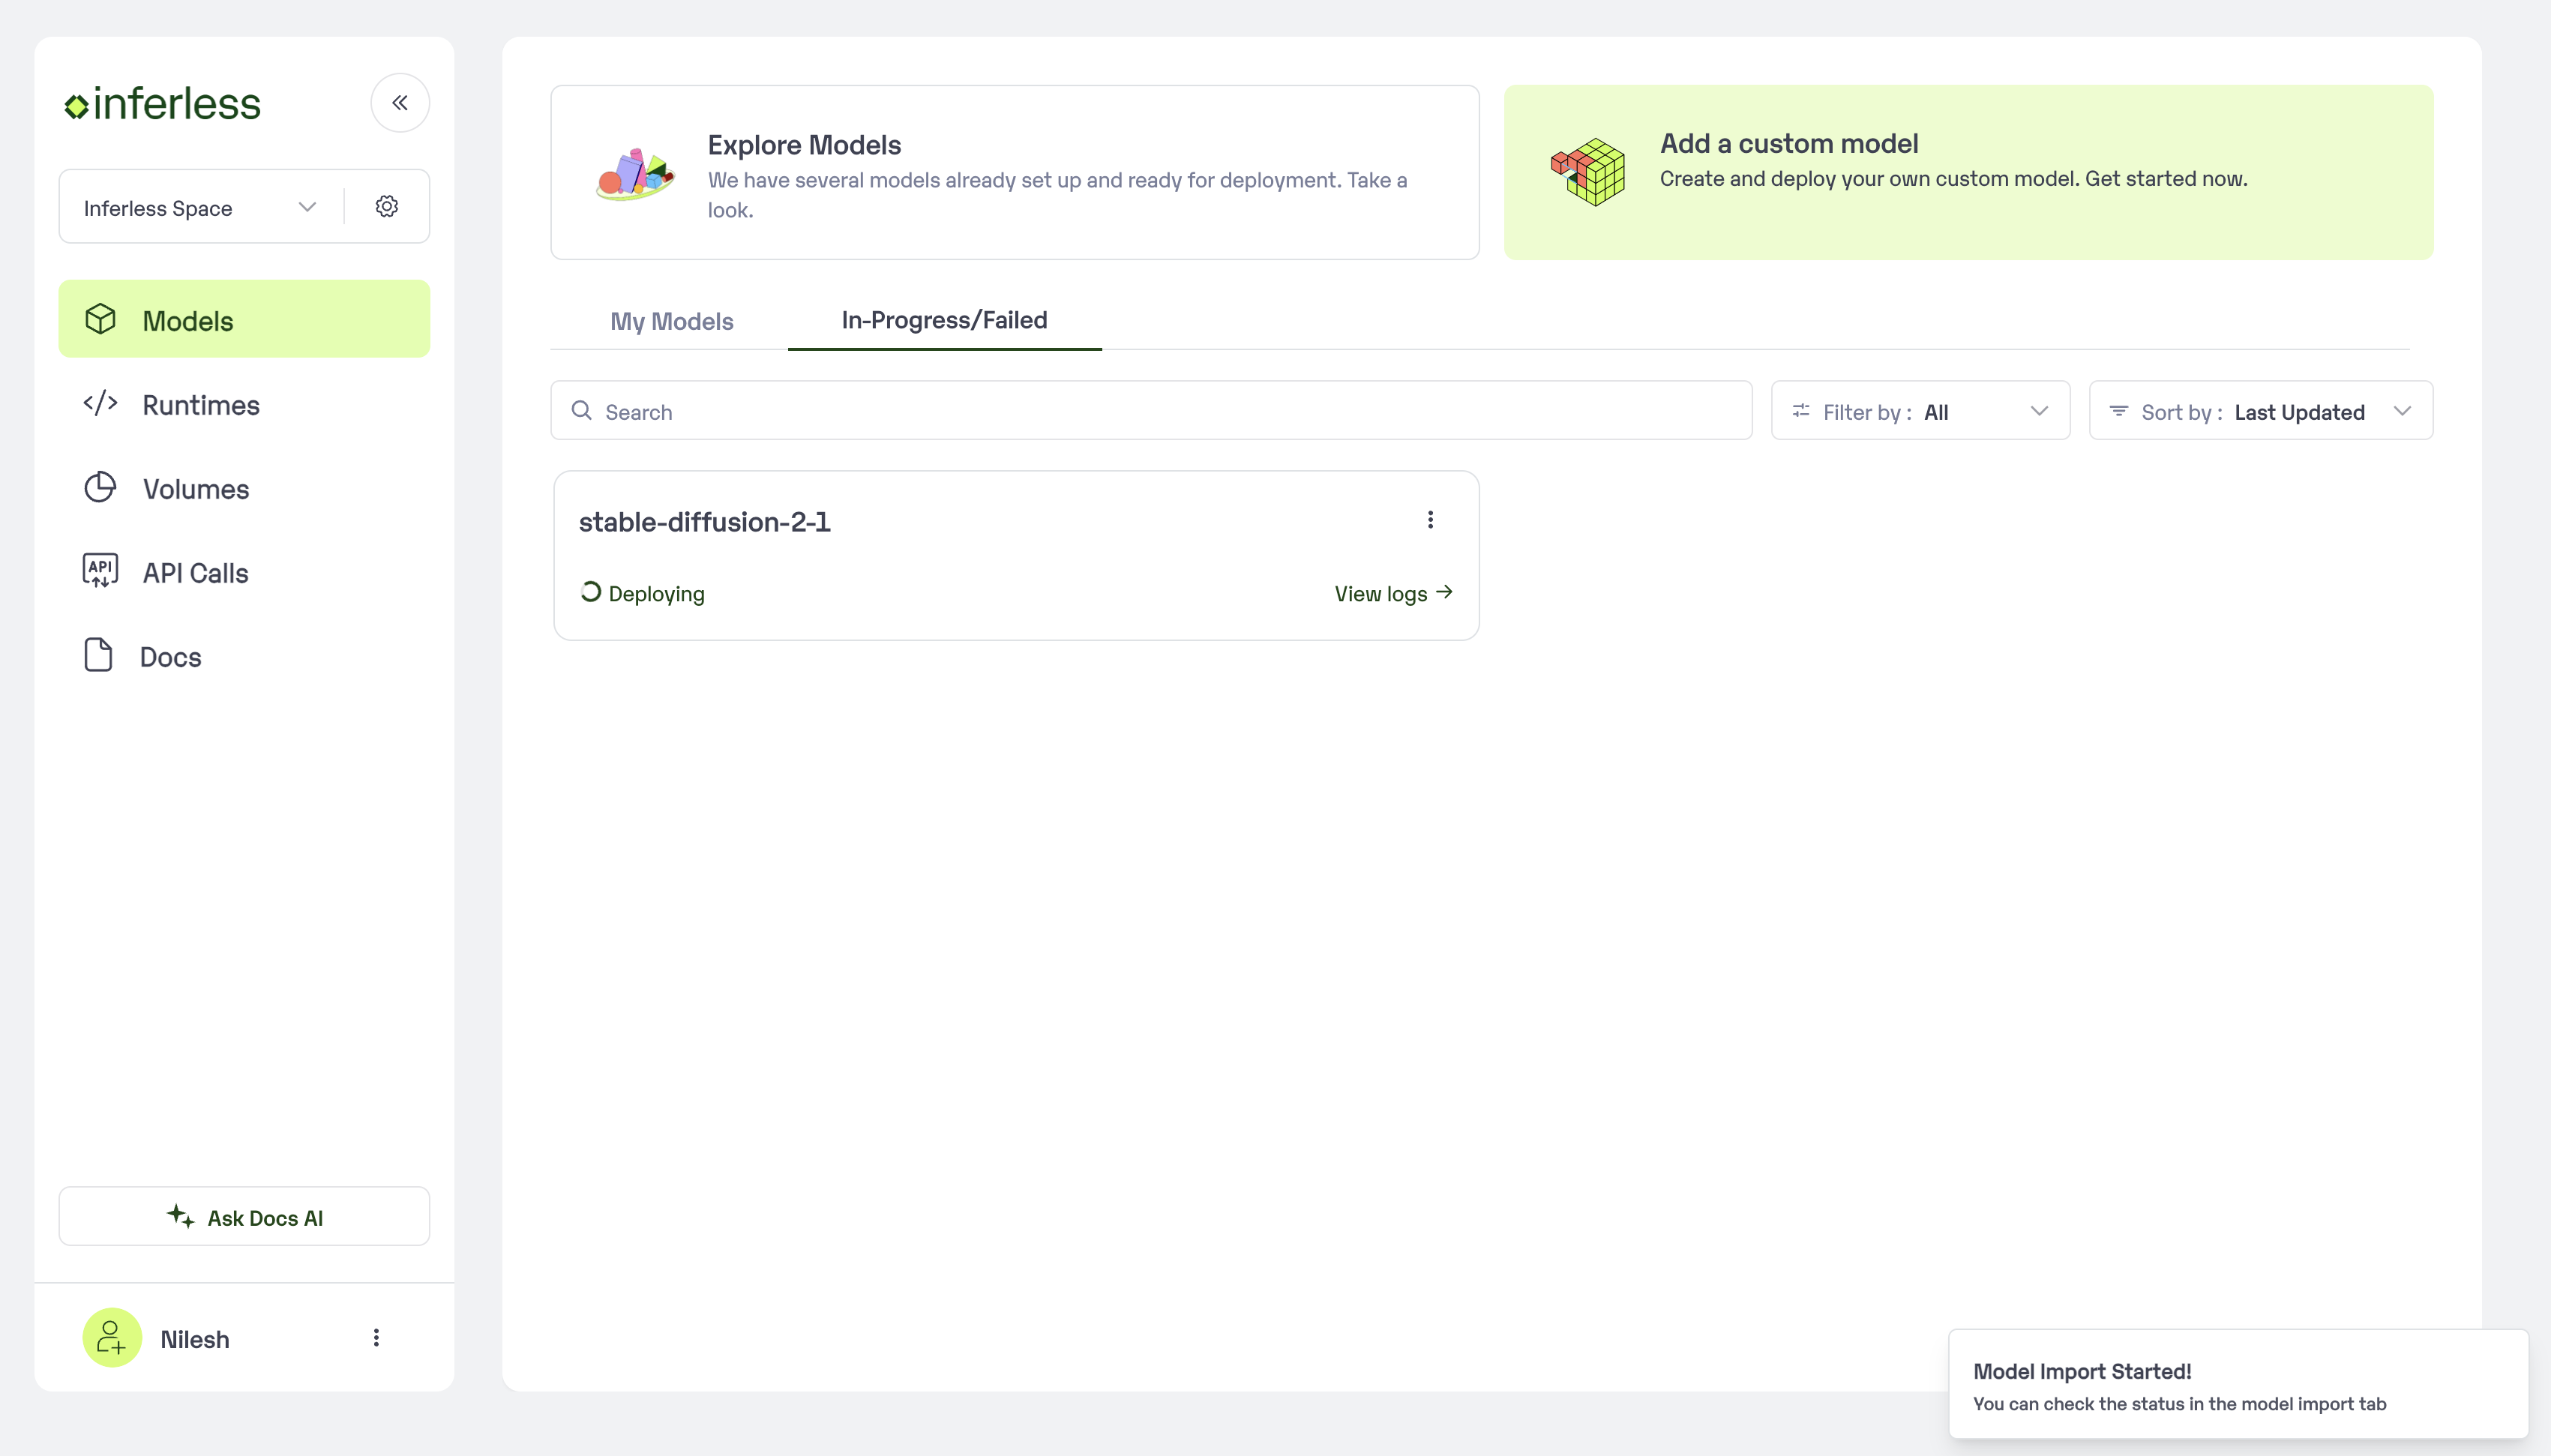
Progress Page
Step 5: Use the APIs to call the model
Once the model is in ‘Active’ status you can click on the ‘API’ page to try the model with sample inputs.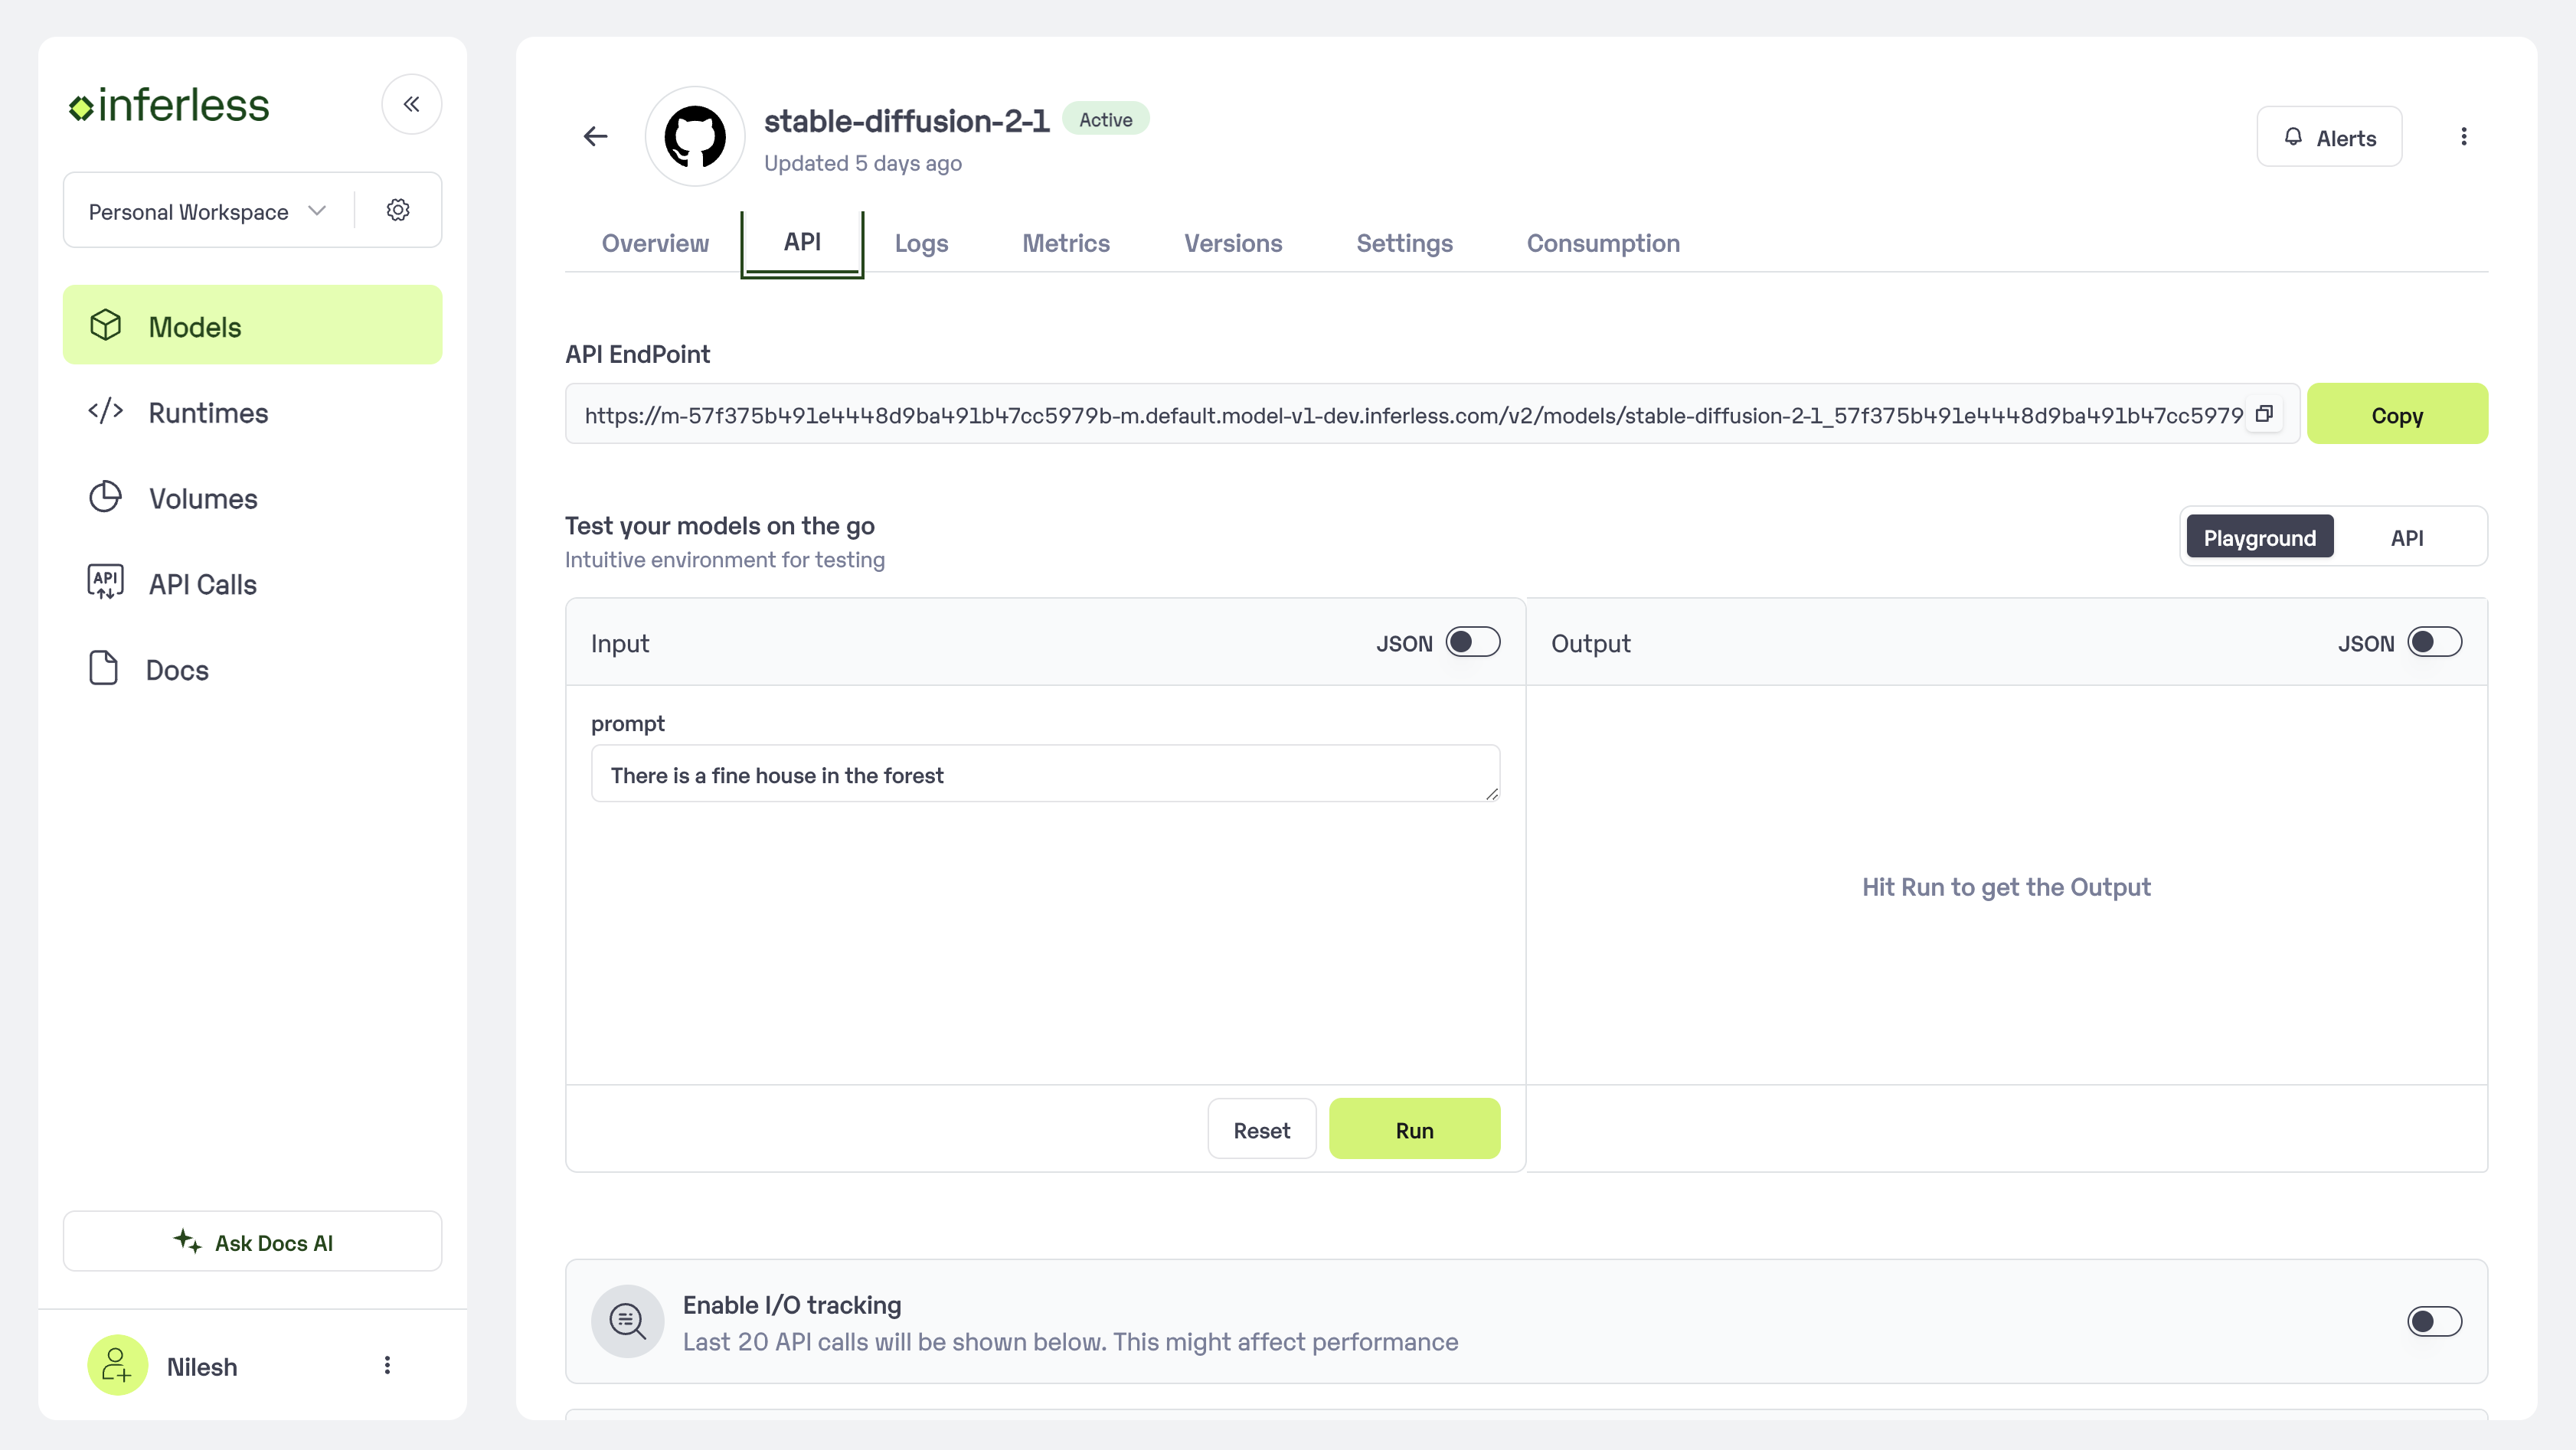
Model Details