Documentation Index
Fetch the complete documentation index at: https://docs.inferless.com/llms.txt
Use this file to discover all available pages before exploring further.
Follow these steps to import model file from GitLab
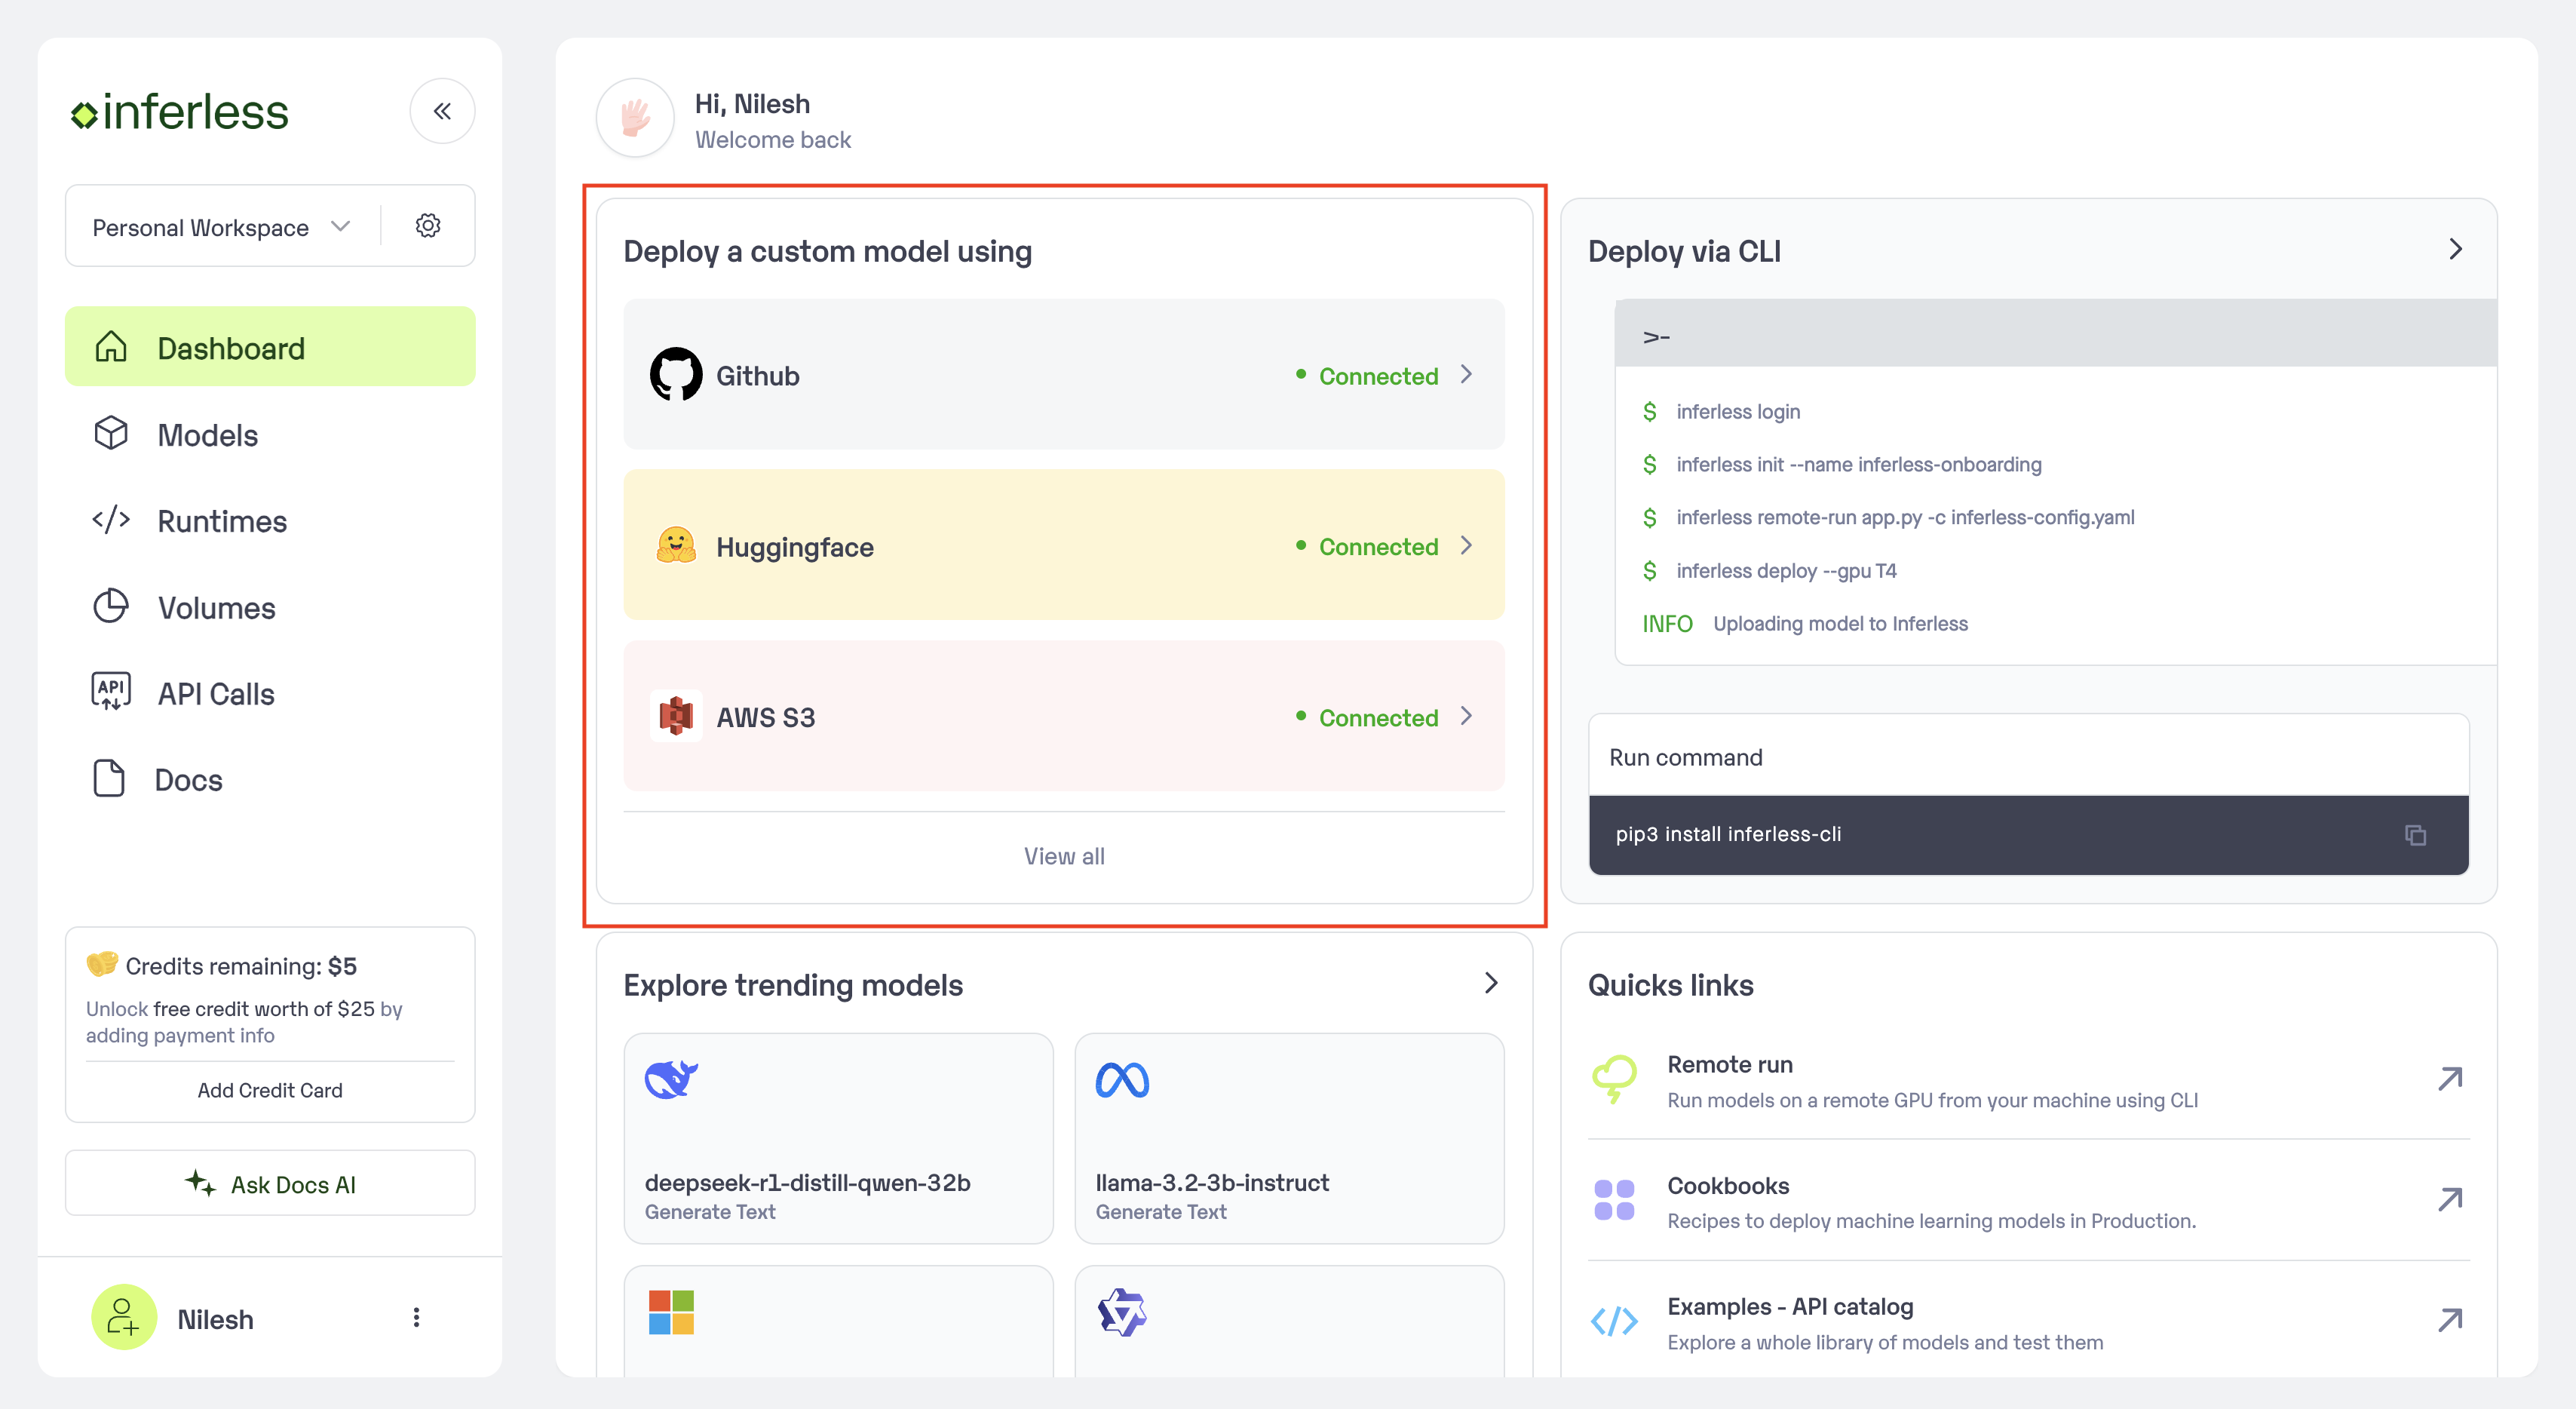
Step 1: Add Model in your workspace.
- Navigate to your desired workspace in Inferless and Click on
"Add a custom model"button that you see on the top right. An import wizard will open up.
Step 2: Choose the source of your model.
-
Since we are using a model from Gitlab, select
Gitlabas the method of upload from theProviderlist. -
To proceed with the upload, you will need to connect your
Gitlab account. This is a mandatory step as this helps us download the file from your Gitlab if the repo you are pulling is from an open account.
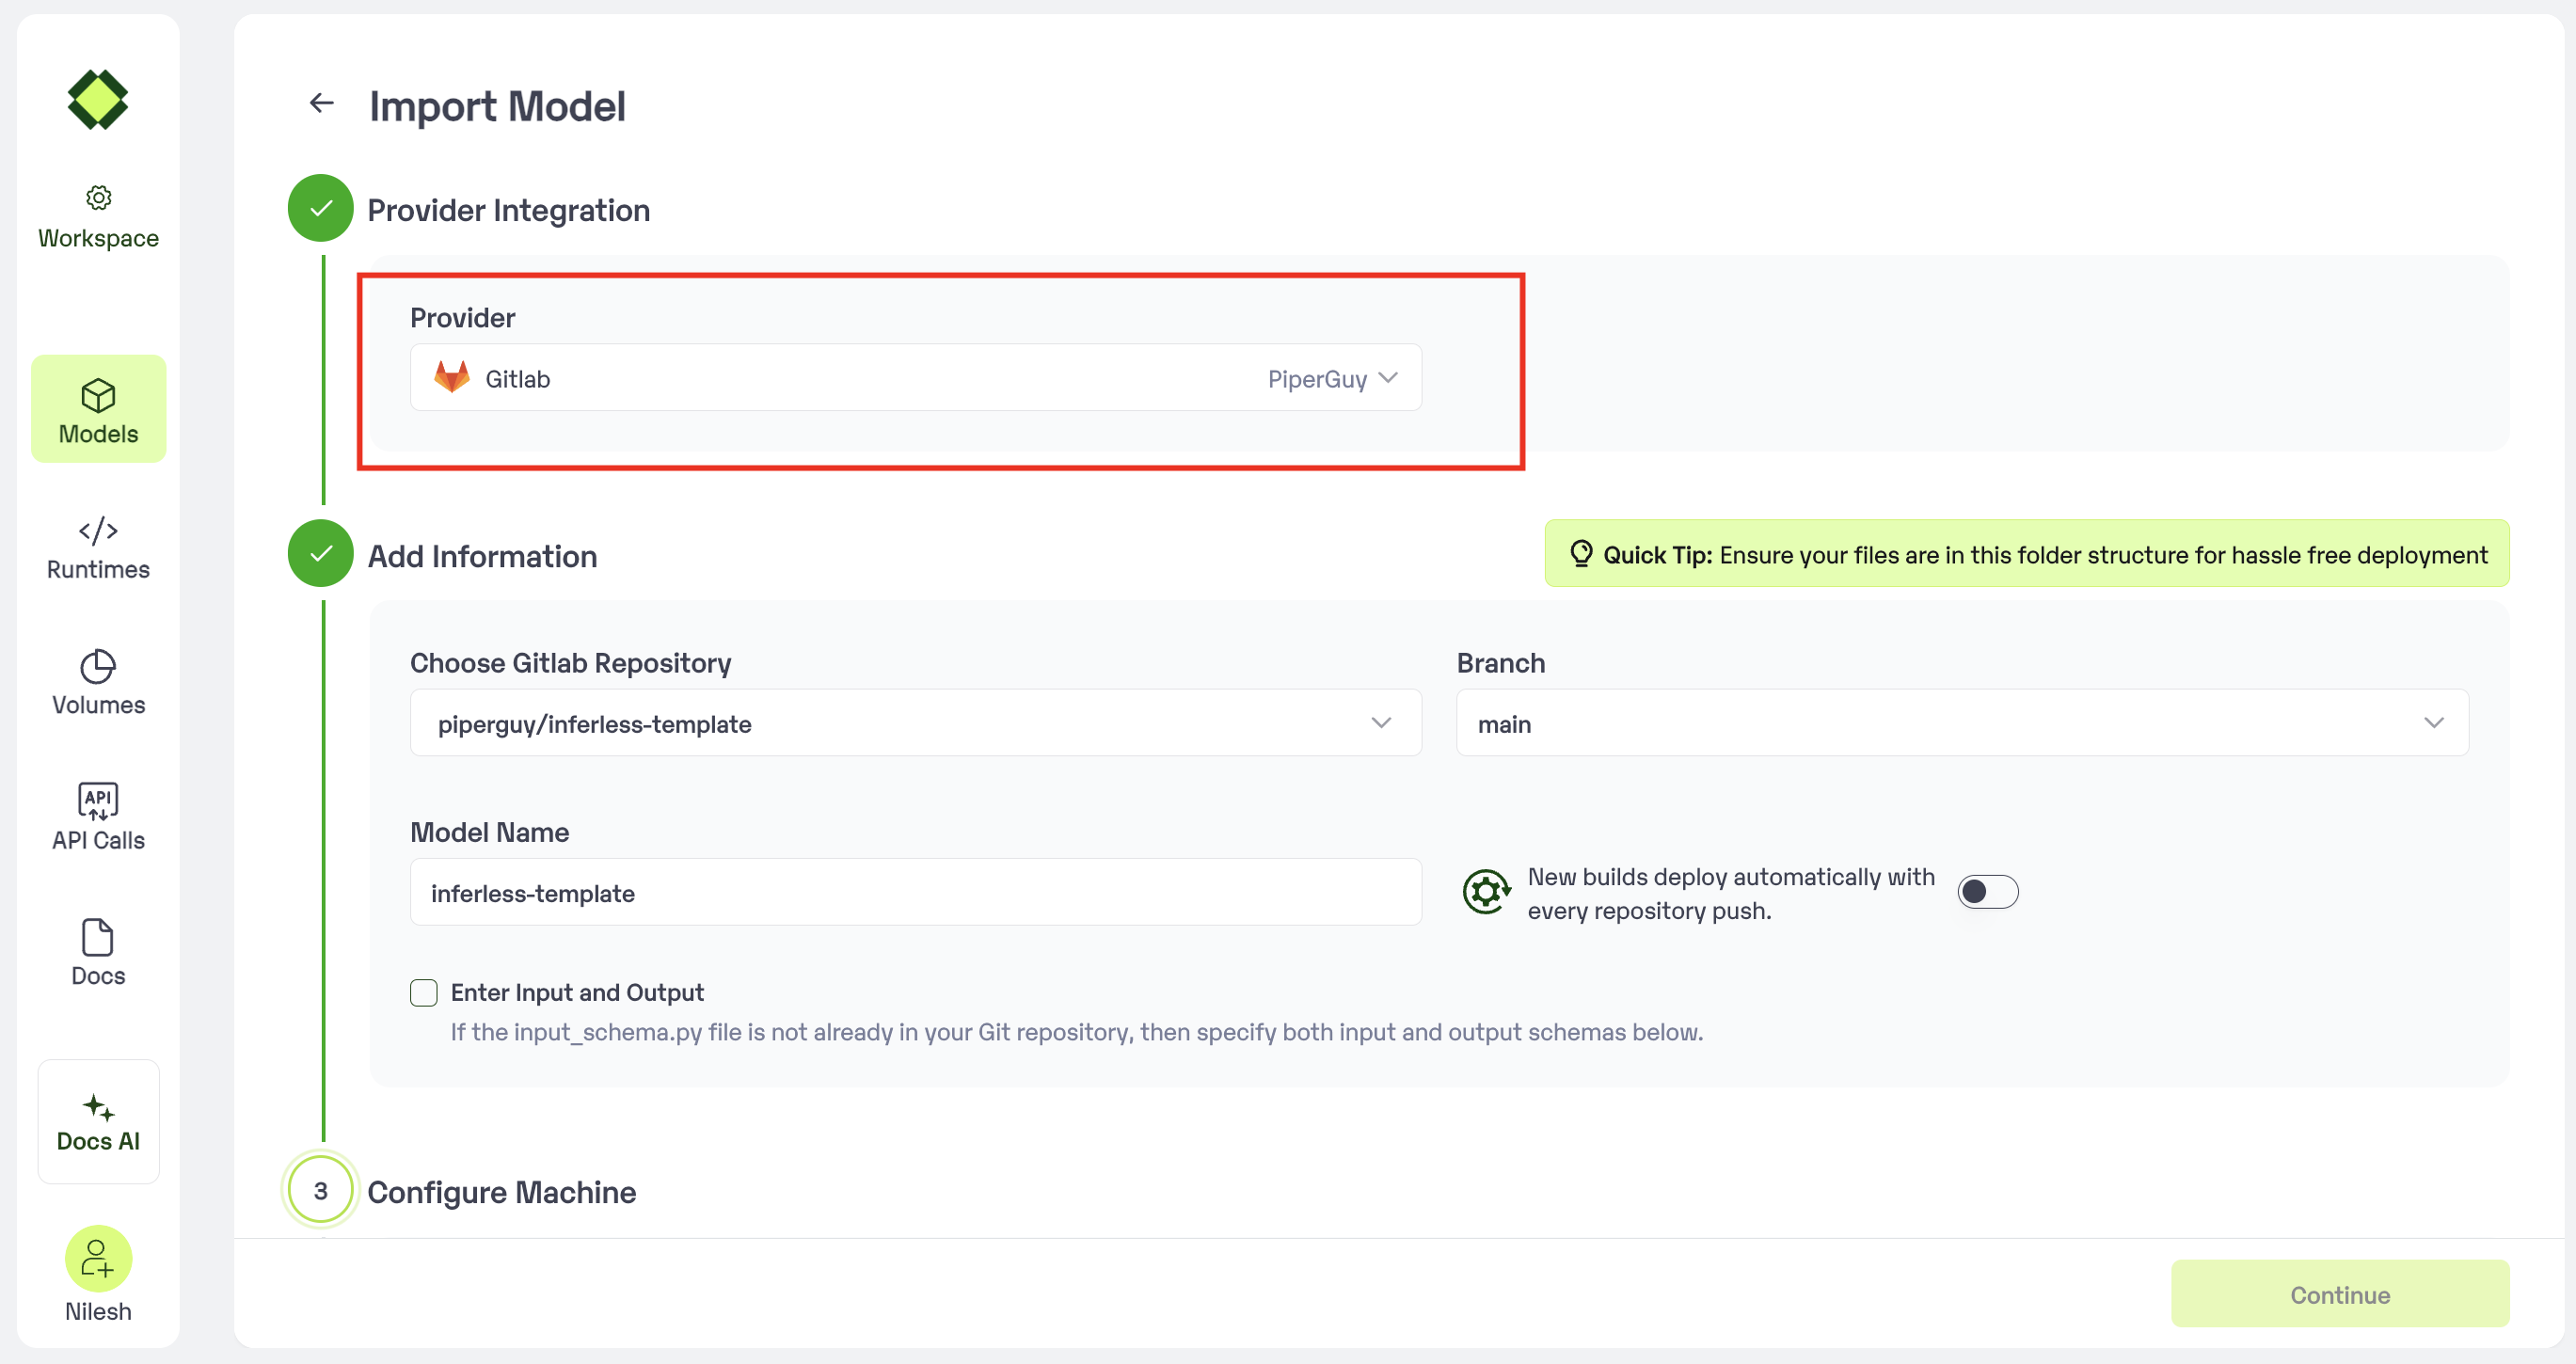
Step 3: Enter the model details
- Model Name: The desired name of the model that you wish to give.
- Choose Gitlab Repo: Select the desired repo from the drop-down
- Input Schema: If you don’t have the file input_schema.py you will have the provide the Input/Output Json
- In case you would like to set up
Automatic rebuildfor your model, enable it- You would need to set up a webhook for this method. Click here for more details.
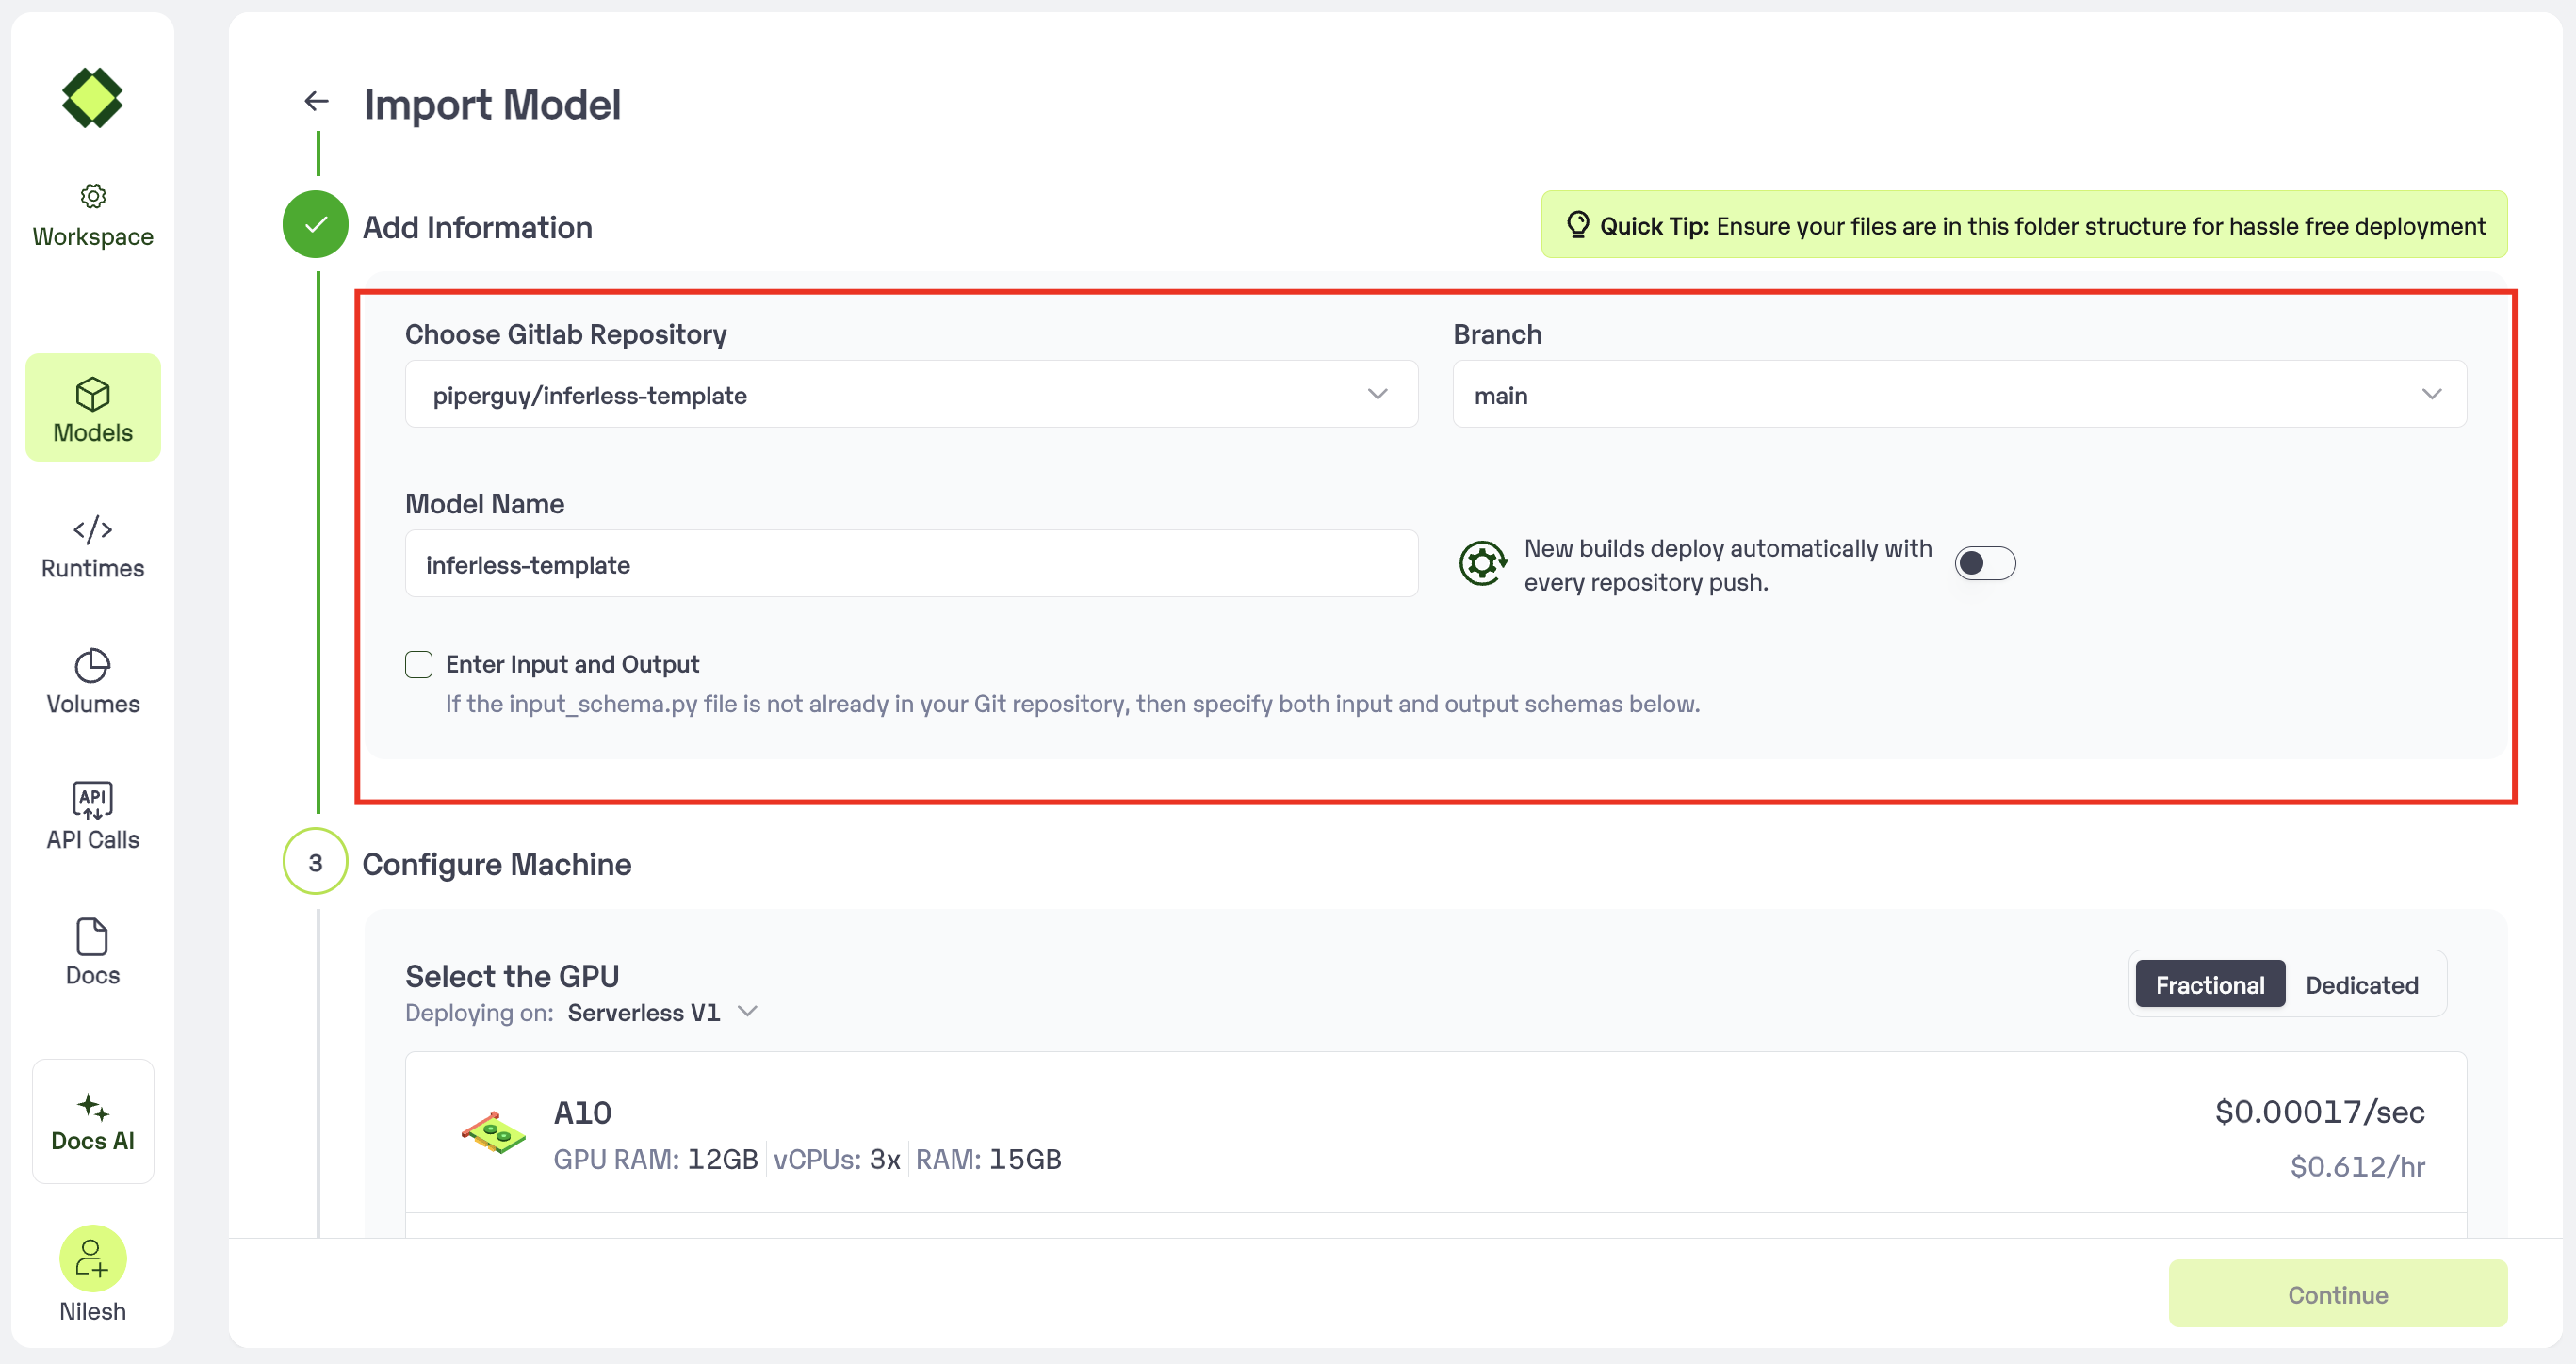
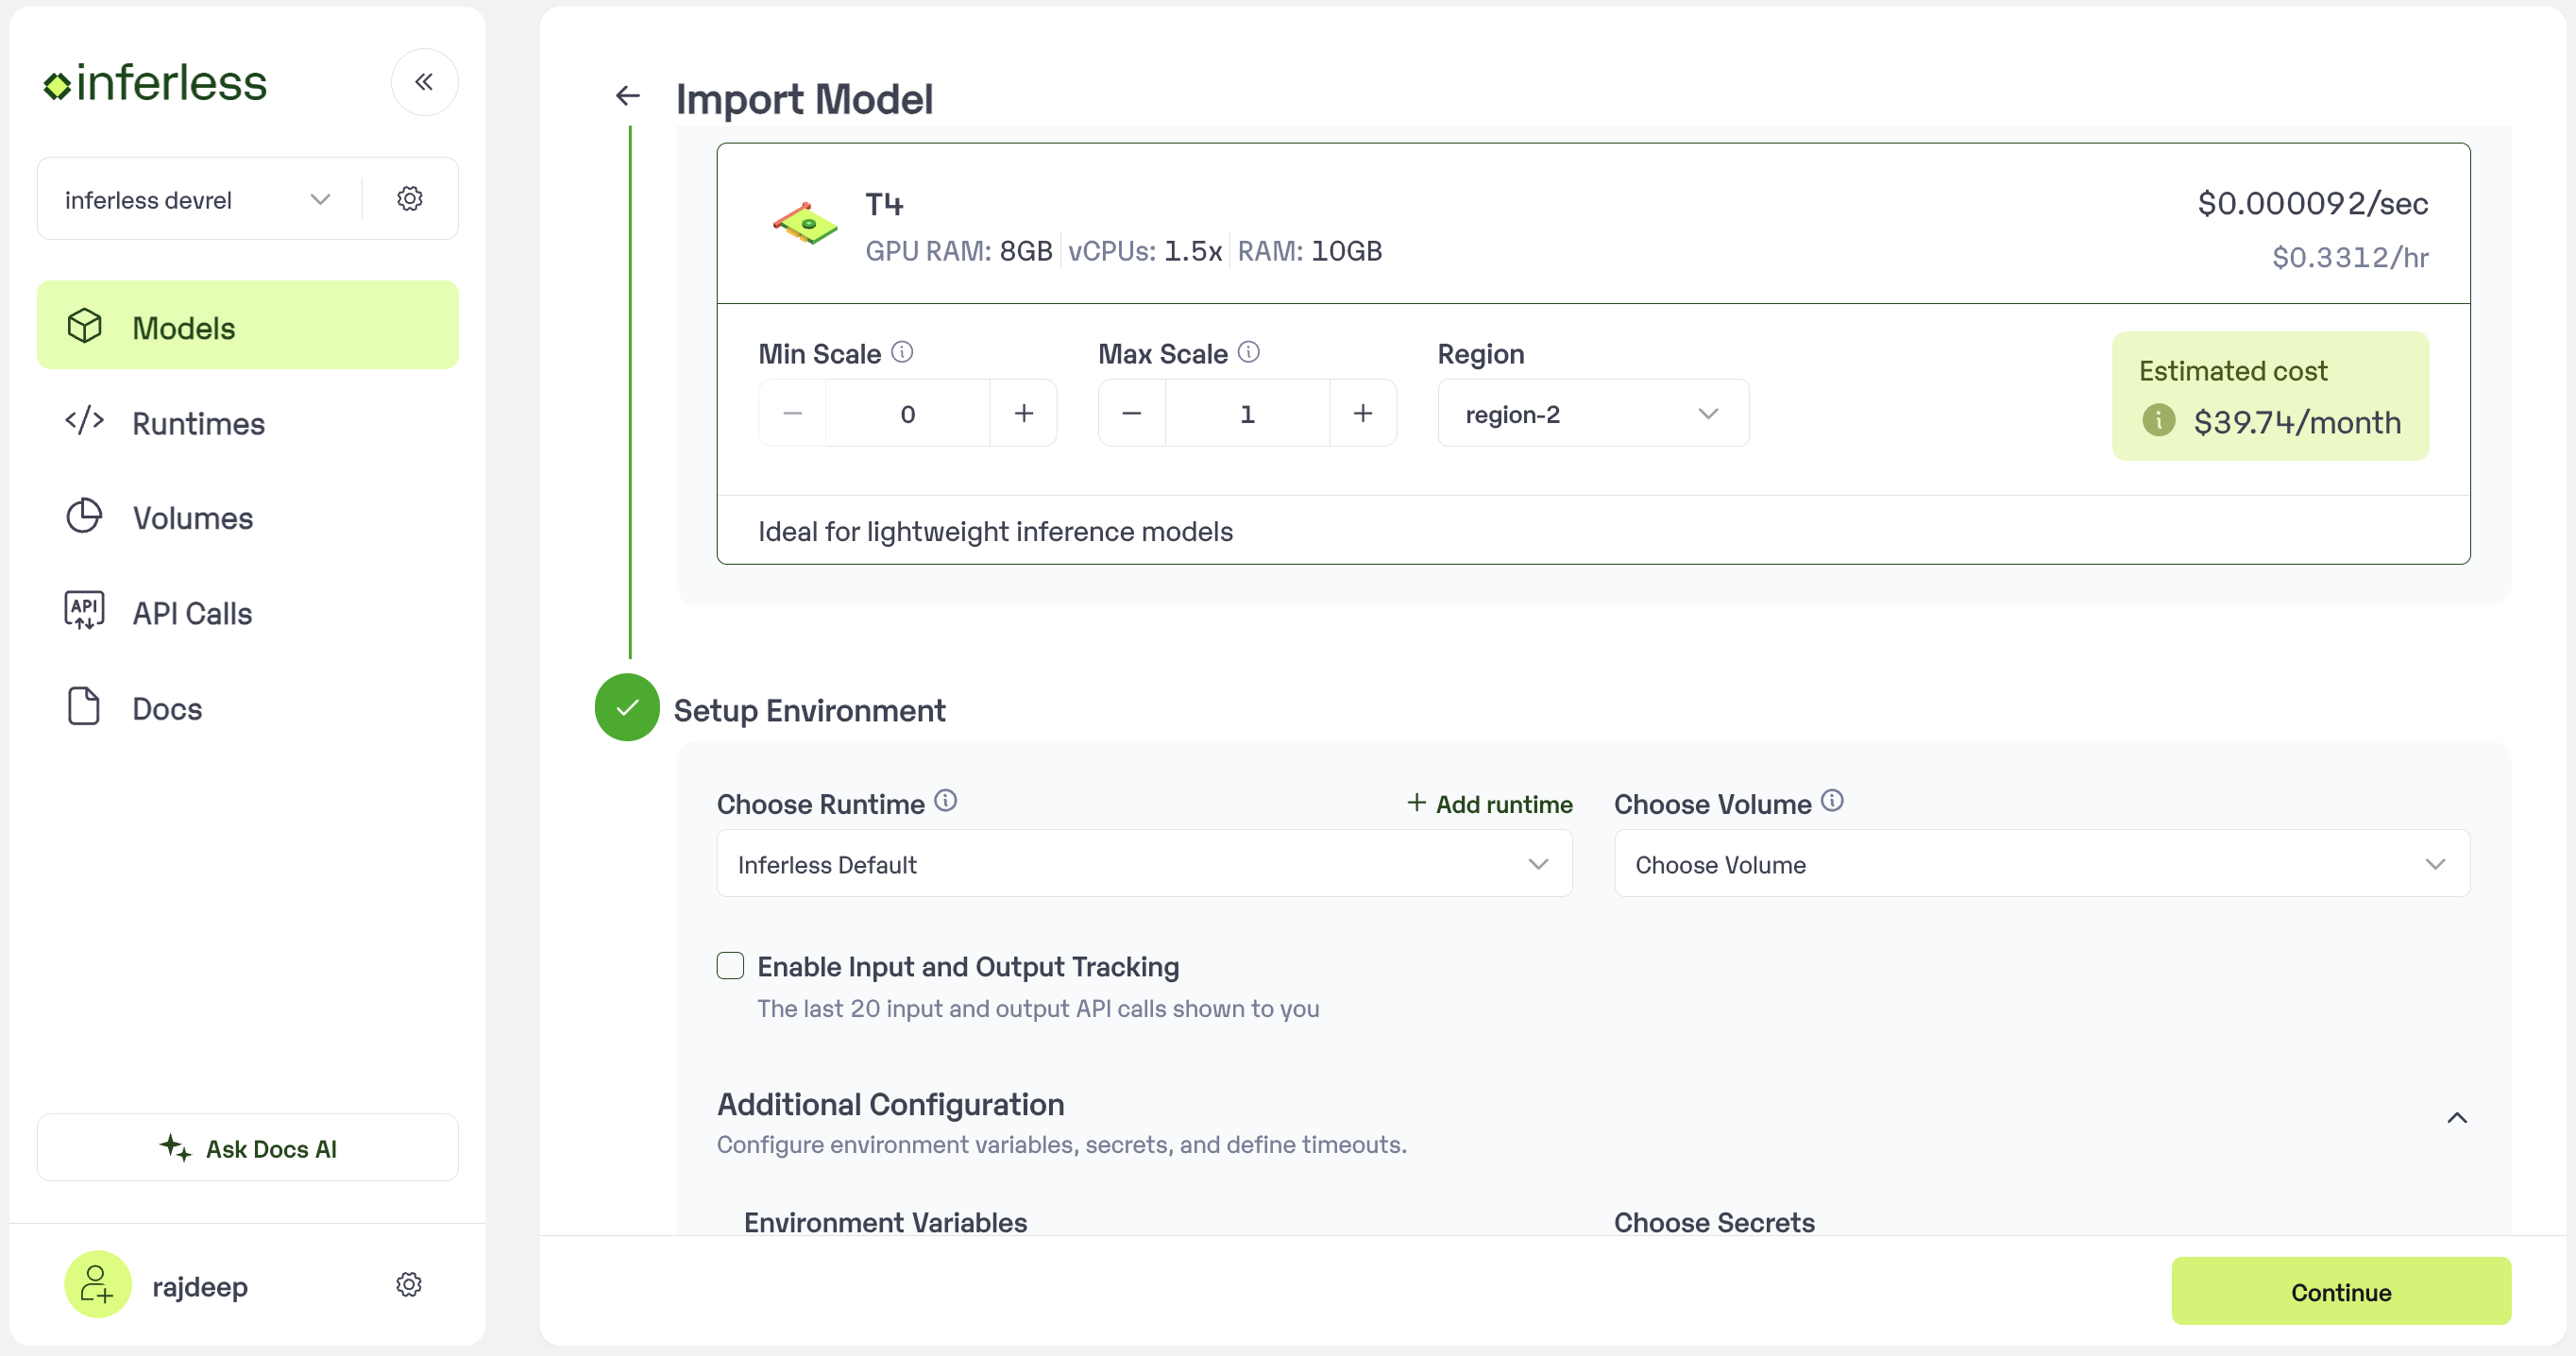
Step 4: Configure Machine and Environment.
- Choose the type of machine, and specify the minimum and maximum number of replicas for deploying your model.
- Min scale -
- Max scale -
- Configure Custom Runtime ( If you have pip or apt packages), choose Volume, Secrets and set Environment variables like Inference Timeout / Container Concurrency / Scale Down Timeout
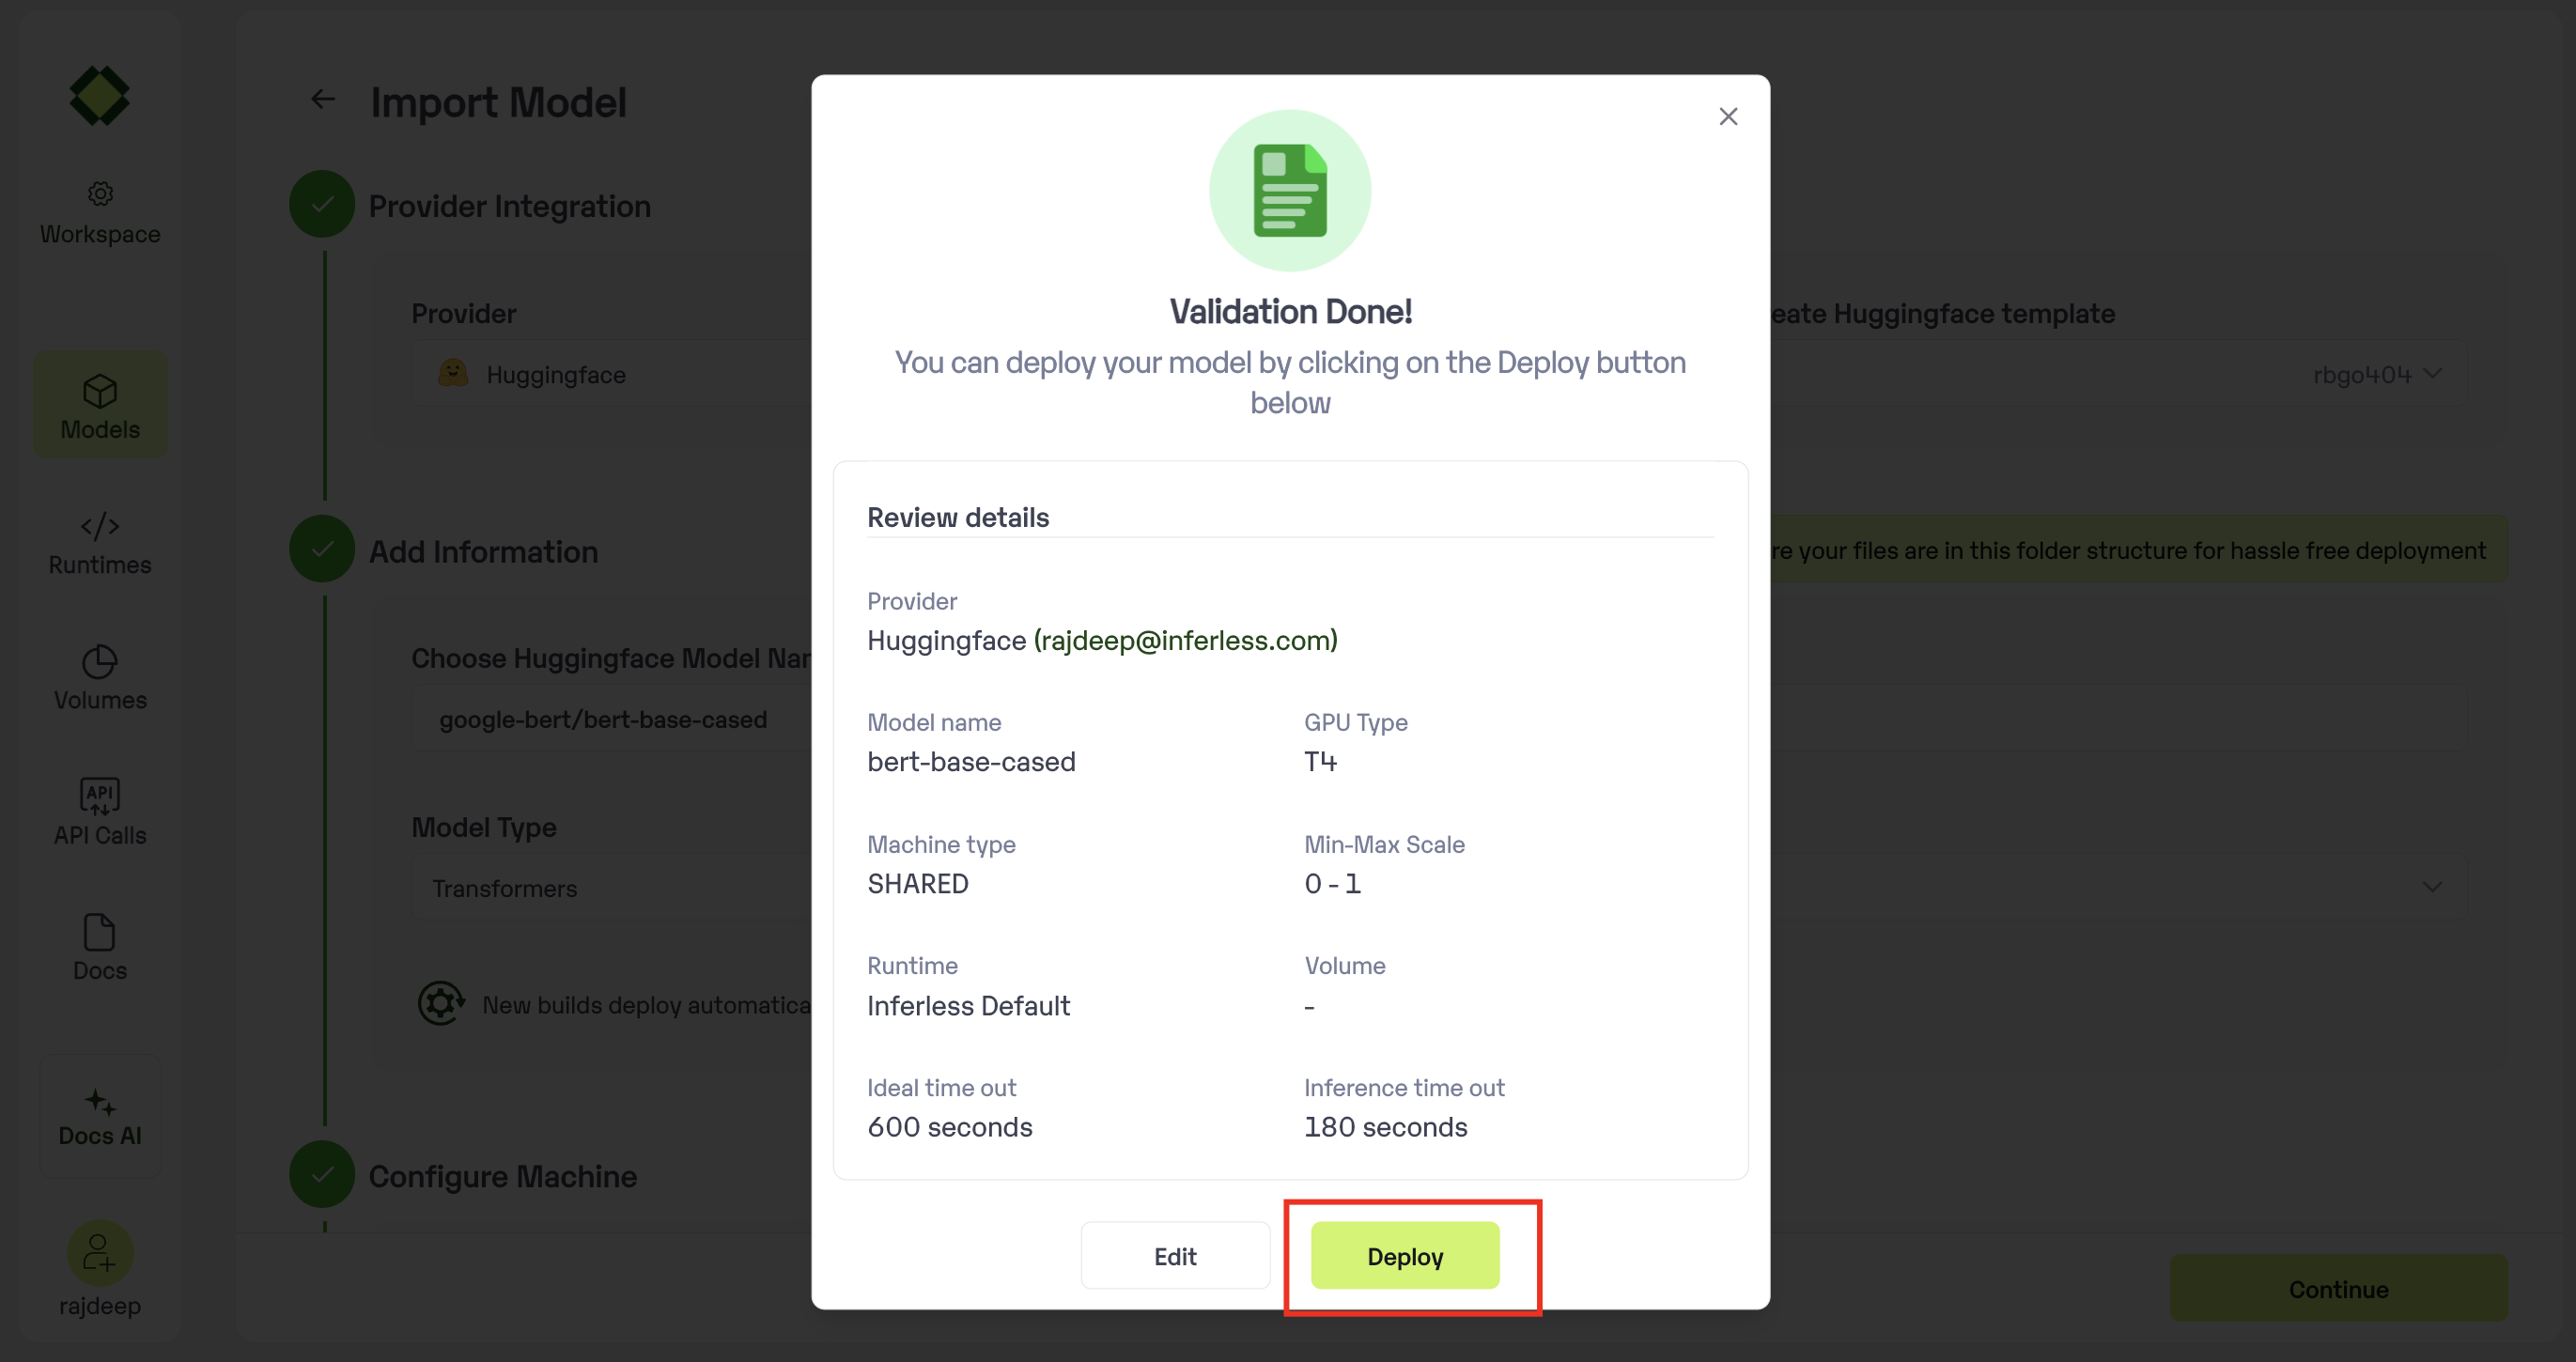
Step 5: Review your model details
- Once you click “Continue,” you will be able to review the details added for the model.
- If you would like to make any changes, you can go back and make the changes.
-
Once you have reviewed everything, click
Deployto start the model import process.
Step 6 : Run your model
- Once you click submit, the model import process would start.
-
It may take some time to complete the import process, and during this time, you will be redirected to your workspace and can see the status of the import under
"In Progress/Failed"tab.\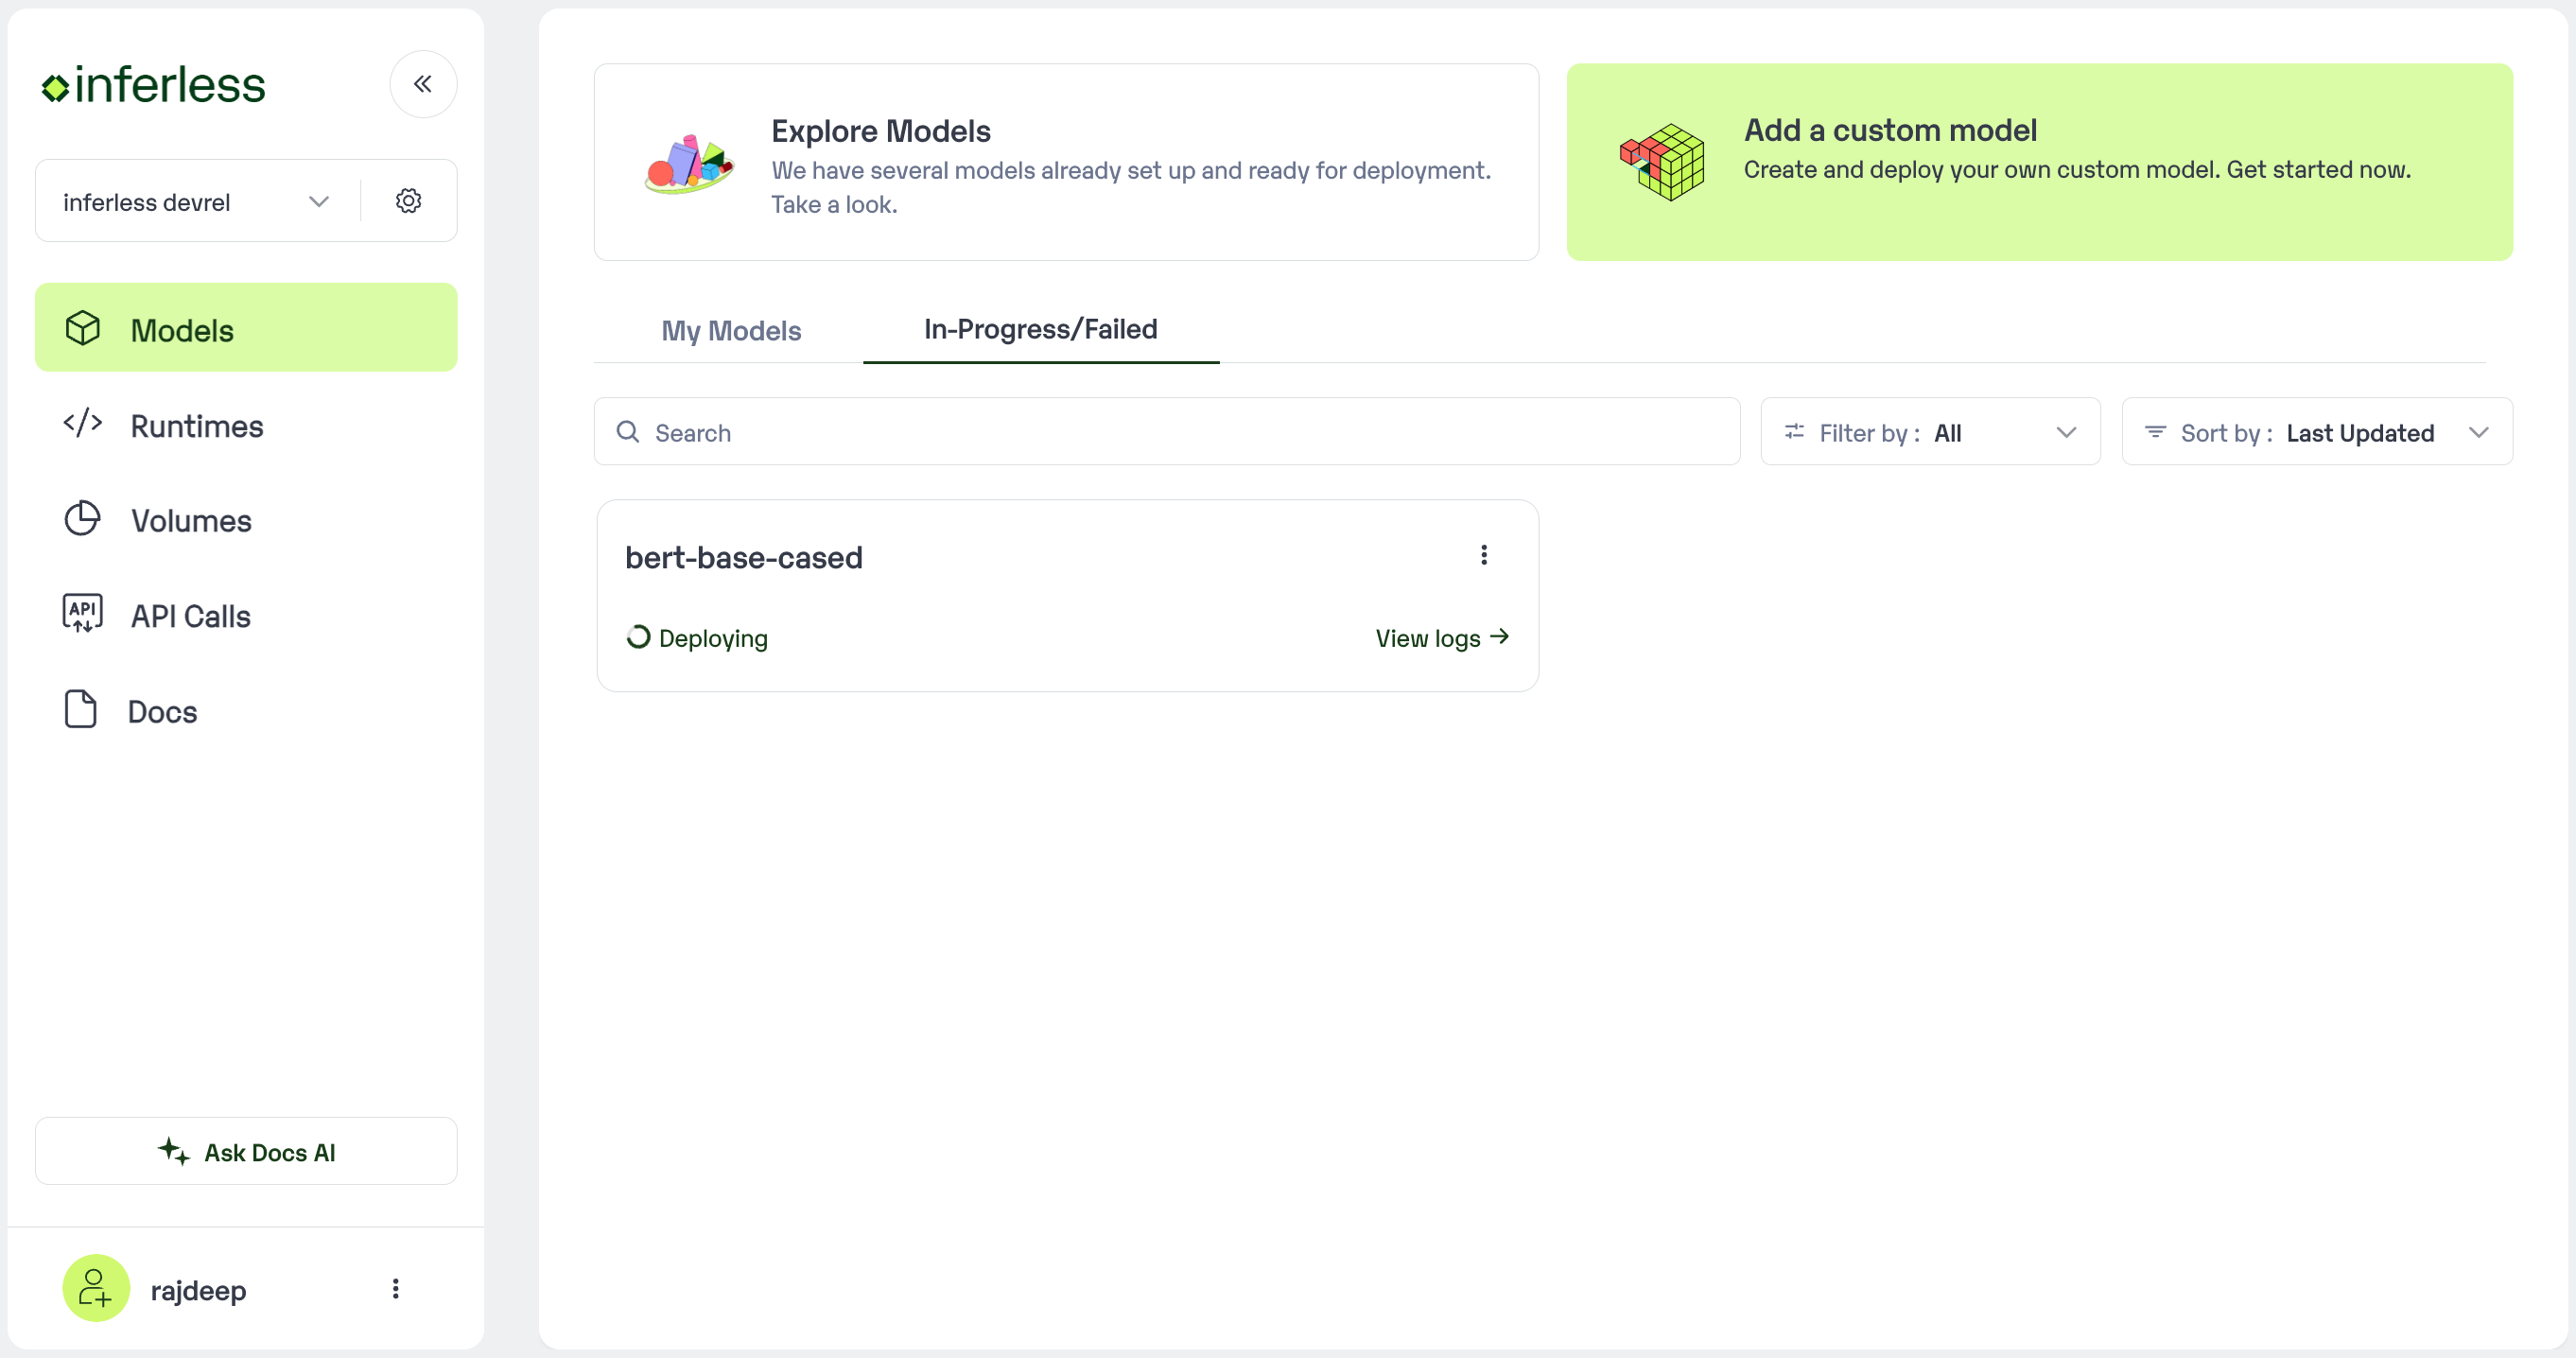
- If you encounter any errors during the model import process or if you want to view the build logs for any reason, you can click on the three dots menu and select “View build logs”. This will show you a detailed log of the import process, which can help you troubleshoot any issues you may encounter.
- Post-upload, the model will be available under “My Models”
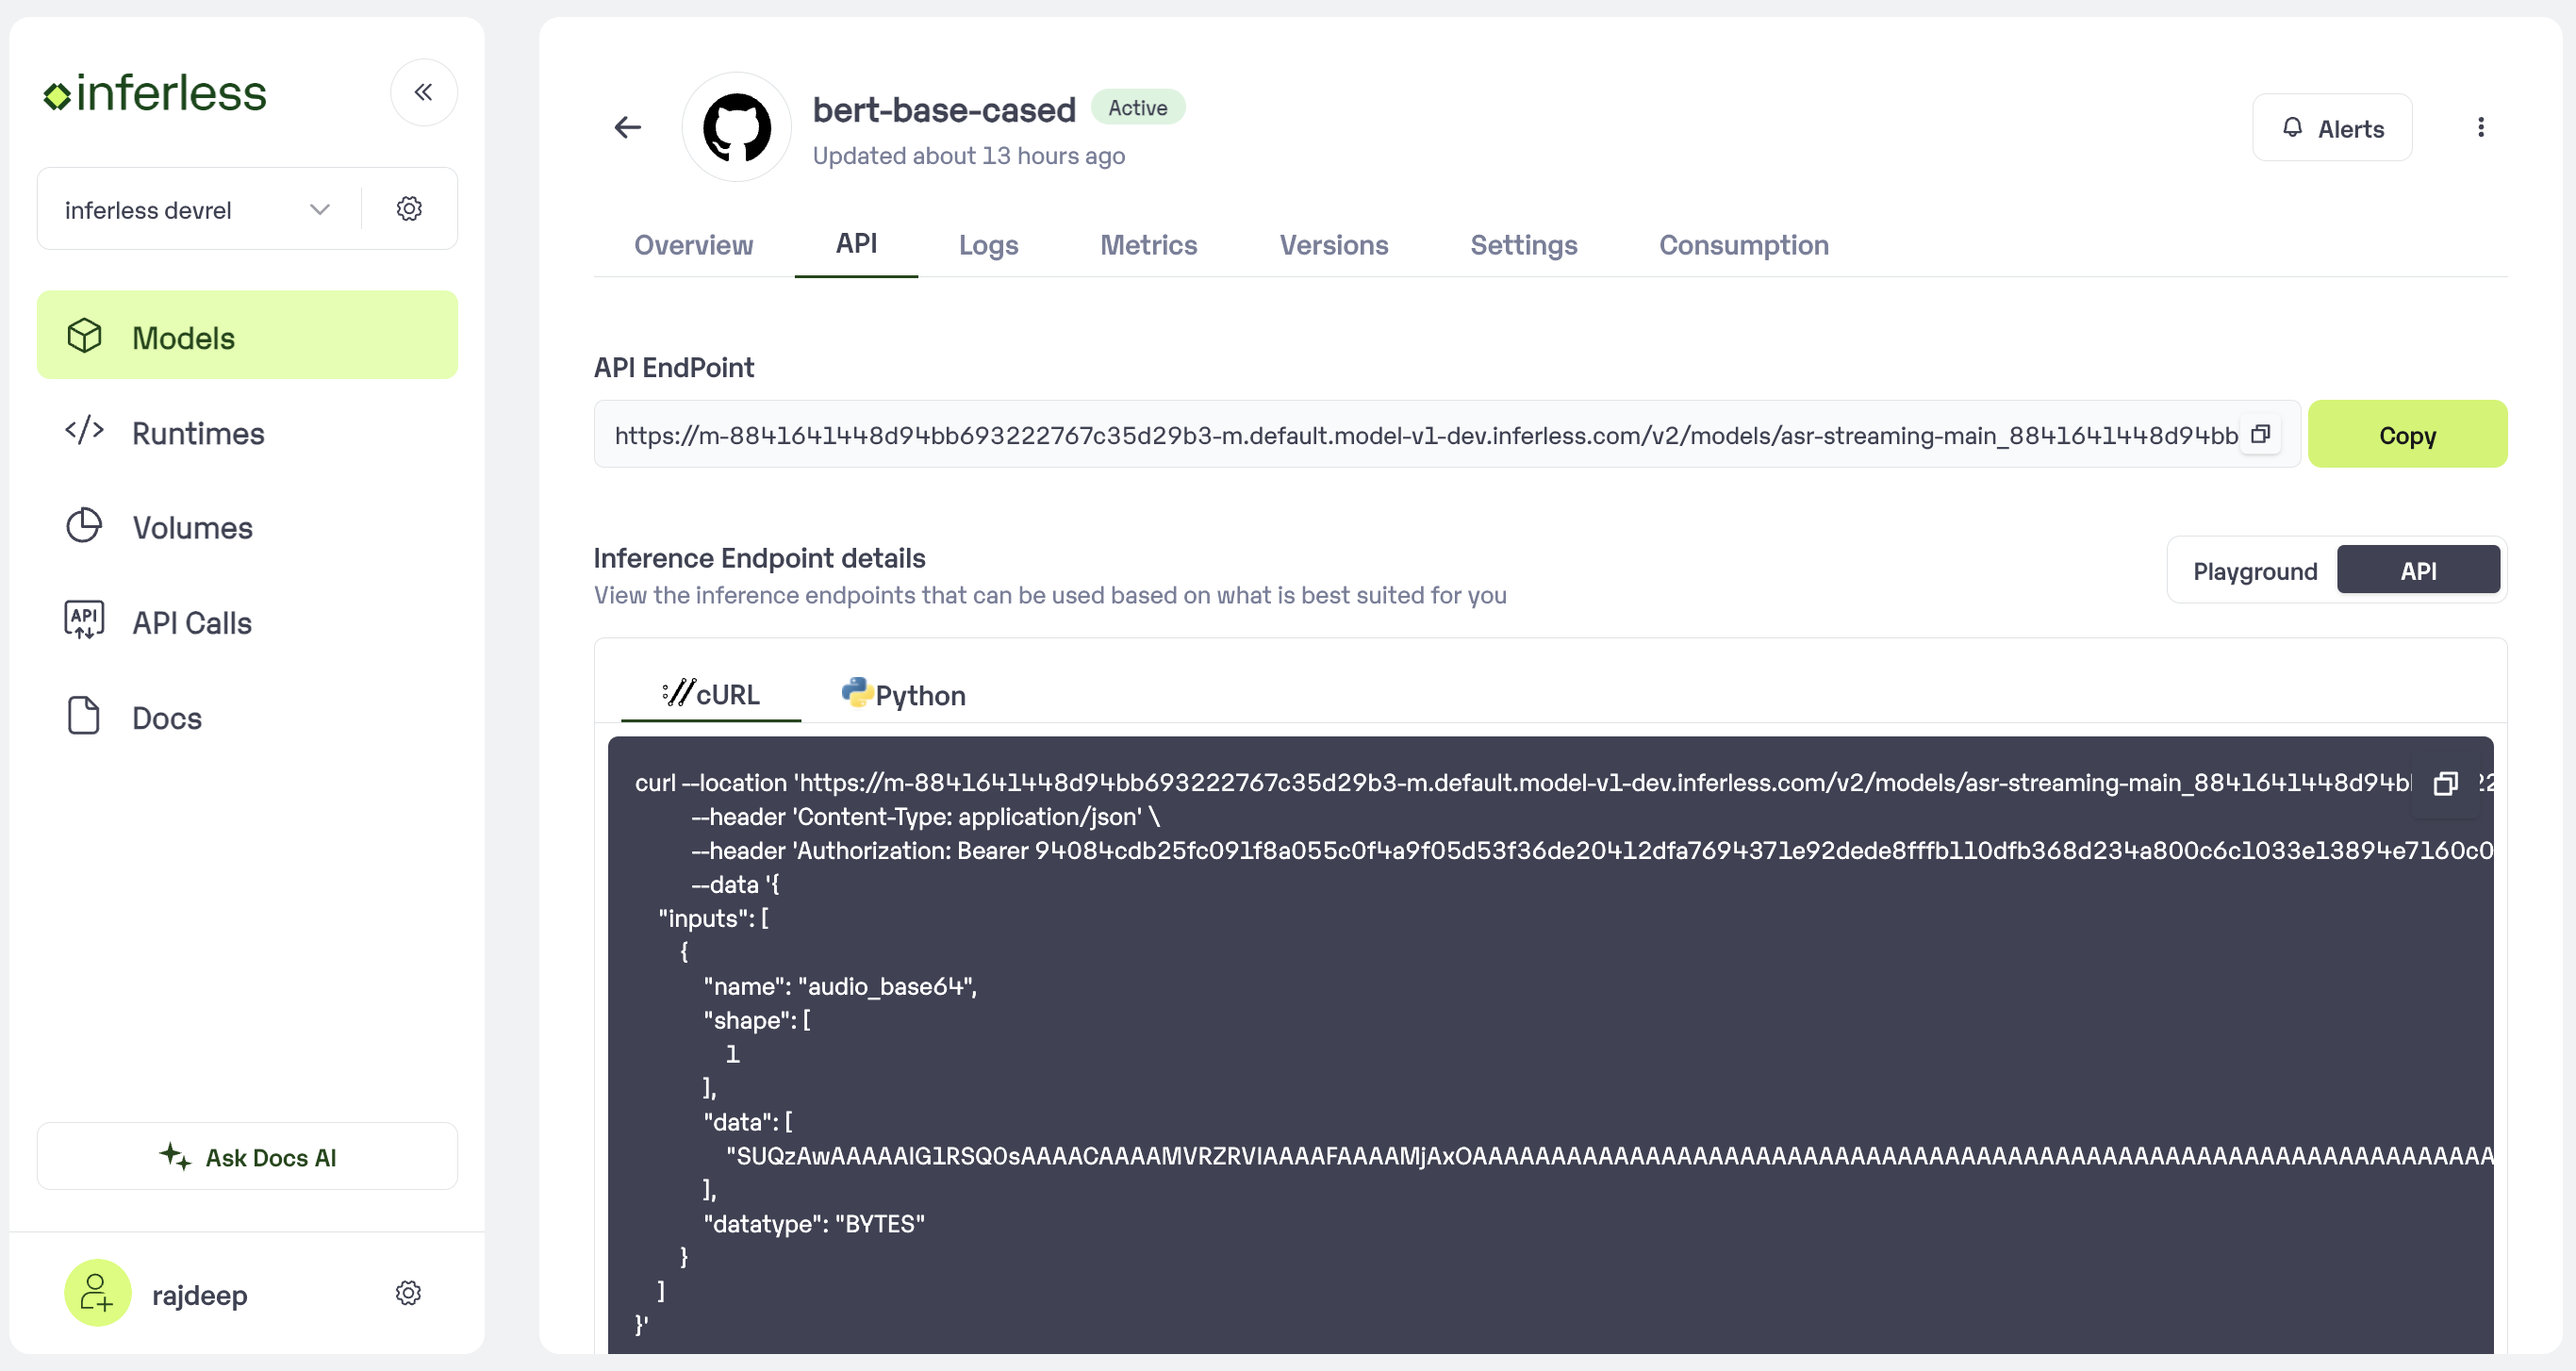
-
You can then select the model and go to
-> API -> Inference Endpoint details.Here you would find the API endpoints that can be called. You can click on the copy button on the right and can call your model.
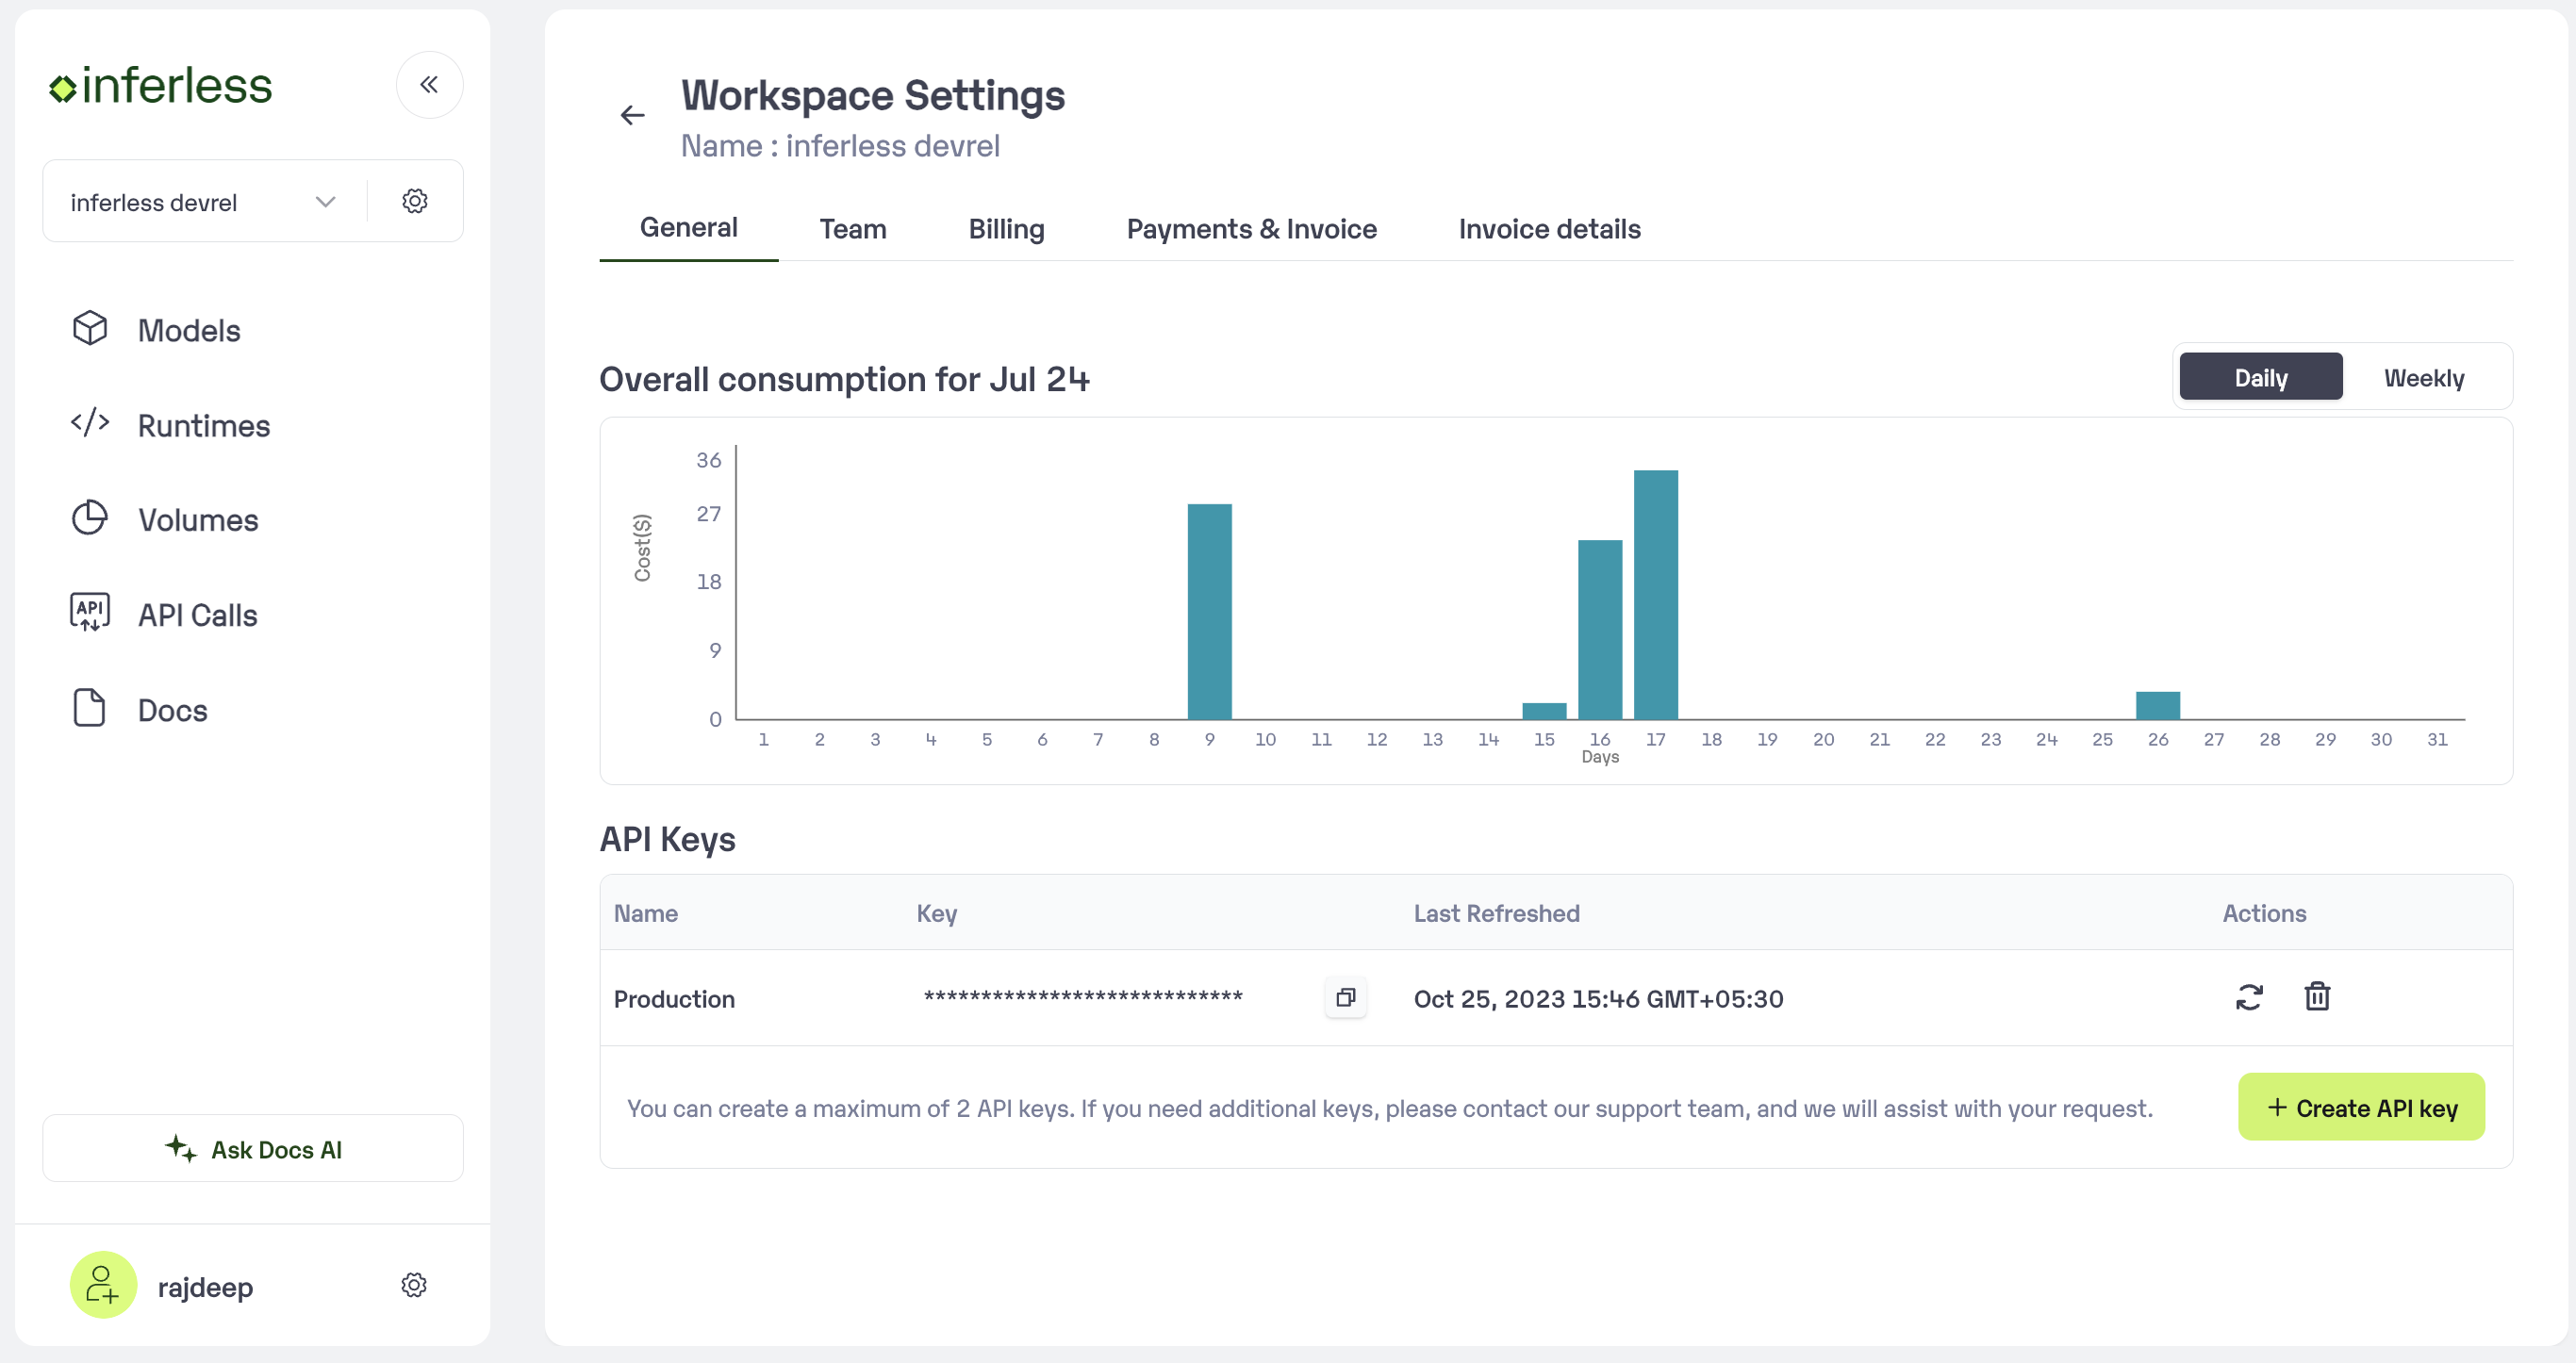
Extra Step: Getting API key details
- You can now call using this from your end. The inference result would be the output for these calls.
- In case you need help with API Keys:
- Click on settings, available on the top, next to your Workspace Name
- Click on “Workspace API keys”
- You can view the details of your key or generate a new one\
Using CLI
If your model is stored in Gitlab repo. Make sure you follow this folder structure.- Login to Inferless.com and click on three dot menu near the profile picture
- Click on Manage integrations and connect with your Gitlab account were the model is stored.
-
Once you’re done with integration. Run this command to initialise the model
-
Now that your model is initialised.
- To do default deployment use this
- To do customised deployment use this