> ## Documentation Index
> Fetch the complete documentation index at: https://docs.inferless.com/llms.txt
> Use this file to discover all available pages before exploring further.
# Hugging face
### Supported Frameworks
You can use a `transformer` or a `diffuser` the based model from Hugging face.
### Steps to load your model
To import a model from Hugging Face, below are the requirements.
As a next step, we would need to import the Hugging Face model into GitHub before we push it to Inverness. How Inferless works is:`Hugging Face`-> `Copy and create a repo in GitHub` -> `Load the model repo into Inferless.`
You can use the imported GitHub Repo to change the pre-processing and post-processing code.
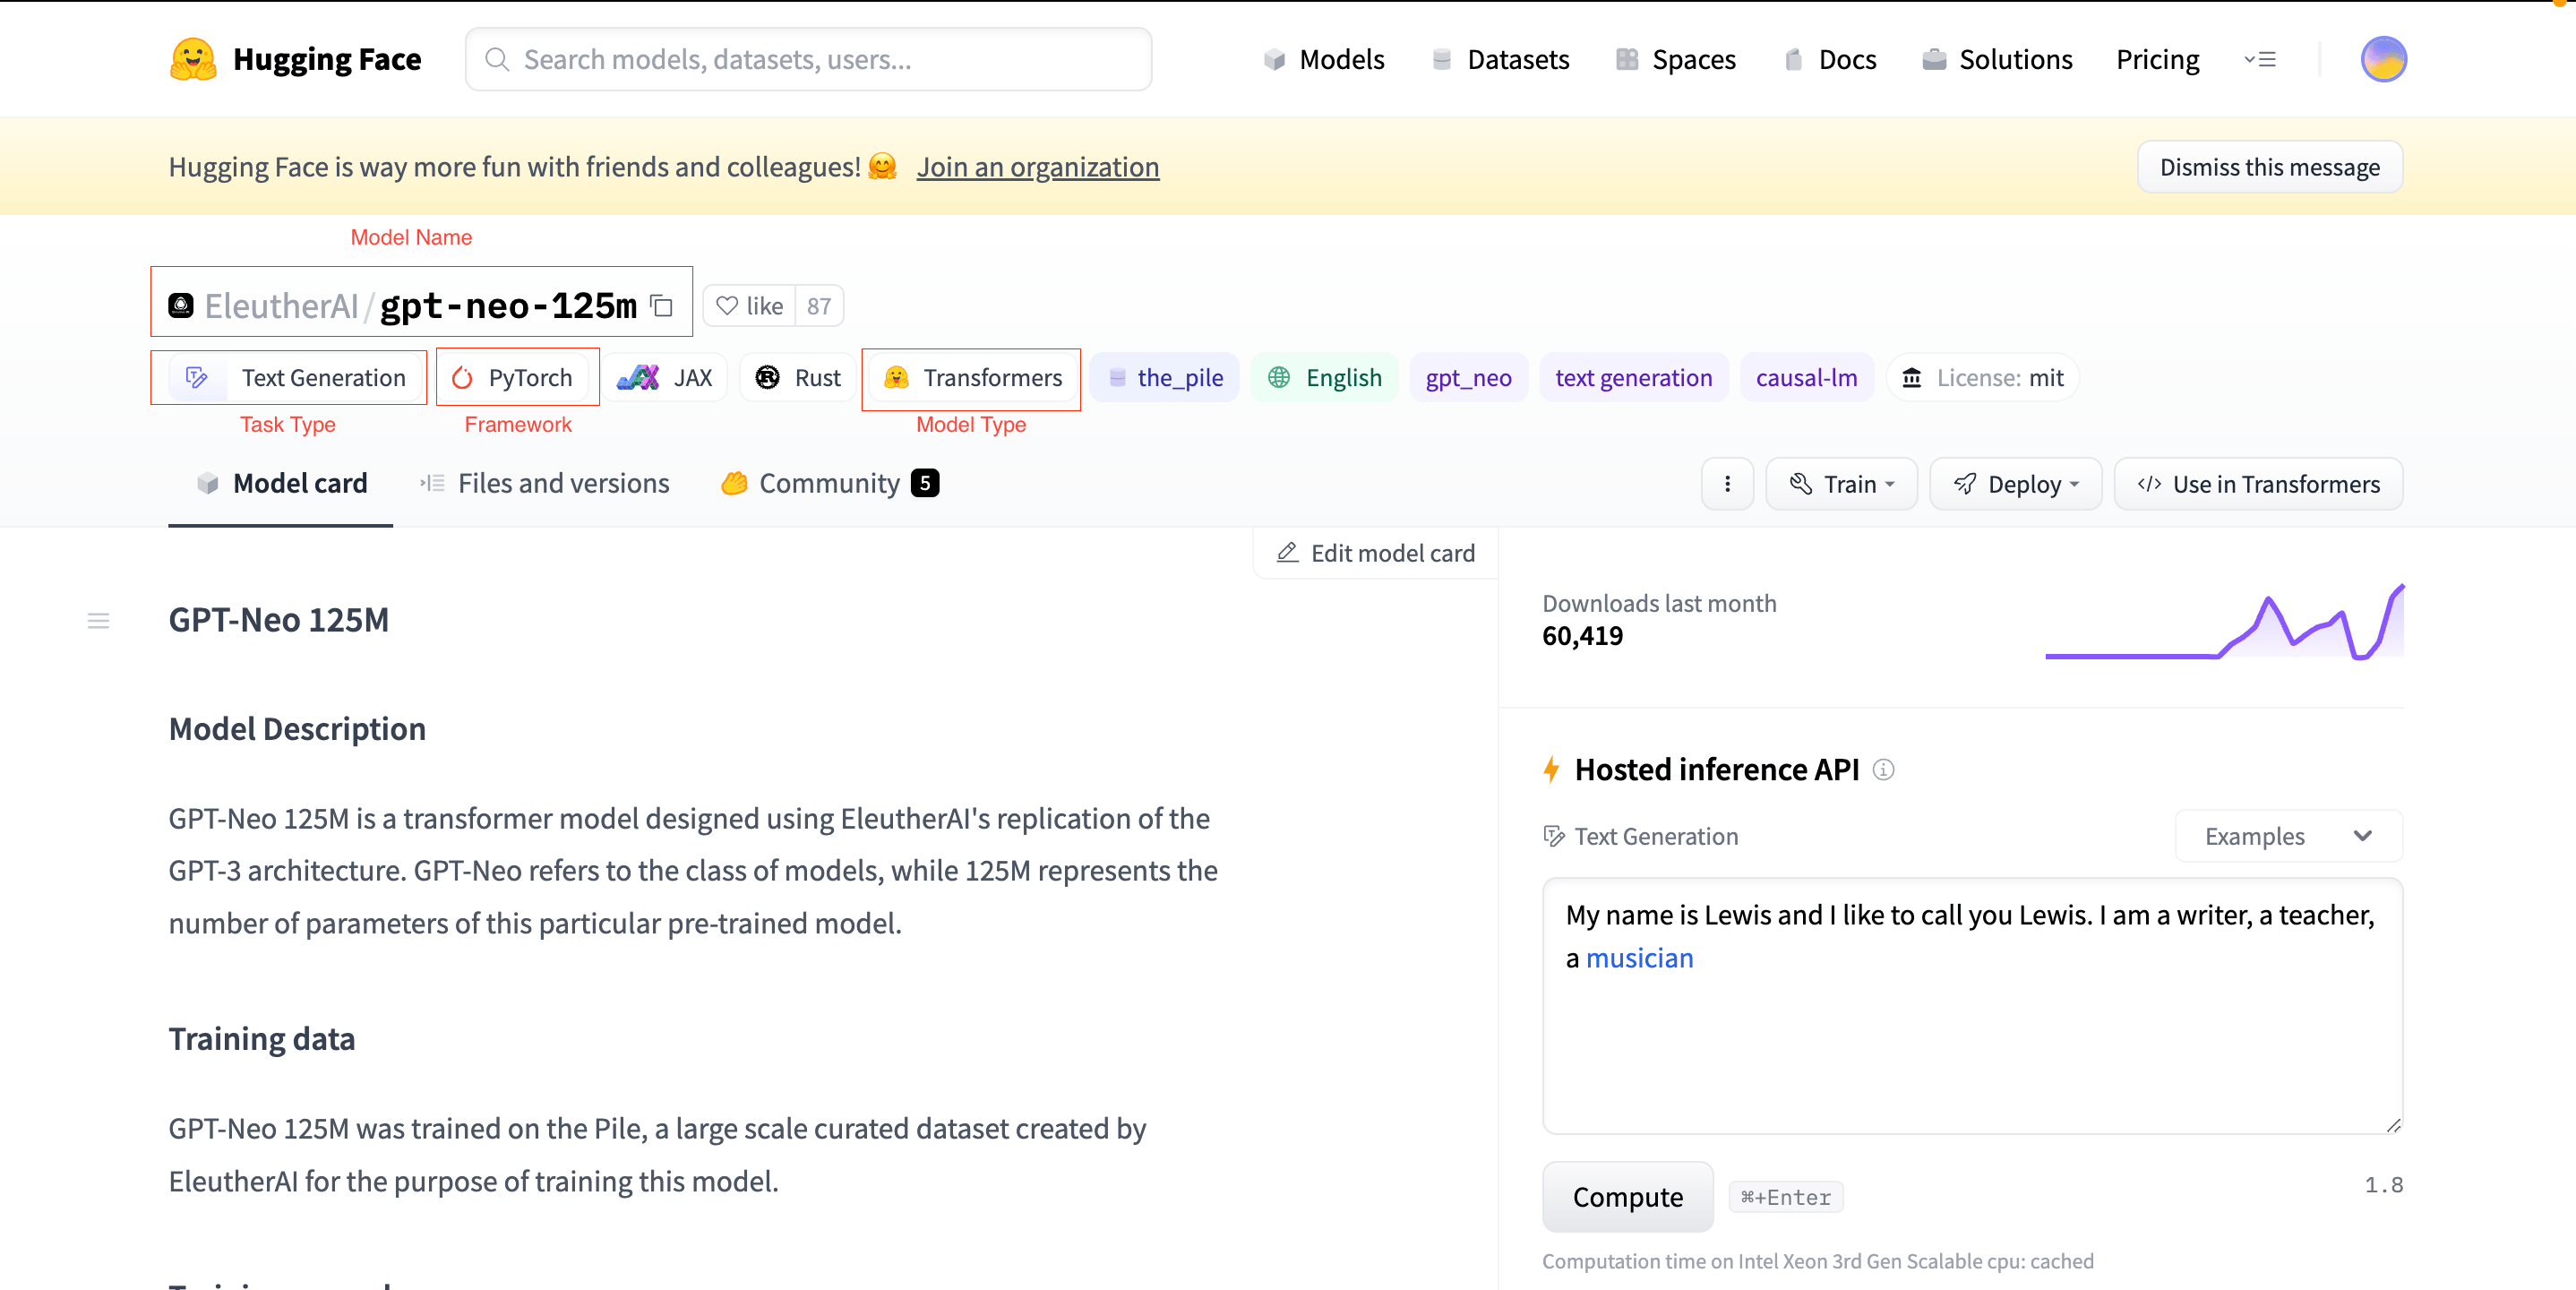
### Pre Requisite: Note the Model Name, Type, and Framework
* Navigate to the Hugging Face model page of your choice that you want to import into Inferless.
* Take note of the `"Model Name" `(you can also use the copy button), `Task Type`, `Model Framework,` and `Model Type`. These will be required for the next steps.
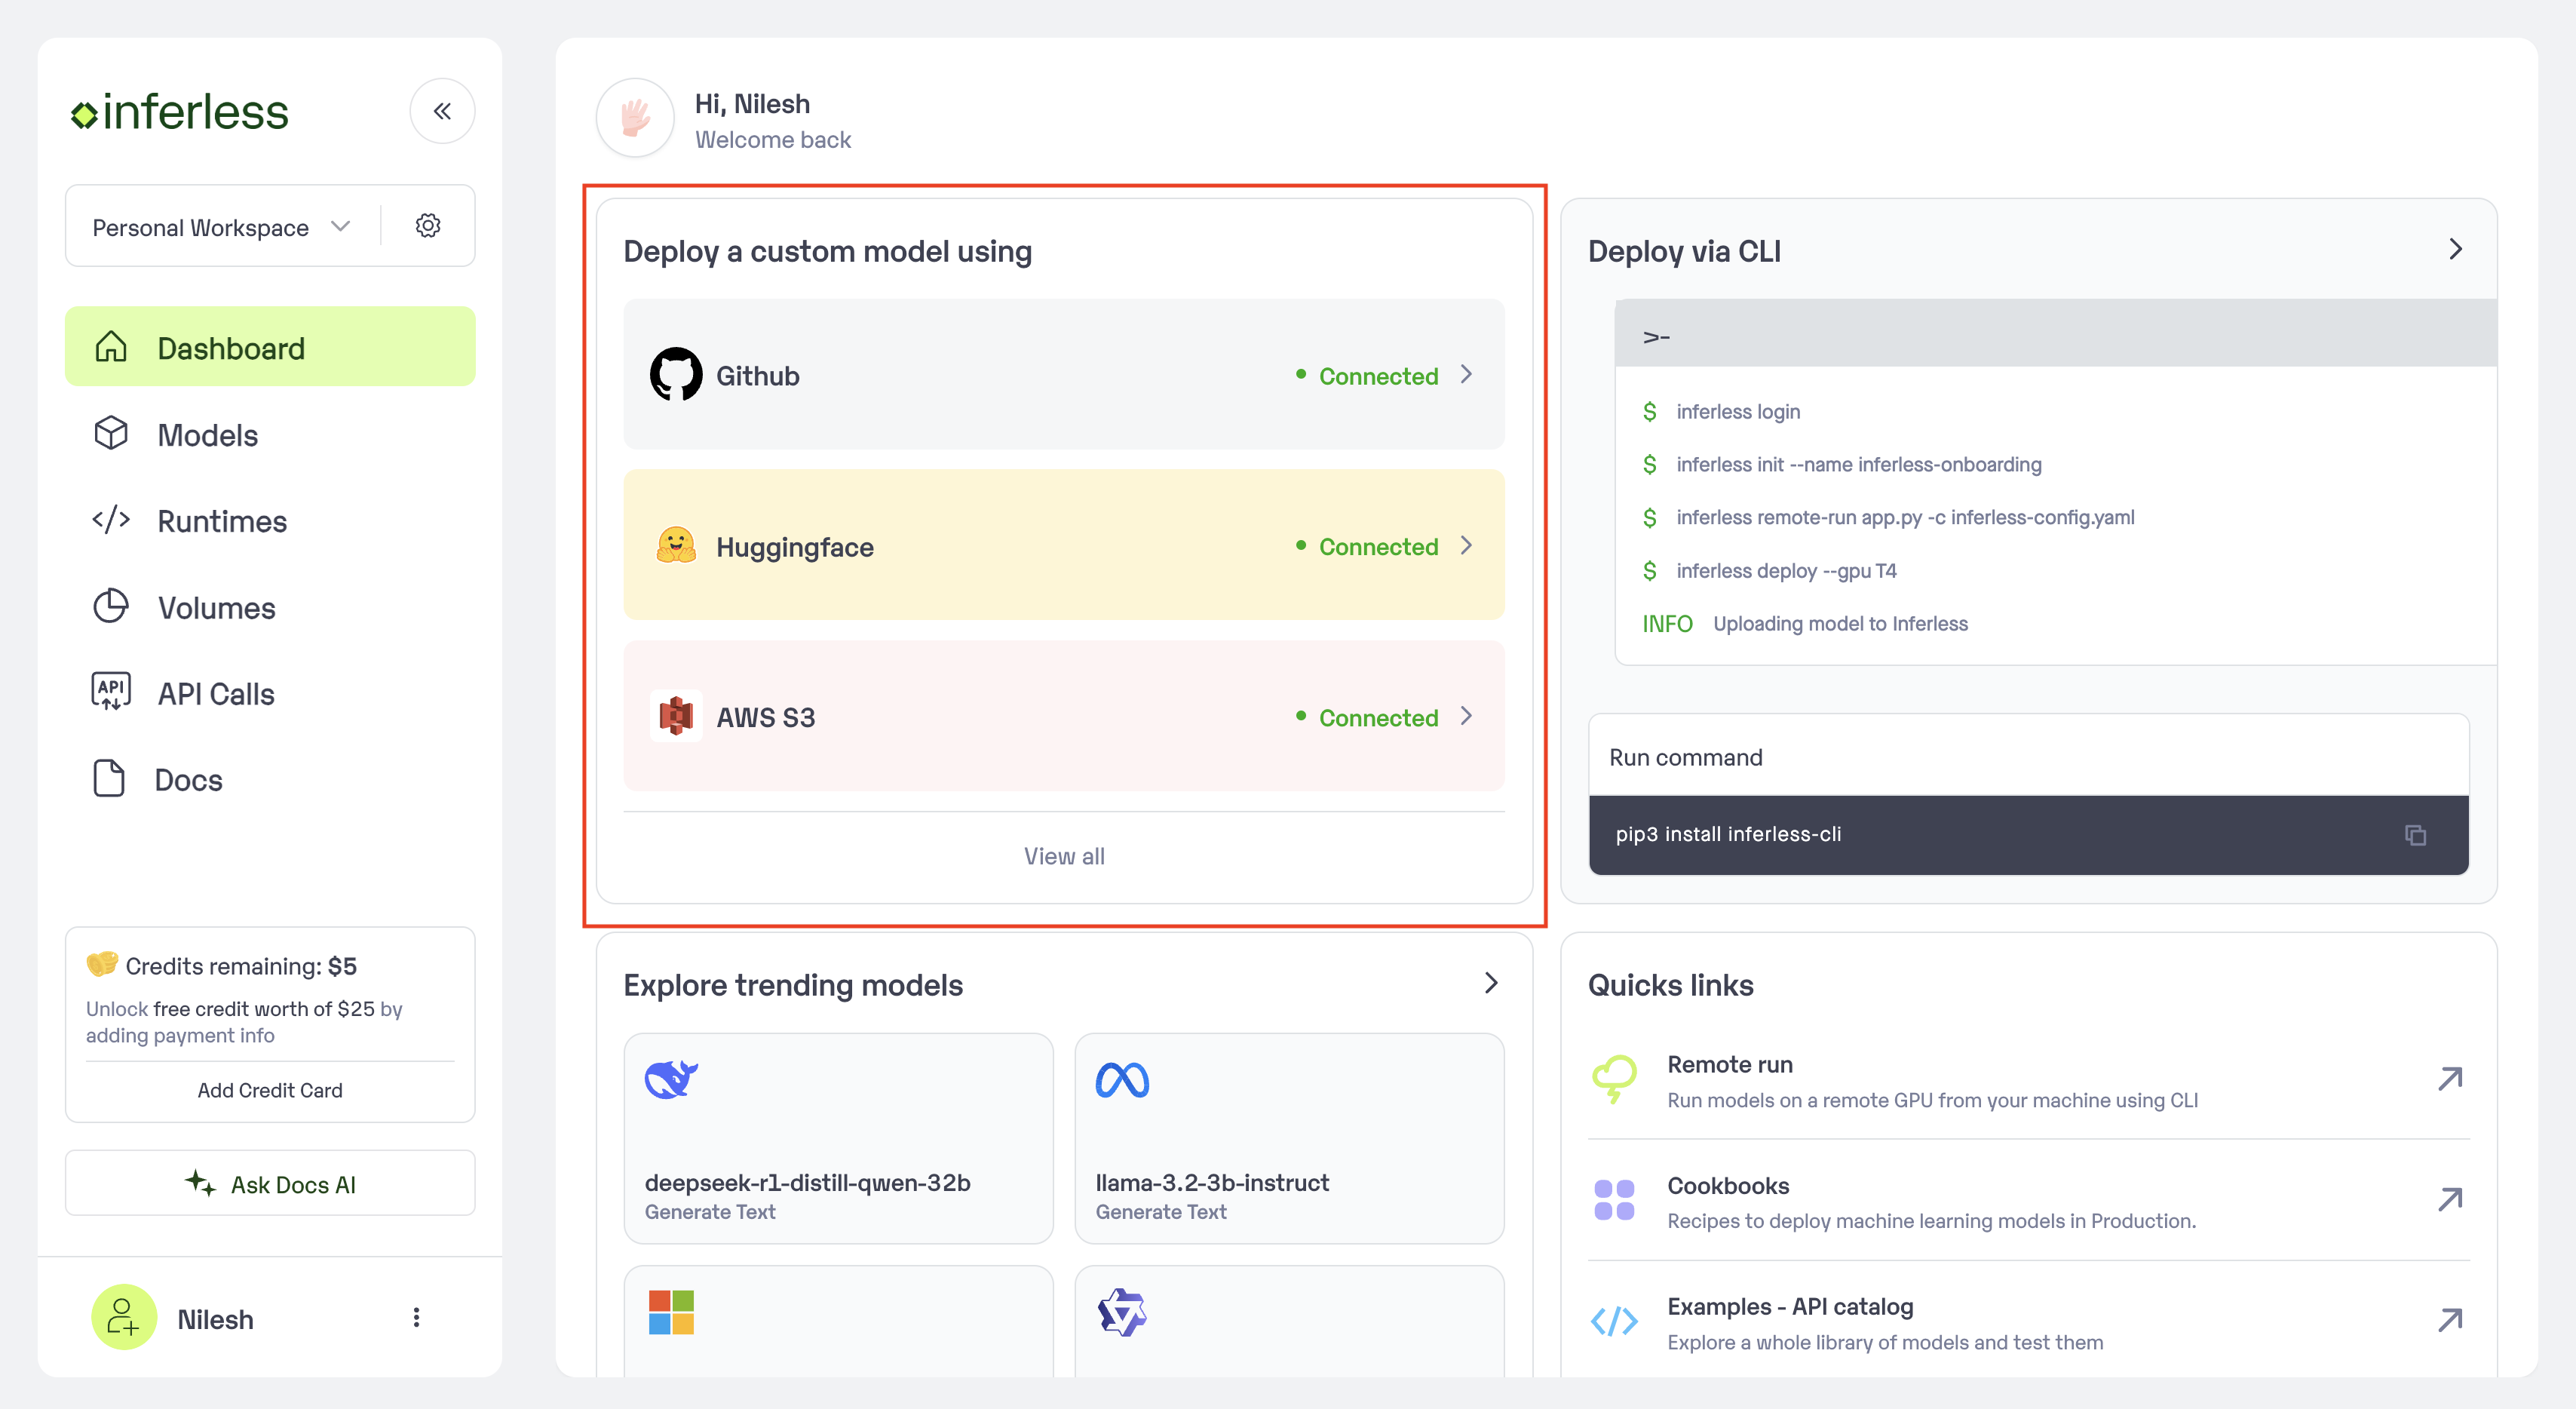
 ### Step 1: Add Model in your workspace.
* Navigate to your desired workspace in Inferless and Click on `"Huggingface" `. An import wizard will open up.
### Step 1: Add Model in your workspace.
* Navigate to your desired workspace in Inferless and Click on `"Huggingface" `. An import wizard will open up.
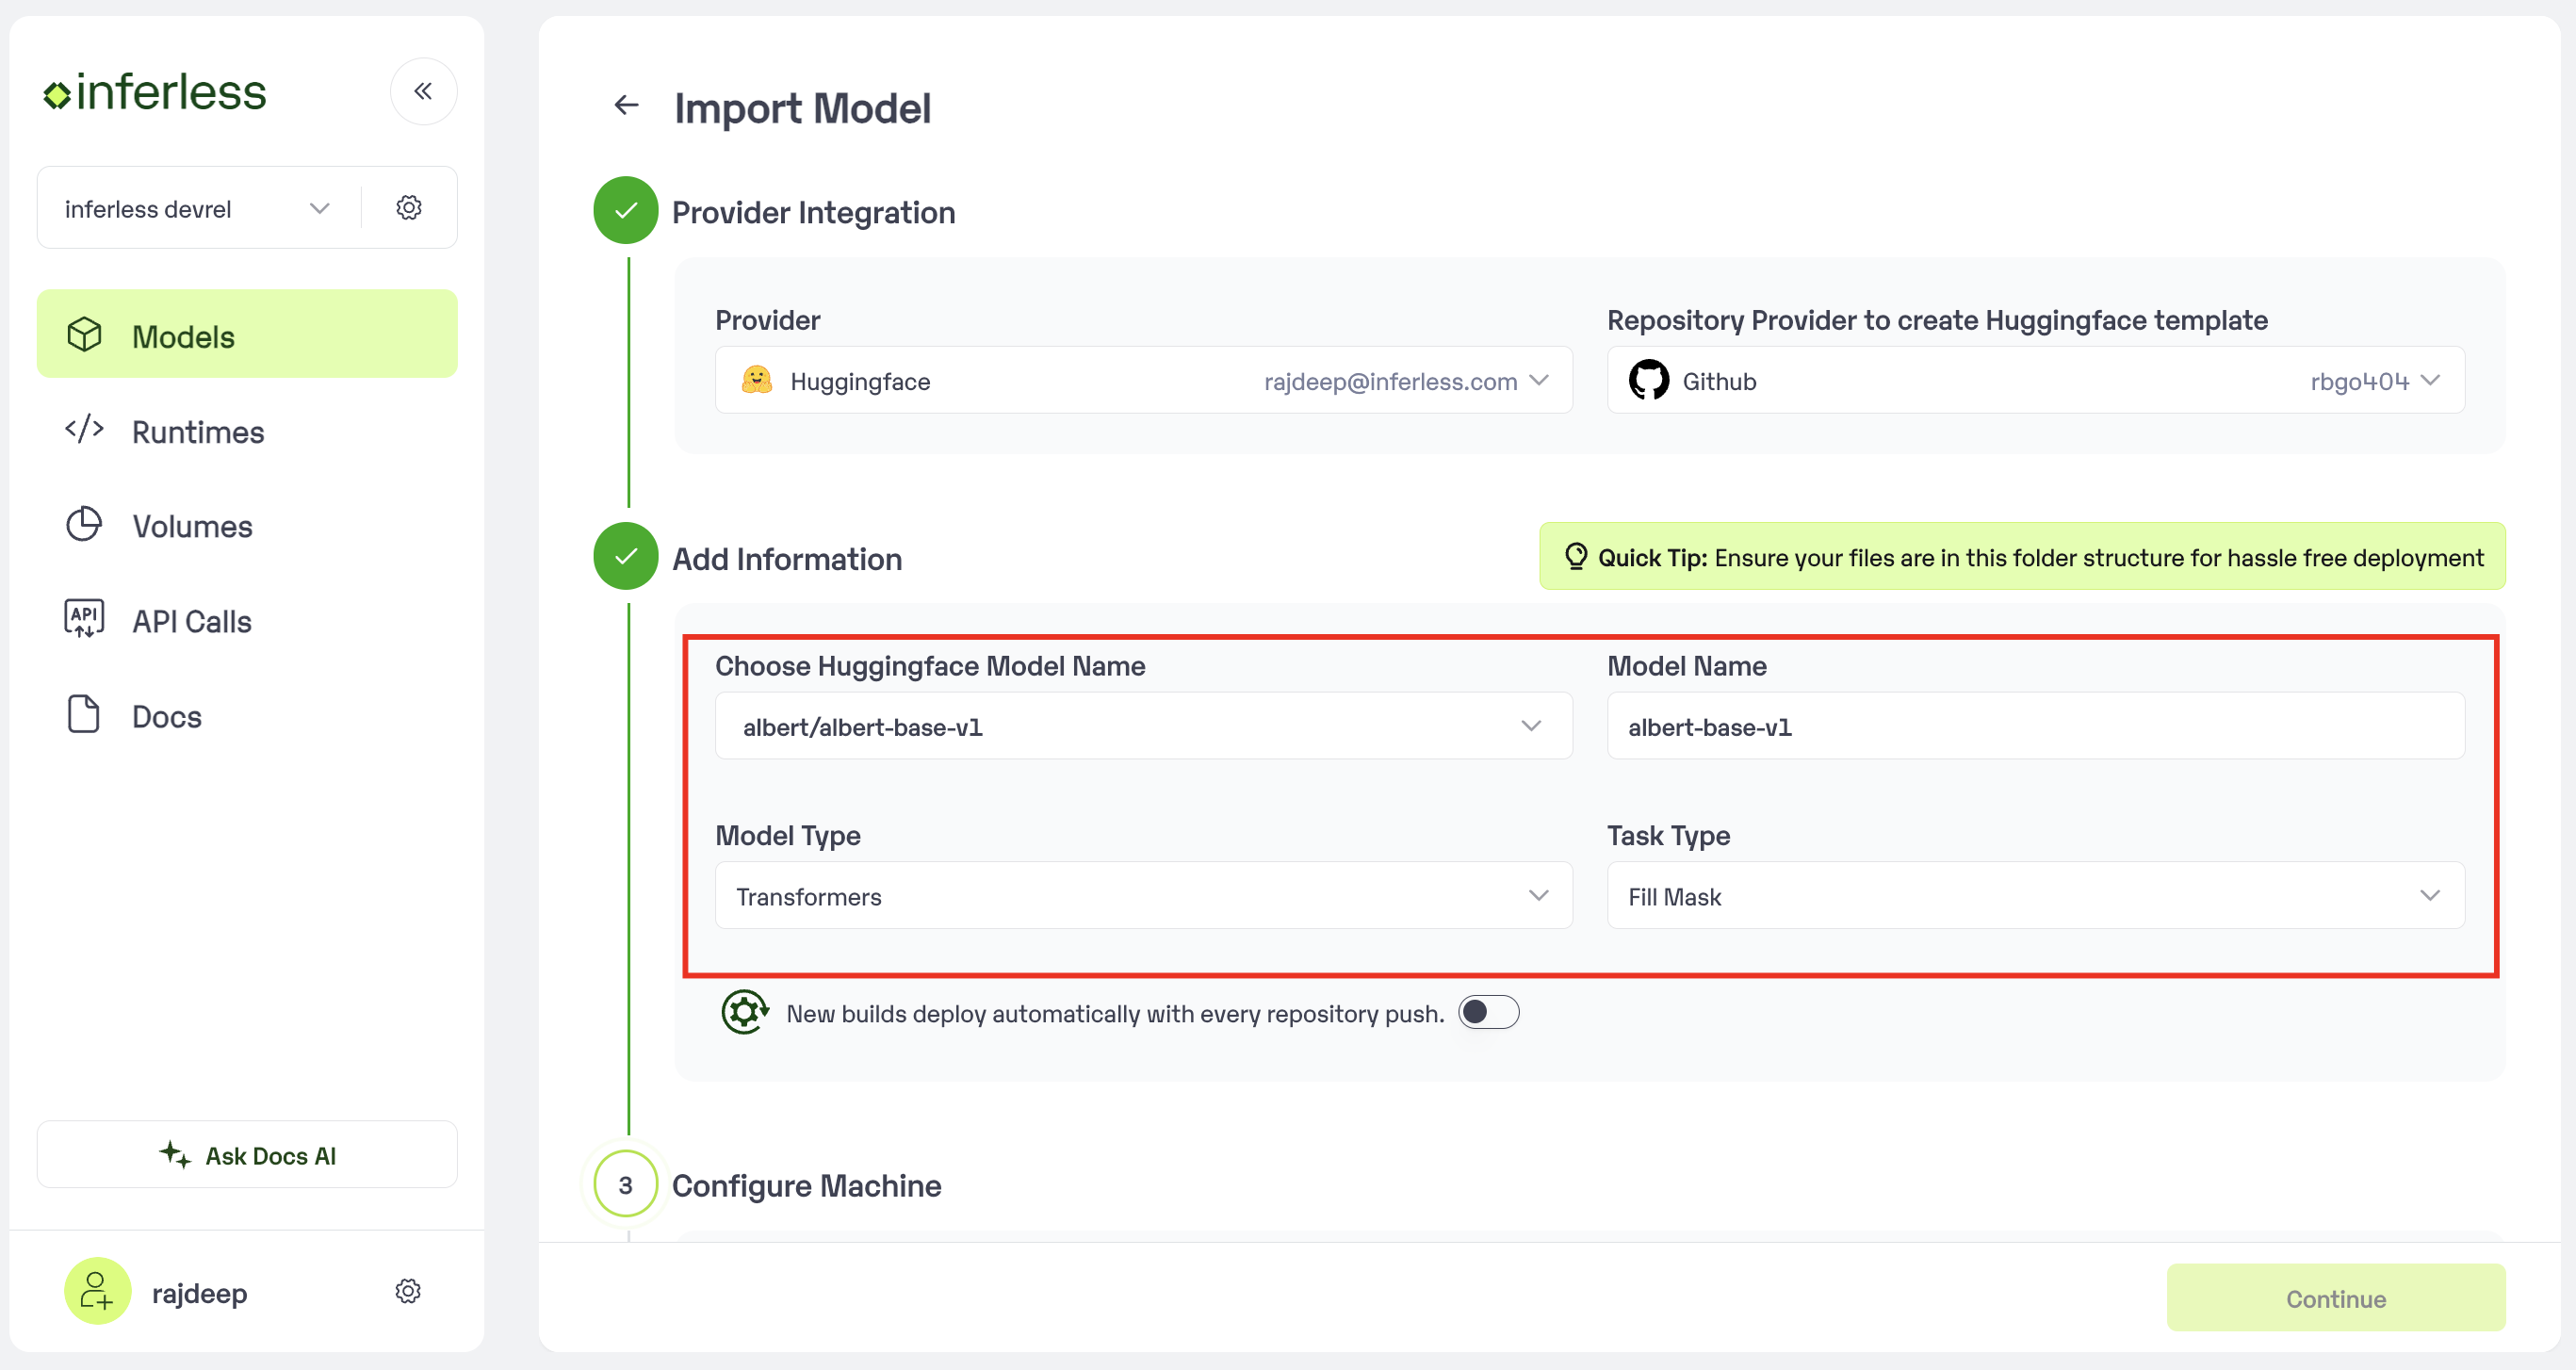
 ### Step 2: Enter the model details
* **Model Details** : In this step, Add your `model name`(The name that you wish to call your model), Choose the `model type`(Eg: Transformer), Choose the `task type` (Eg: Text generation) and `Huggingface model name`.
### Step 2: Enter the model details
* **Model Details** : In this step, Add your `model name`(The name that you wish to call your model), Choose the `model type`(Eg: Transformer), Choose the `task type` (Eg: Text generation) and `Huggingface model name`.
 * In case you would like to set up `Automatic rebuild` for your model, enable it
* You would need to set up a webhook for this method. Click [here](/model-import/automatic-build-via-webhooks) for more details.
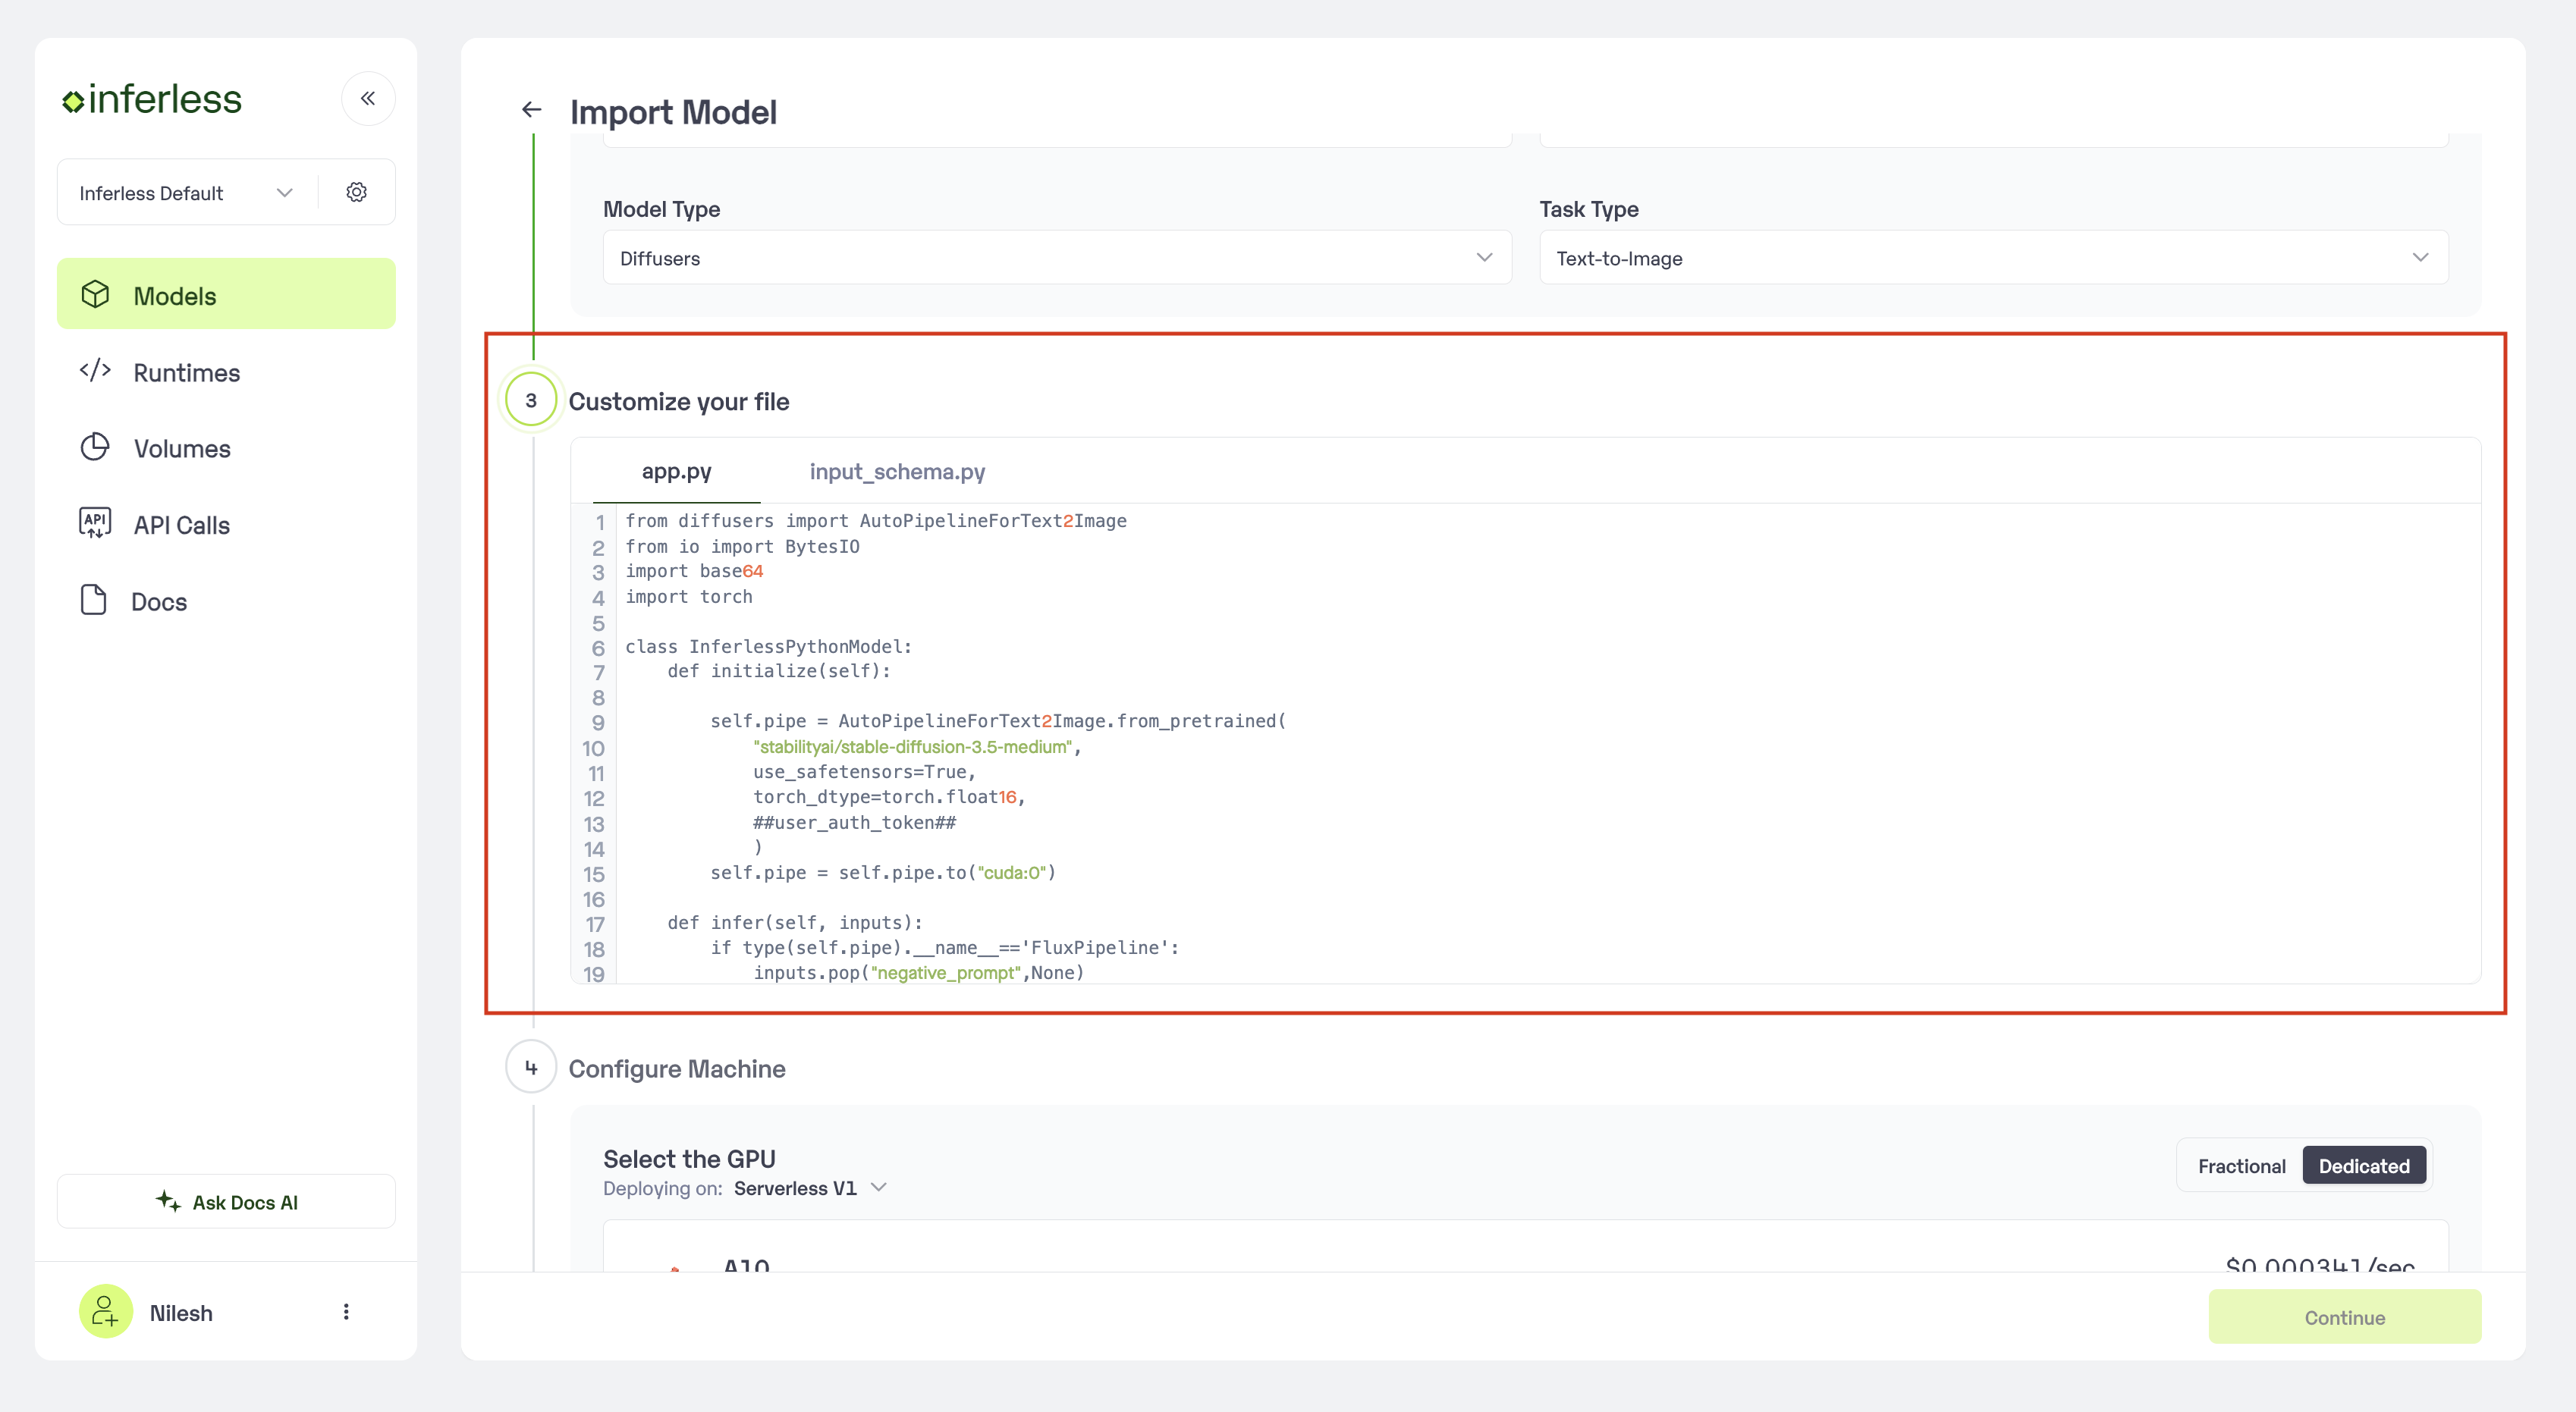
### Step 3: Edit the Inference Code and Input/Output Schema
* **Model Code**c: In this step, you can modify the input params ( by adding to input\_schema.py ) and output params, you can also modify the model load and inference code in app.py
* In case you would like to set up `Automatic rebuild` for your model, enable it
* You would need to set up a webhook for this method. Click [here](/model-import/automatic-build-via-webhooks) for more details.
### Step 3: Edit the Inference Code and Input/Output Schema
* **Model Code**c: In this step, you can modify the input params ( by adding to input\_schema.py ) and output params, you can also modify the model load and inference code in app.py
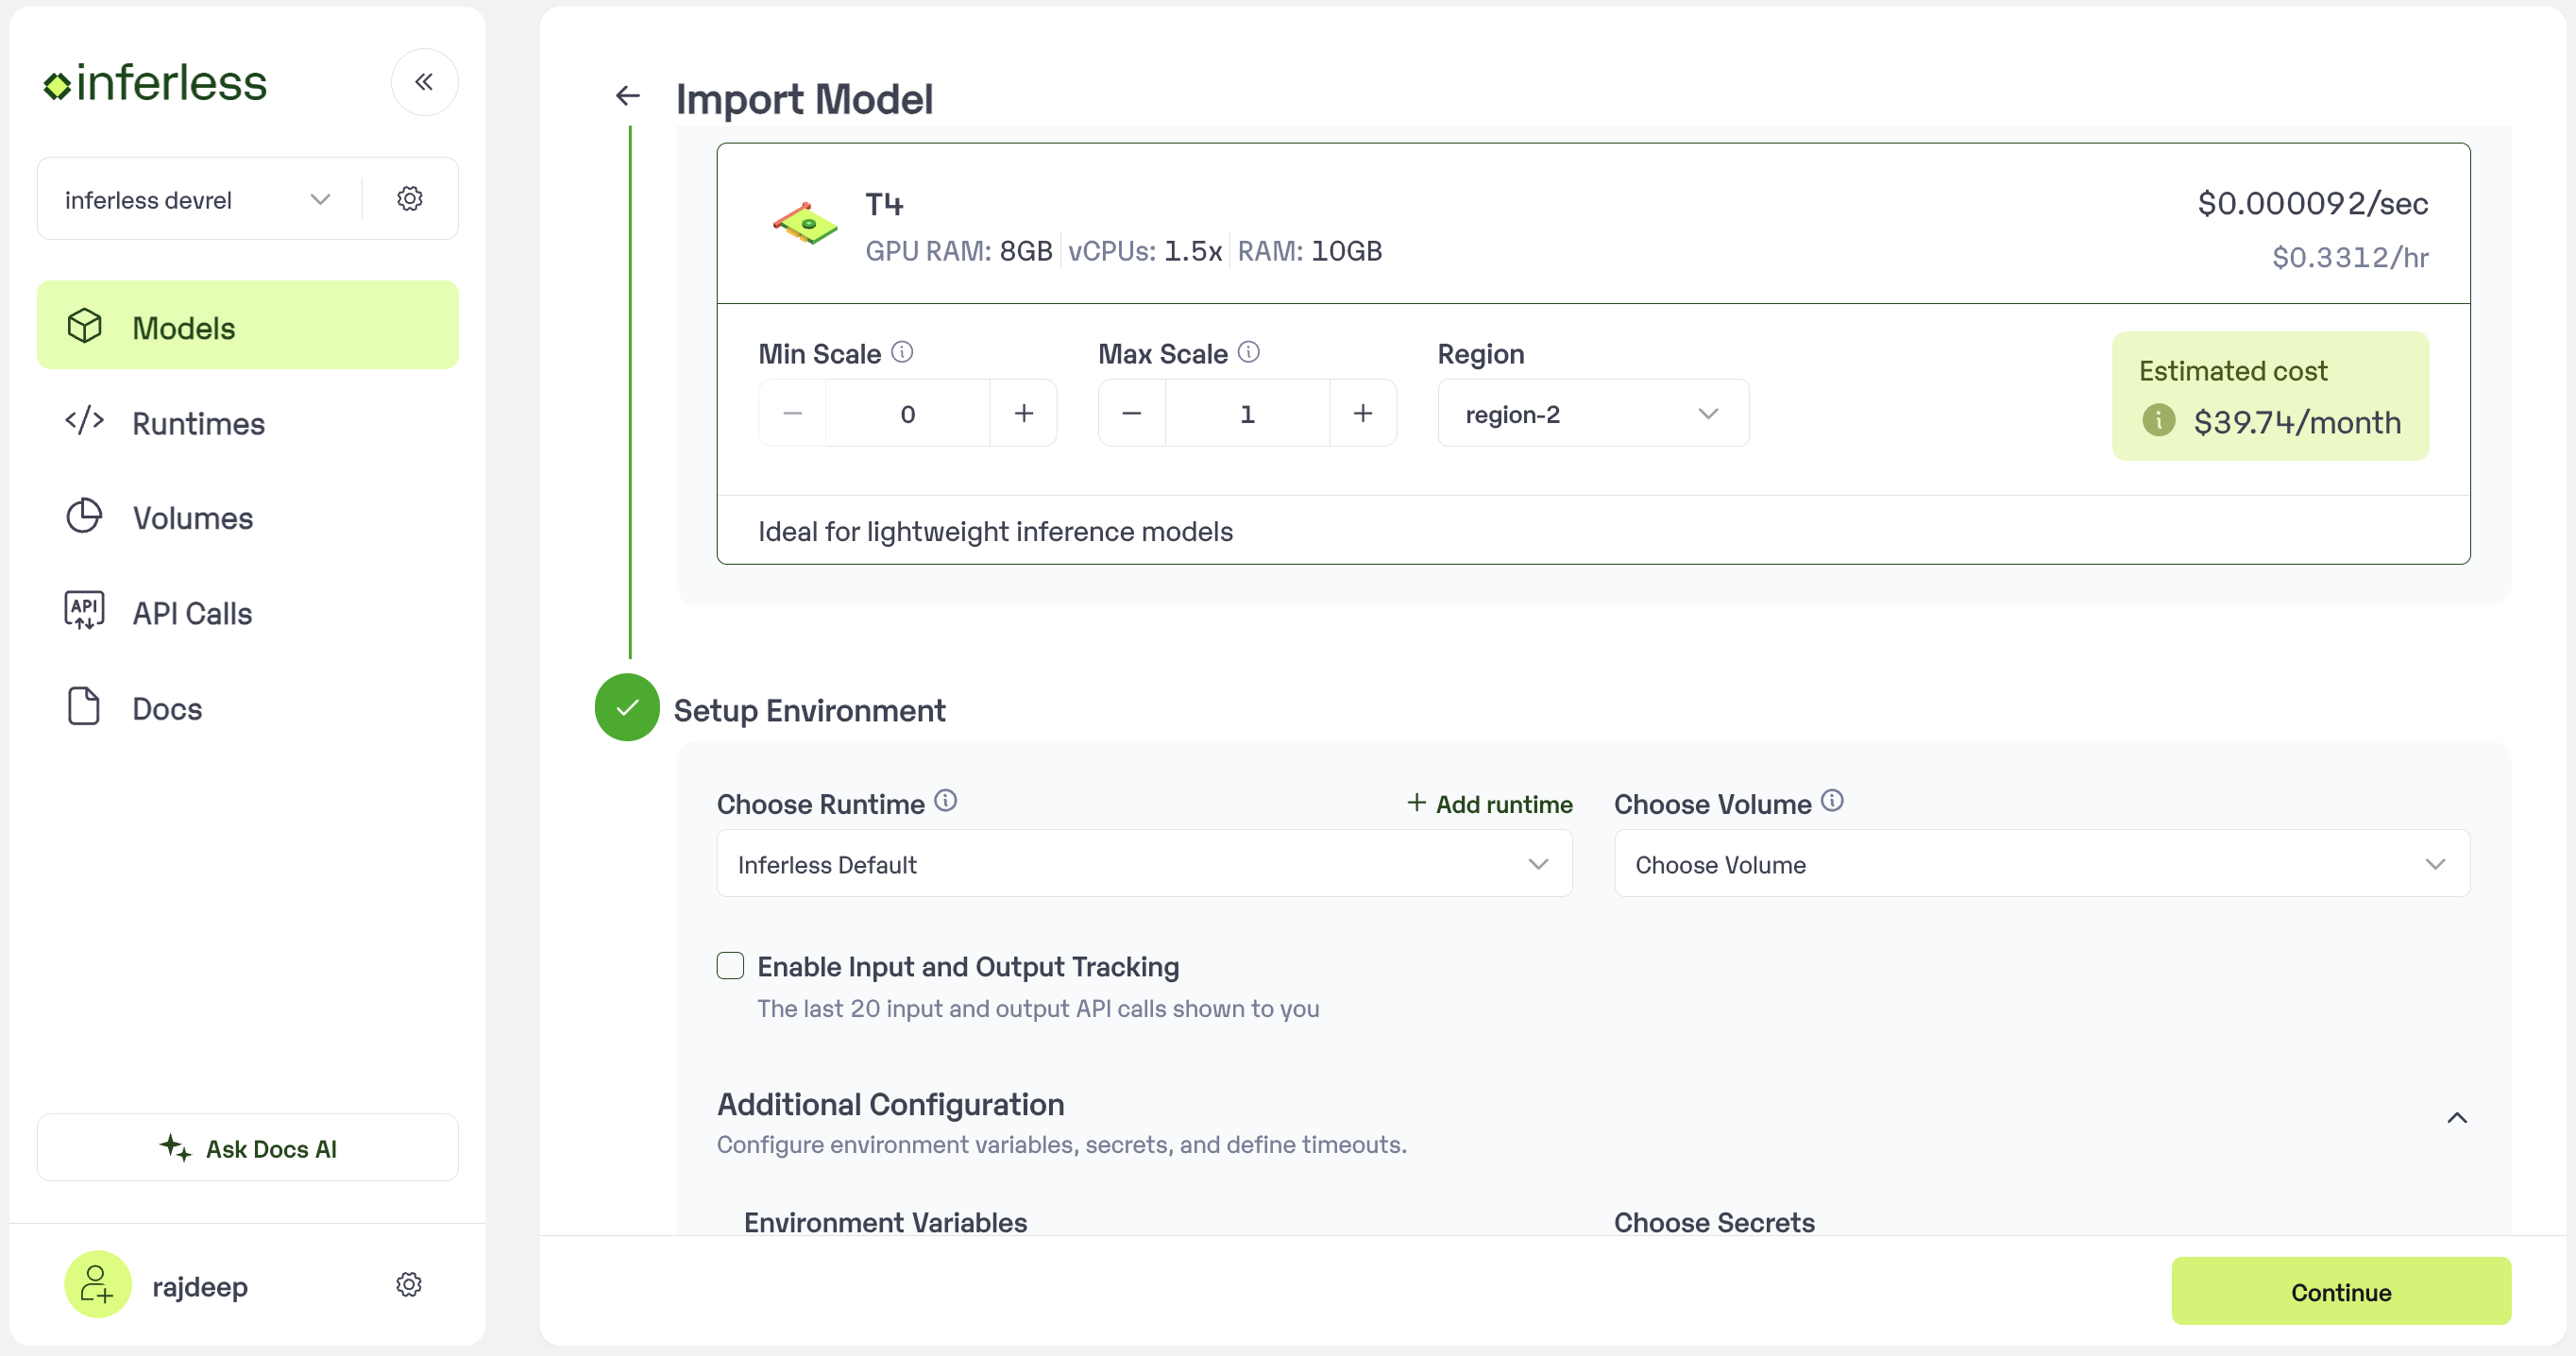
 ### Step 4: Configure Machine and Environment.
* Choose the type of machine, and specify the minimum and maximum number of replicas for deploying your model.
* **Min scale** -
```
The number of inference workers to keep on at all times.
```
* **Max scale -**
```
The maximum number of inference workers to allow at any point of time
```
* Configure Custom Runtime ( If you have pip or apt packages), choose Volume, Secrets and set Environment variables like Inference Timeout / Container Concurrency / Scale Down Timeout
### Step 4: Configure Machine and Environment.
* Choose the type of machine, and specify the minimum and maximum number of replicas for deploying your model.
* **Min scale** -
```
The number of inference workers to keep on at all times.
```
* **Max scale -**
```
The maximum number of inference workers to allow at any point of time
```
* Configure Custom Runtime ( If you have pip or apt packages), choose Volume, Secrets and set Environment variables like Inference Timeout / Container Concurrency / Scale Down Timeout
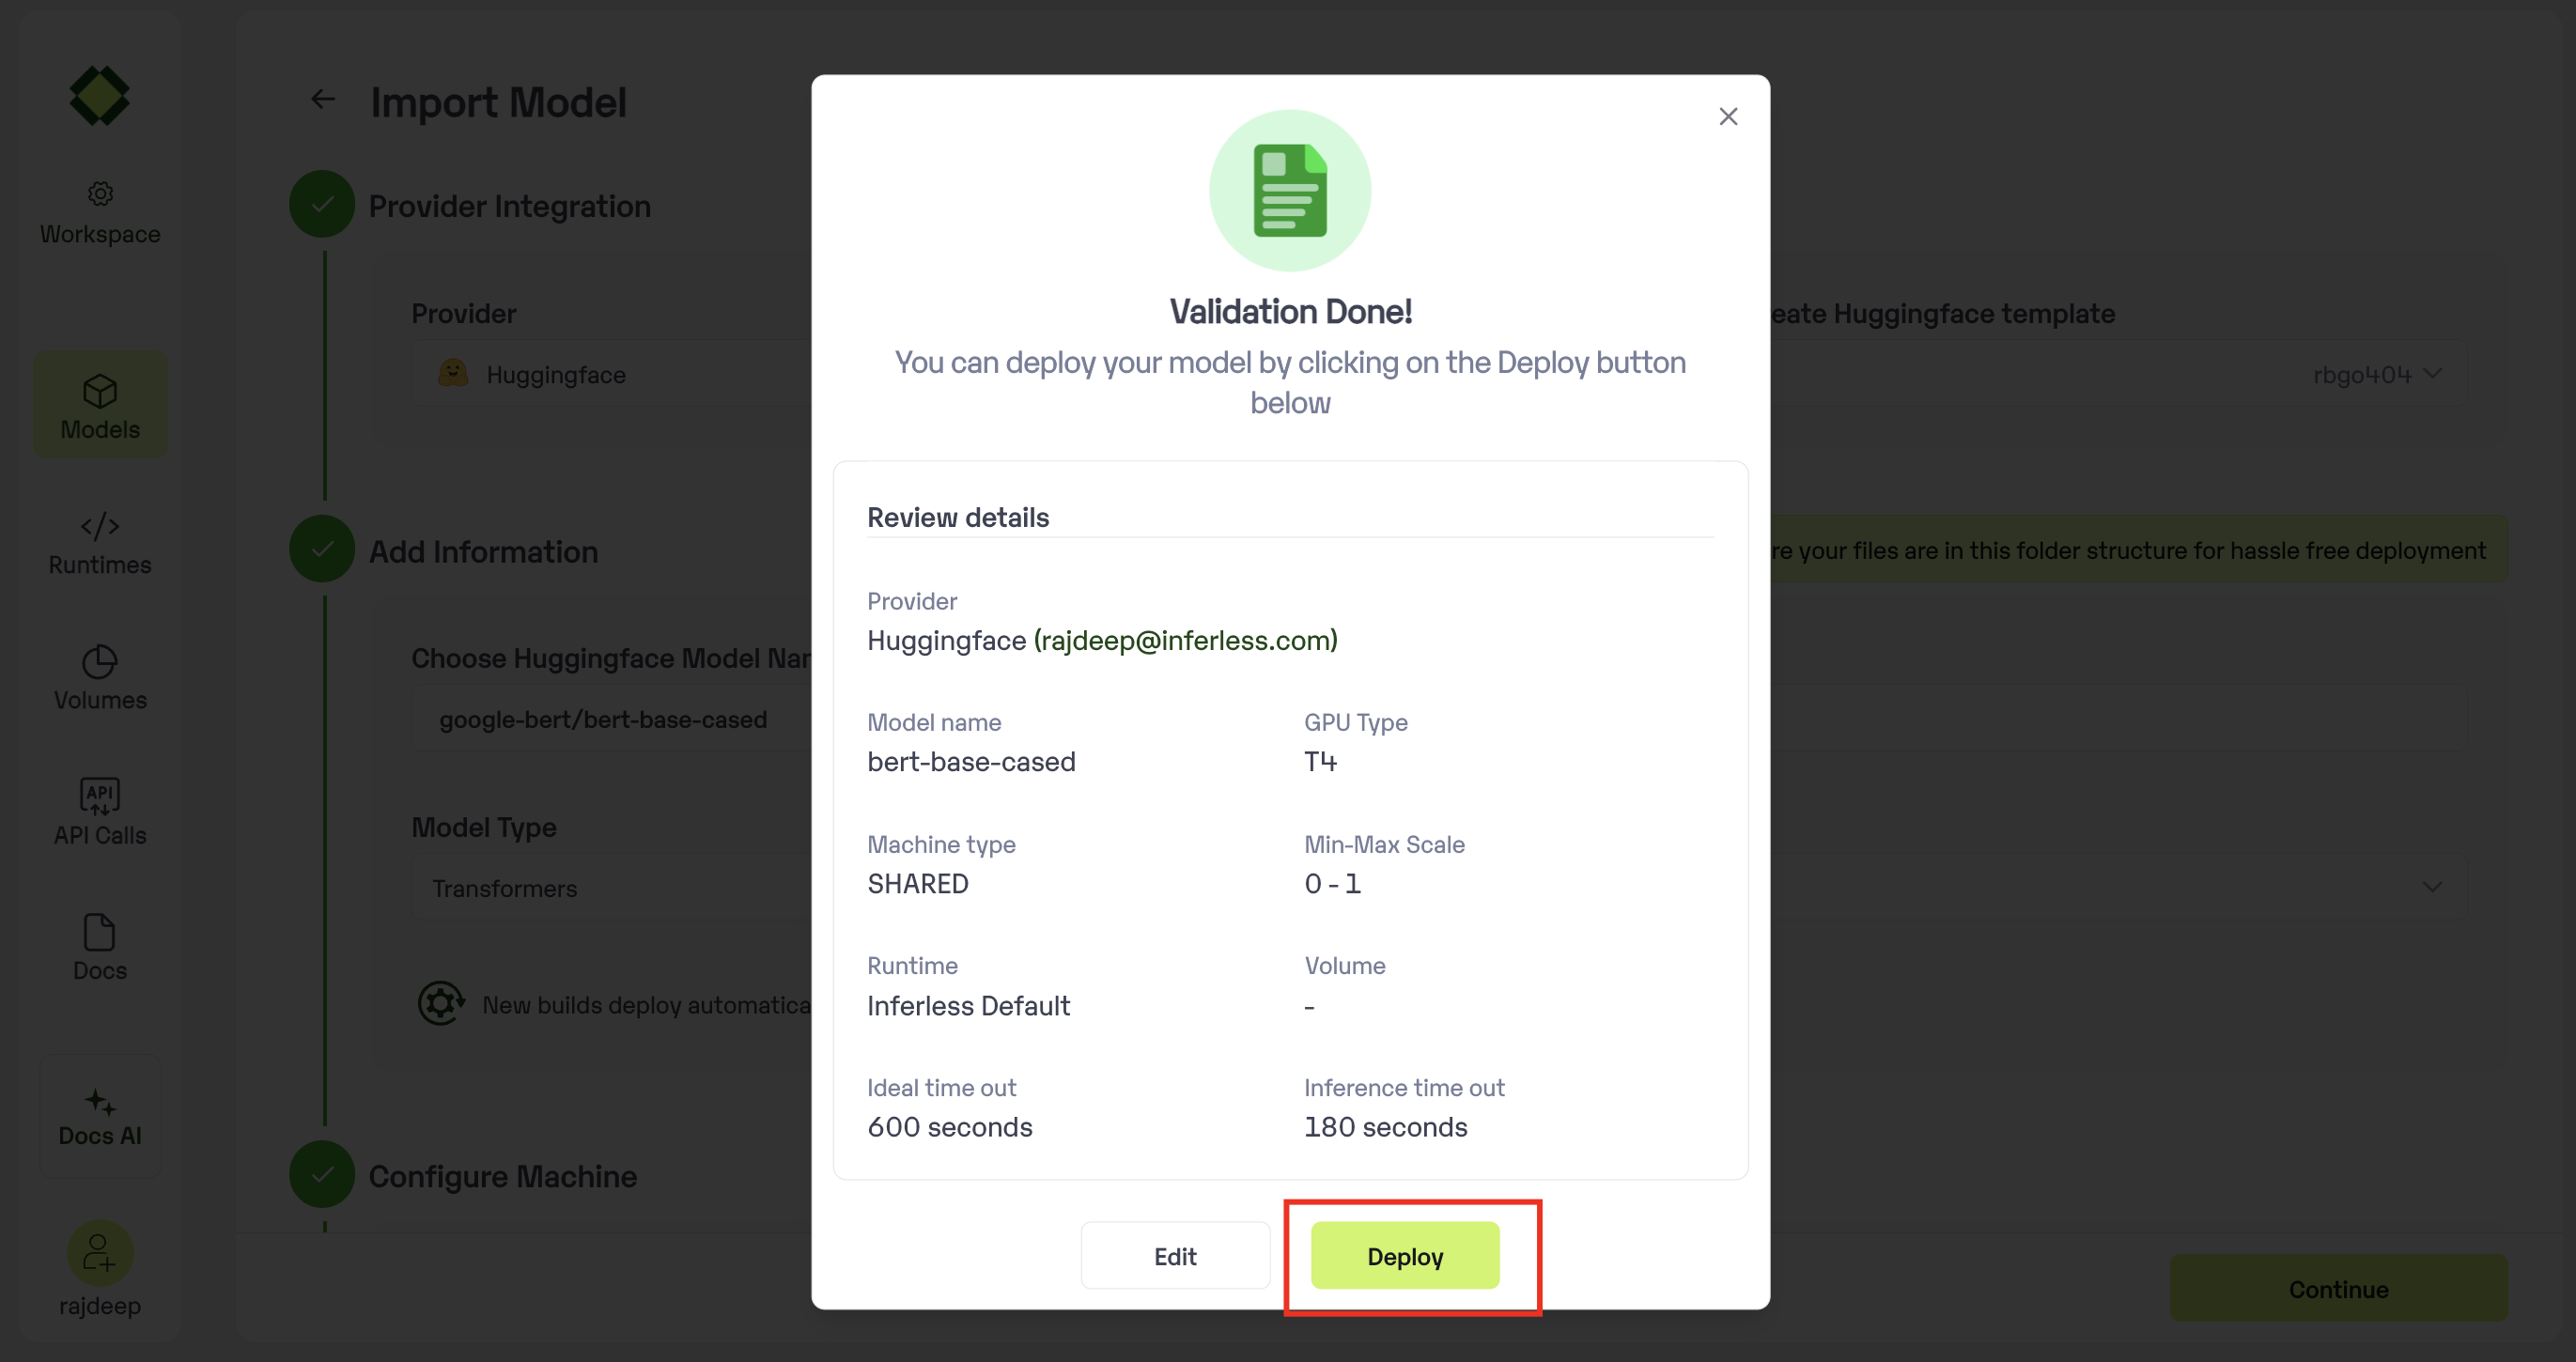
 ### Step 5: Review your model details
* Once you click "Continue," you will be able to review the details added for the model.
* If you would like to make any changes, you can go back and make the changes.
* Once you have reviewed everything, click `Deploy` to start the model import process.
### Step 5: Review your model details
* Once you click "Continue," you will be able to review the details added for the model.
* If you would like to make any changes, you can go back and make the changes.
* Once you have reviewed everything, click `Deploy` to start the model import process.
 ### Step 6 : Run your model
* Once you click submit, the model import process would start.
* It may take some time to complete the import process, and during this time, you will be redirected to your workspace and can see the status of the import under `"In Progress/Failed"` tab.\\
### Step 6 : Run your model
* Once you click submit, the model import process would start.
* It may take some time to complete the import process, and during this time, you will be redirected to your workspace and can see the status of the import under `"In Progress/Failed"` tab.\\
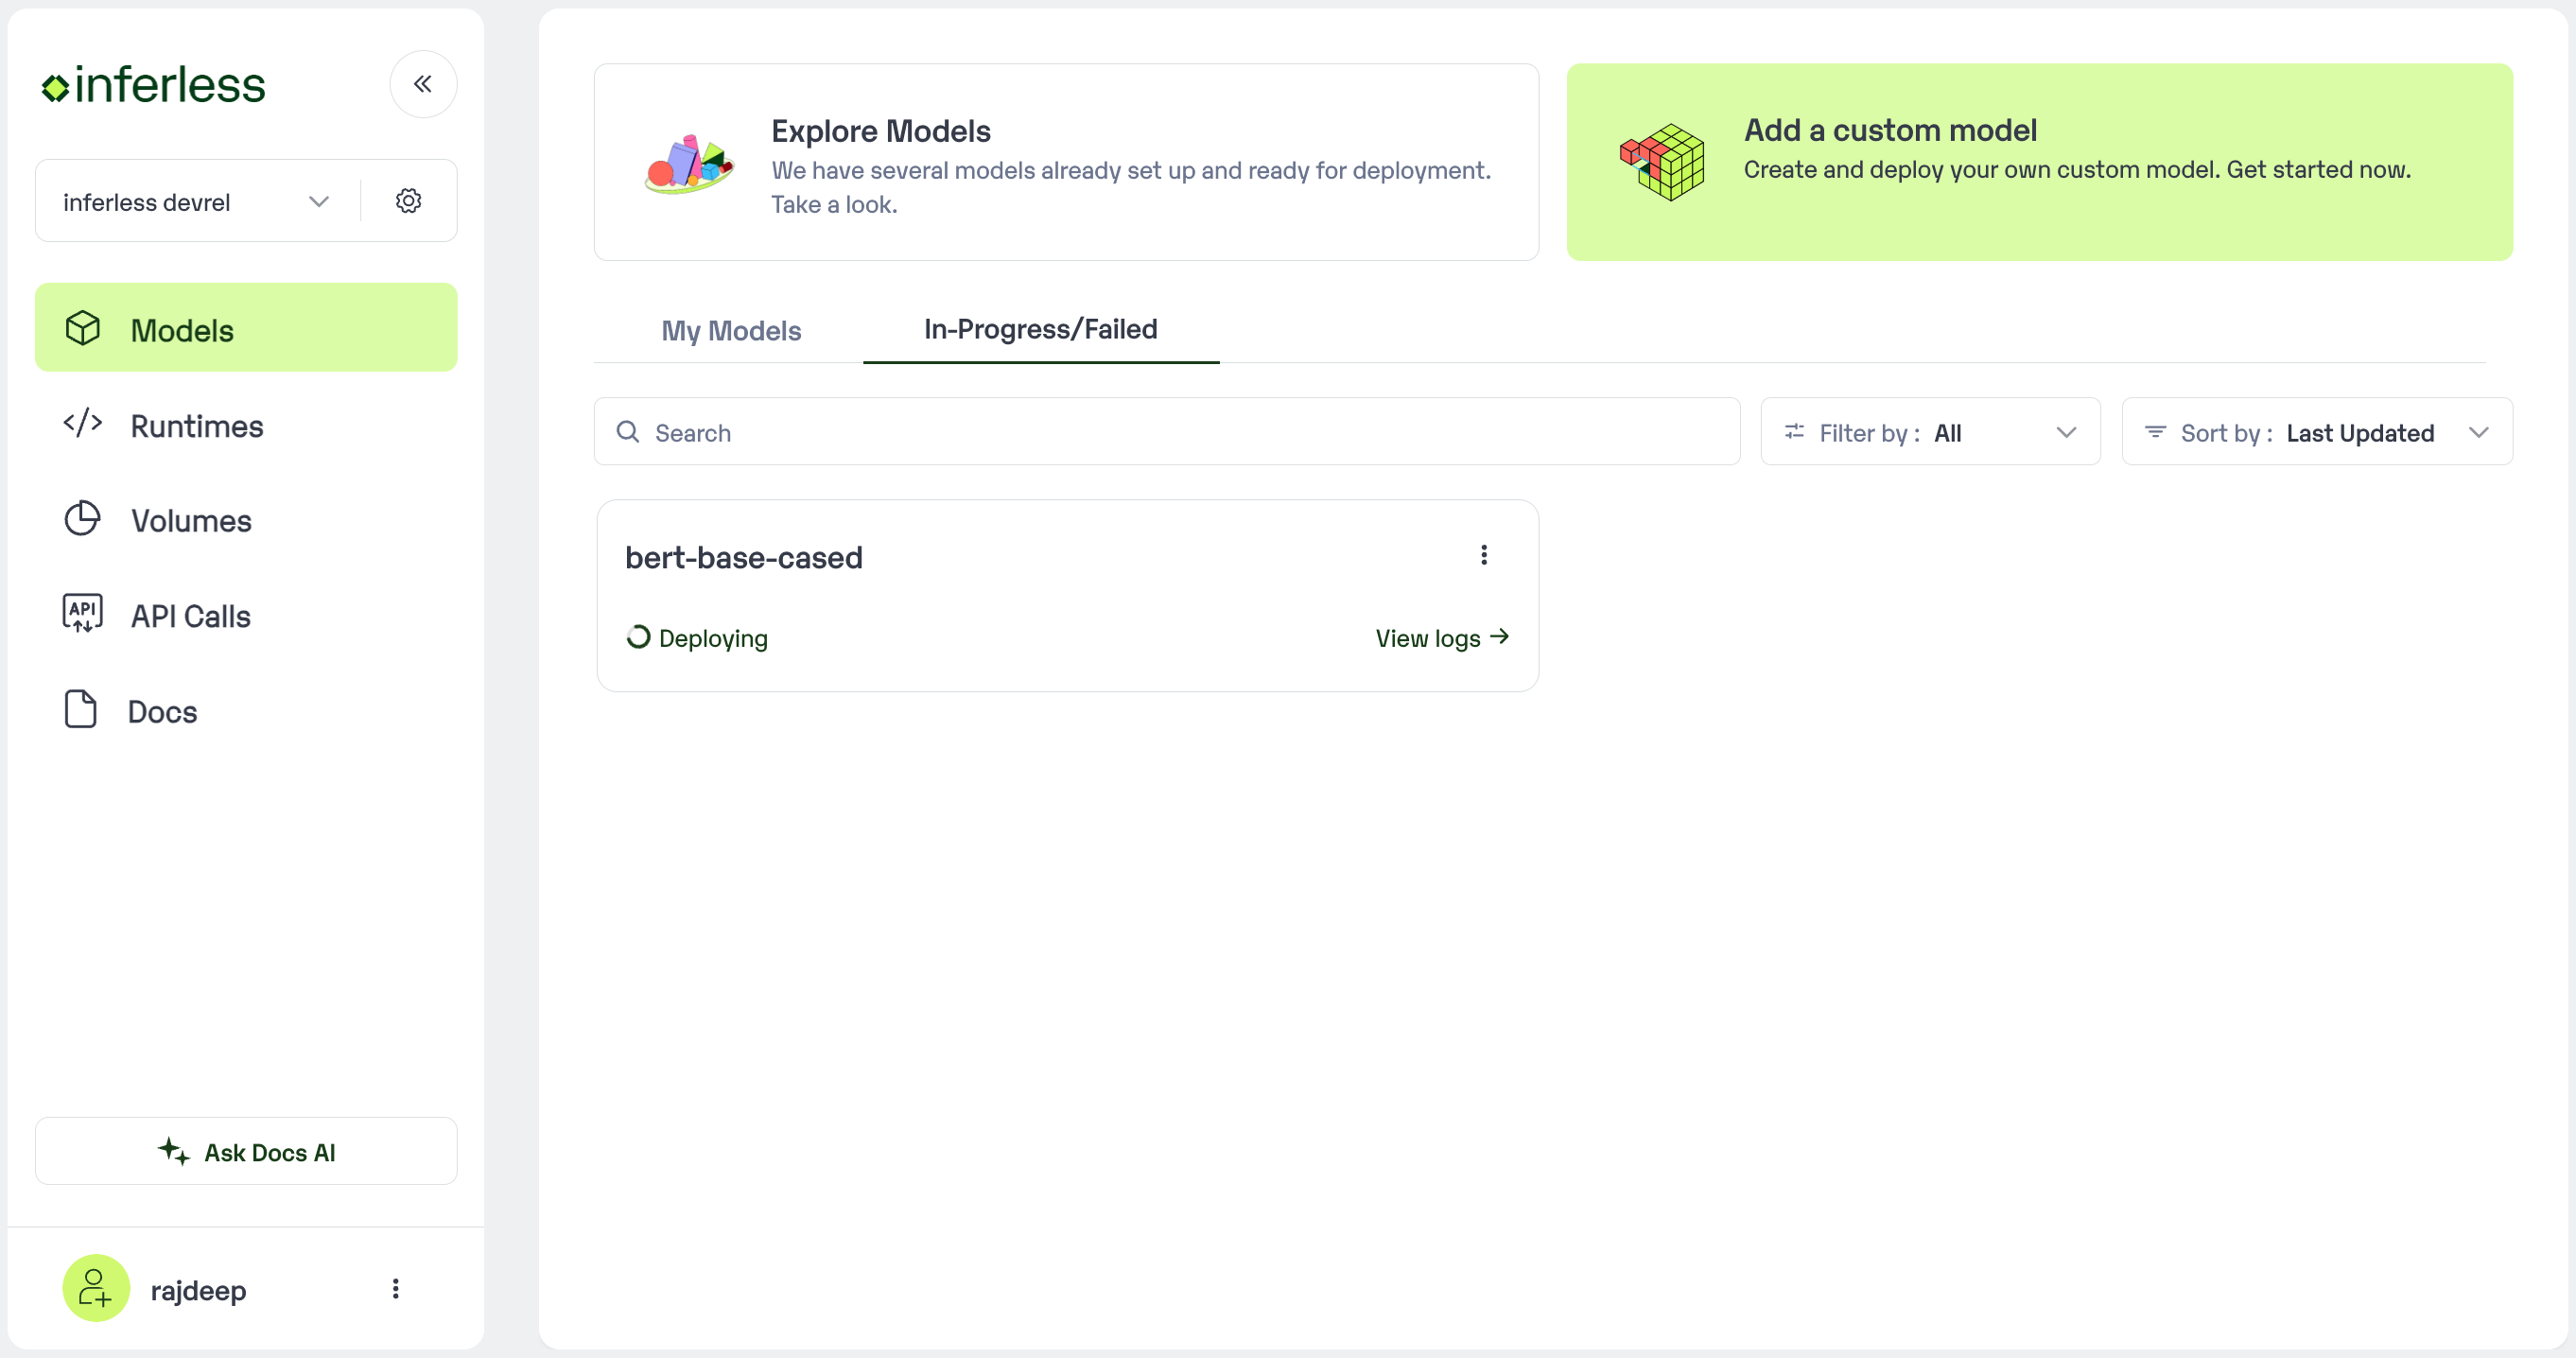 * If you encounter any errors during the model import process or if you want to view the build logs for any reason, you can click on the three dots menu and select "View build logs". This will show you a detailed log of the import process, which can help you troubleshoot any issues you may encounter.
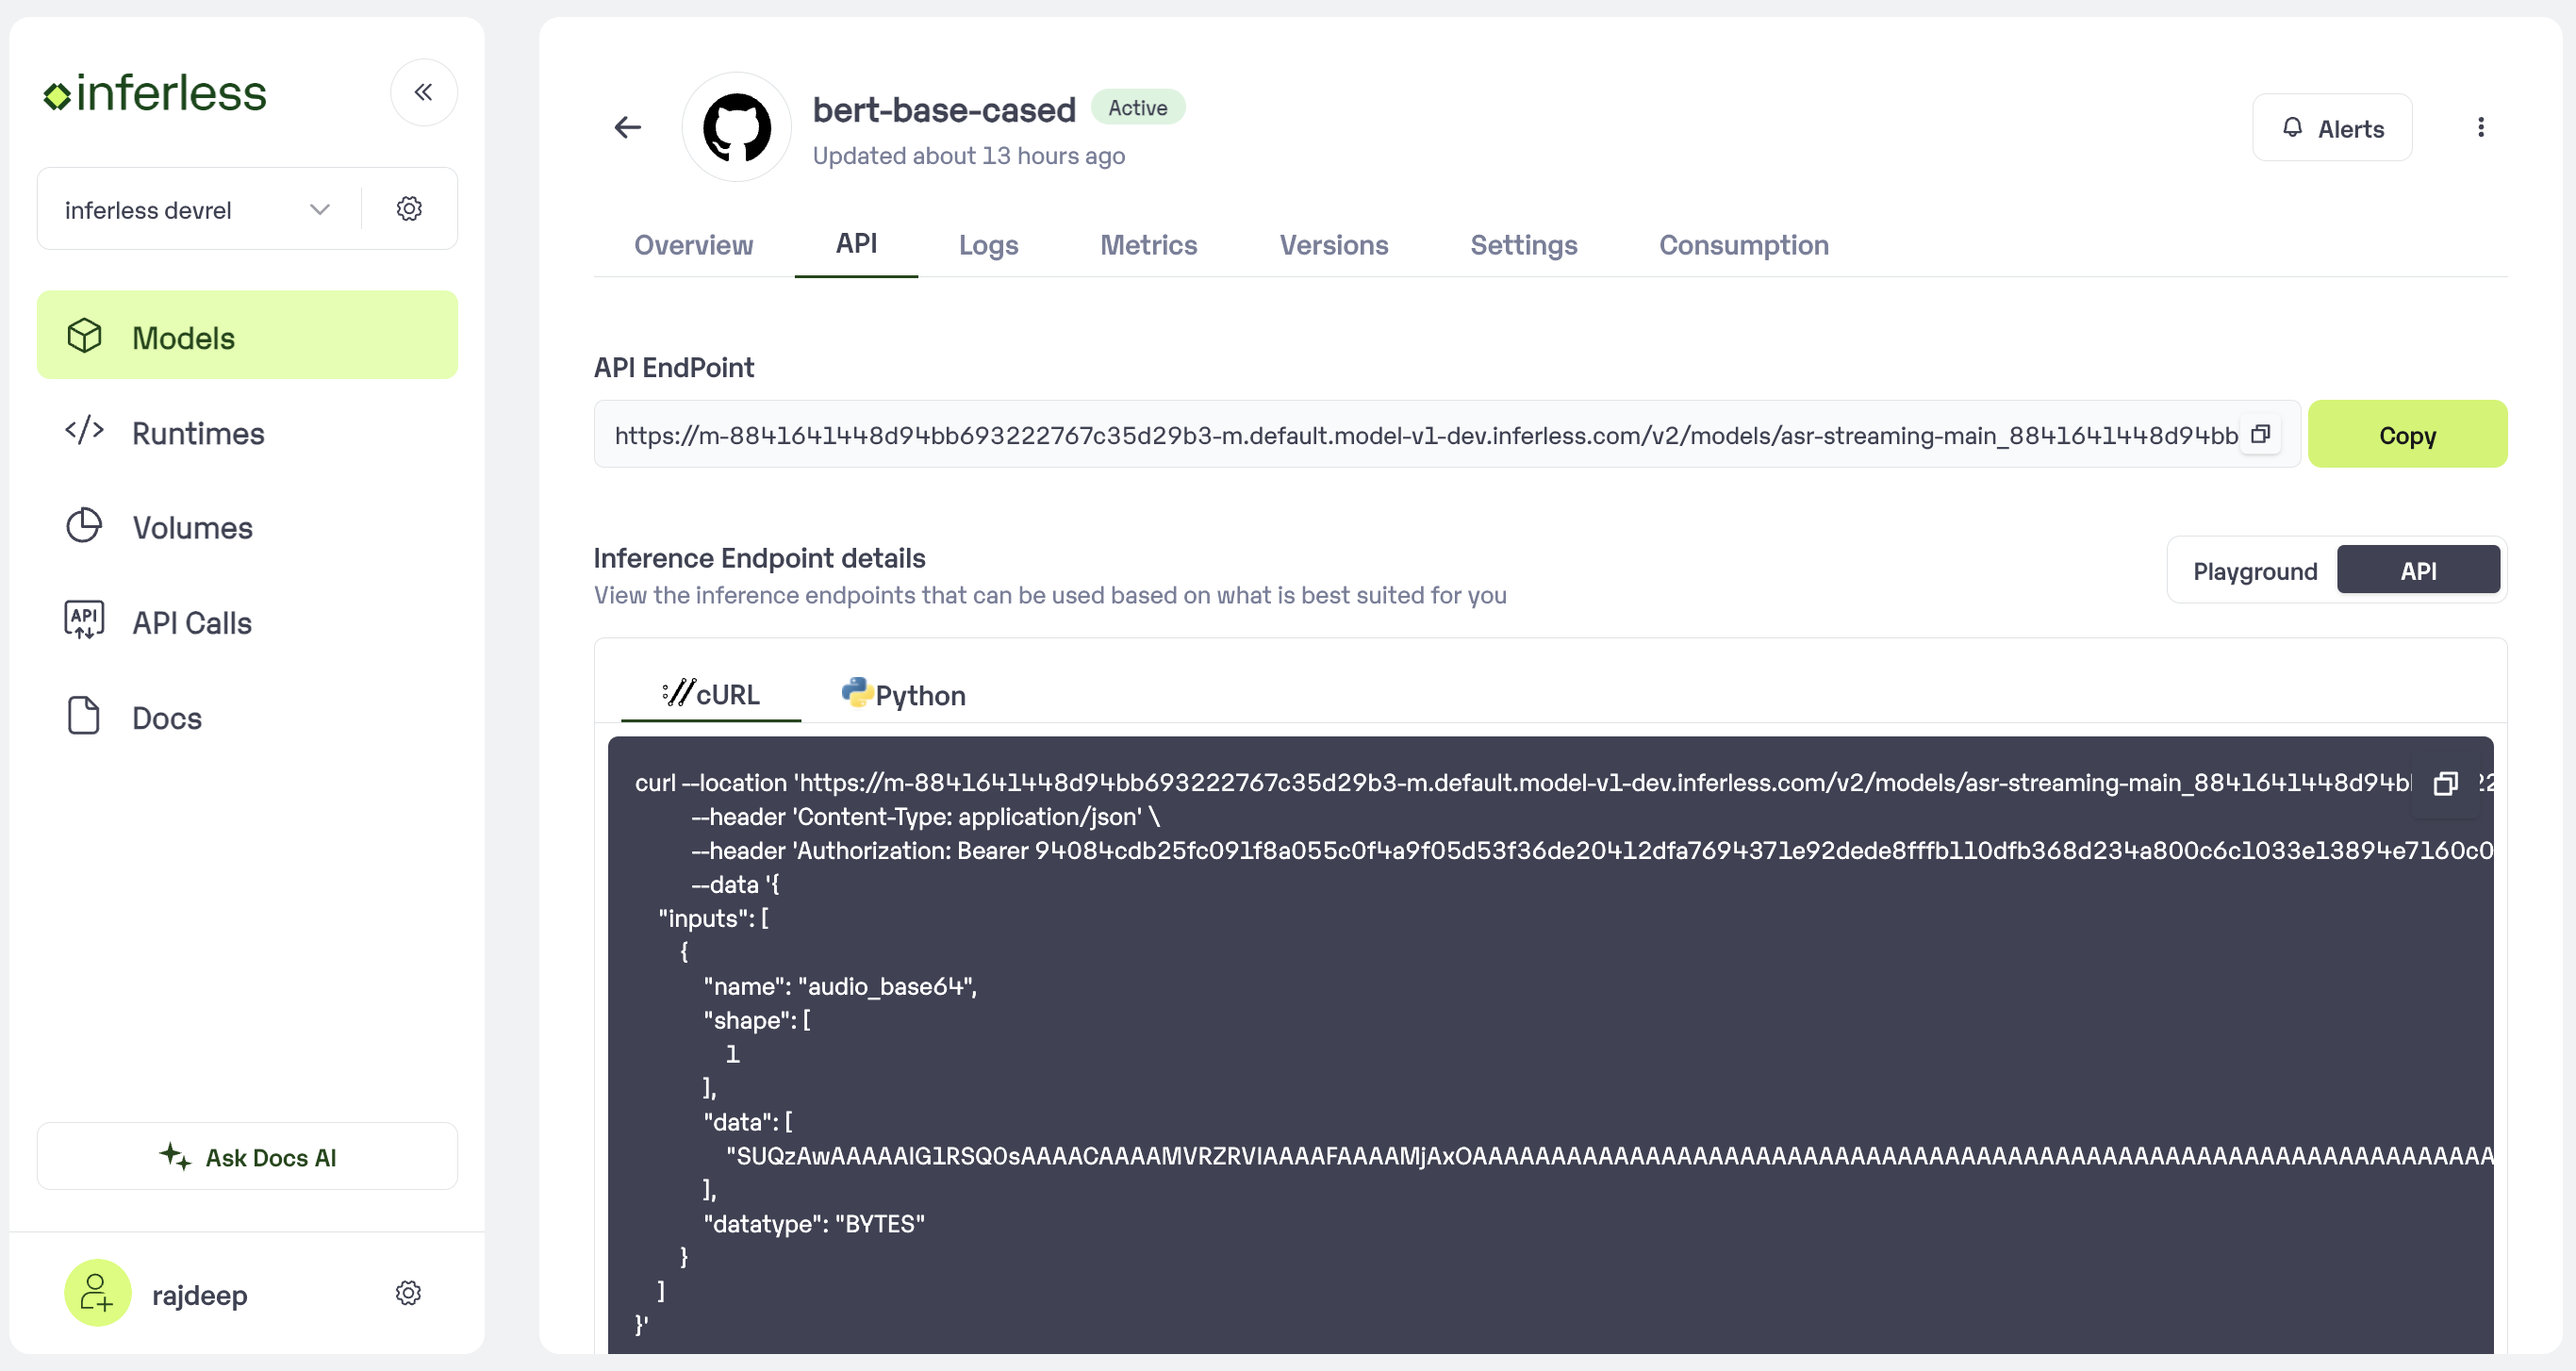
* Post-upload, the model will be available under "My Models"
* You can then select the model and go to `"My Model" -> API -> Inference Endpoint details. `Here you would find the API endpoints that can be called. You can click on the copy button on the right and can call your model.
* If you encounter any errors during the model import process or if you want to view the build logs for any reason, you can click on the three dots menu and select "View build logs". This will show you a detailed log of the import process, which can help you troubleshoot any issues you may encounter.
* Post-upload, the model will be available under "My Models"
* You can then select the model and go to `"My Model" -> API -> Inference Endpoint details. `Here you would find the API endpoints that can be called. You can click on the copy button on the right and can call your model.
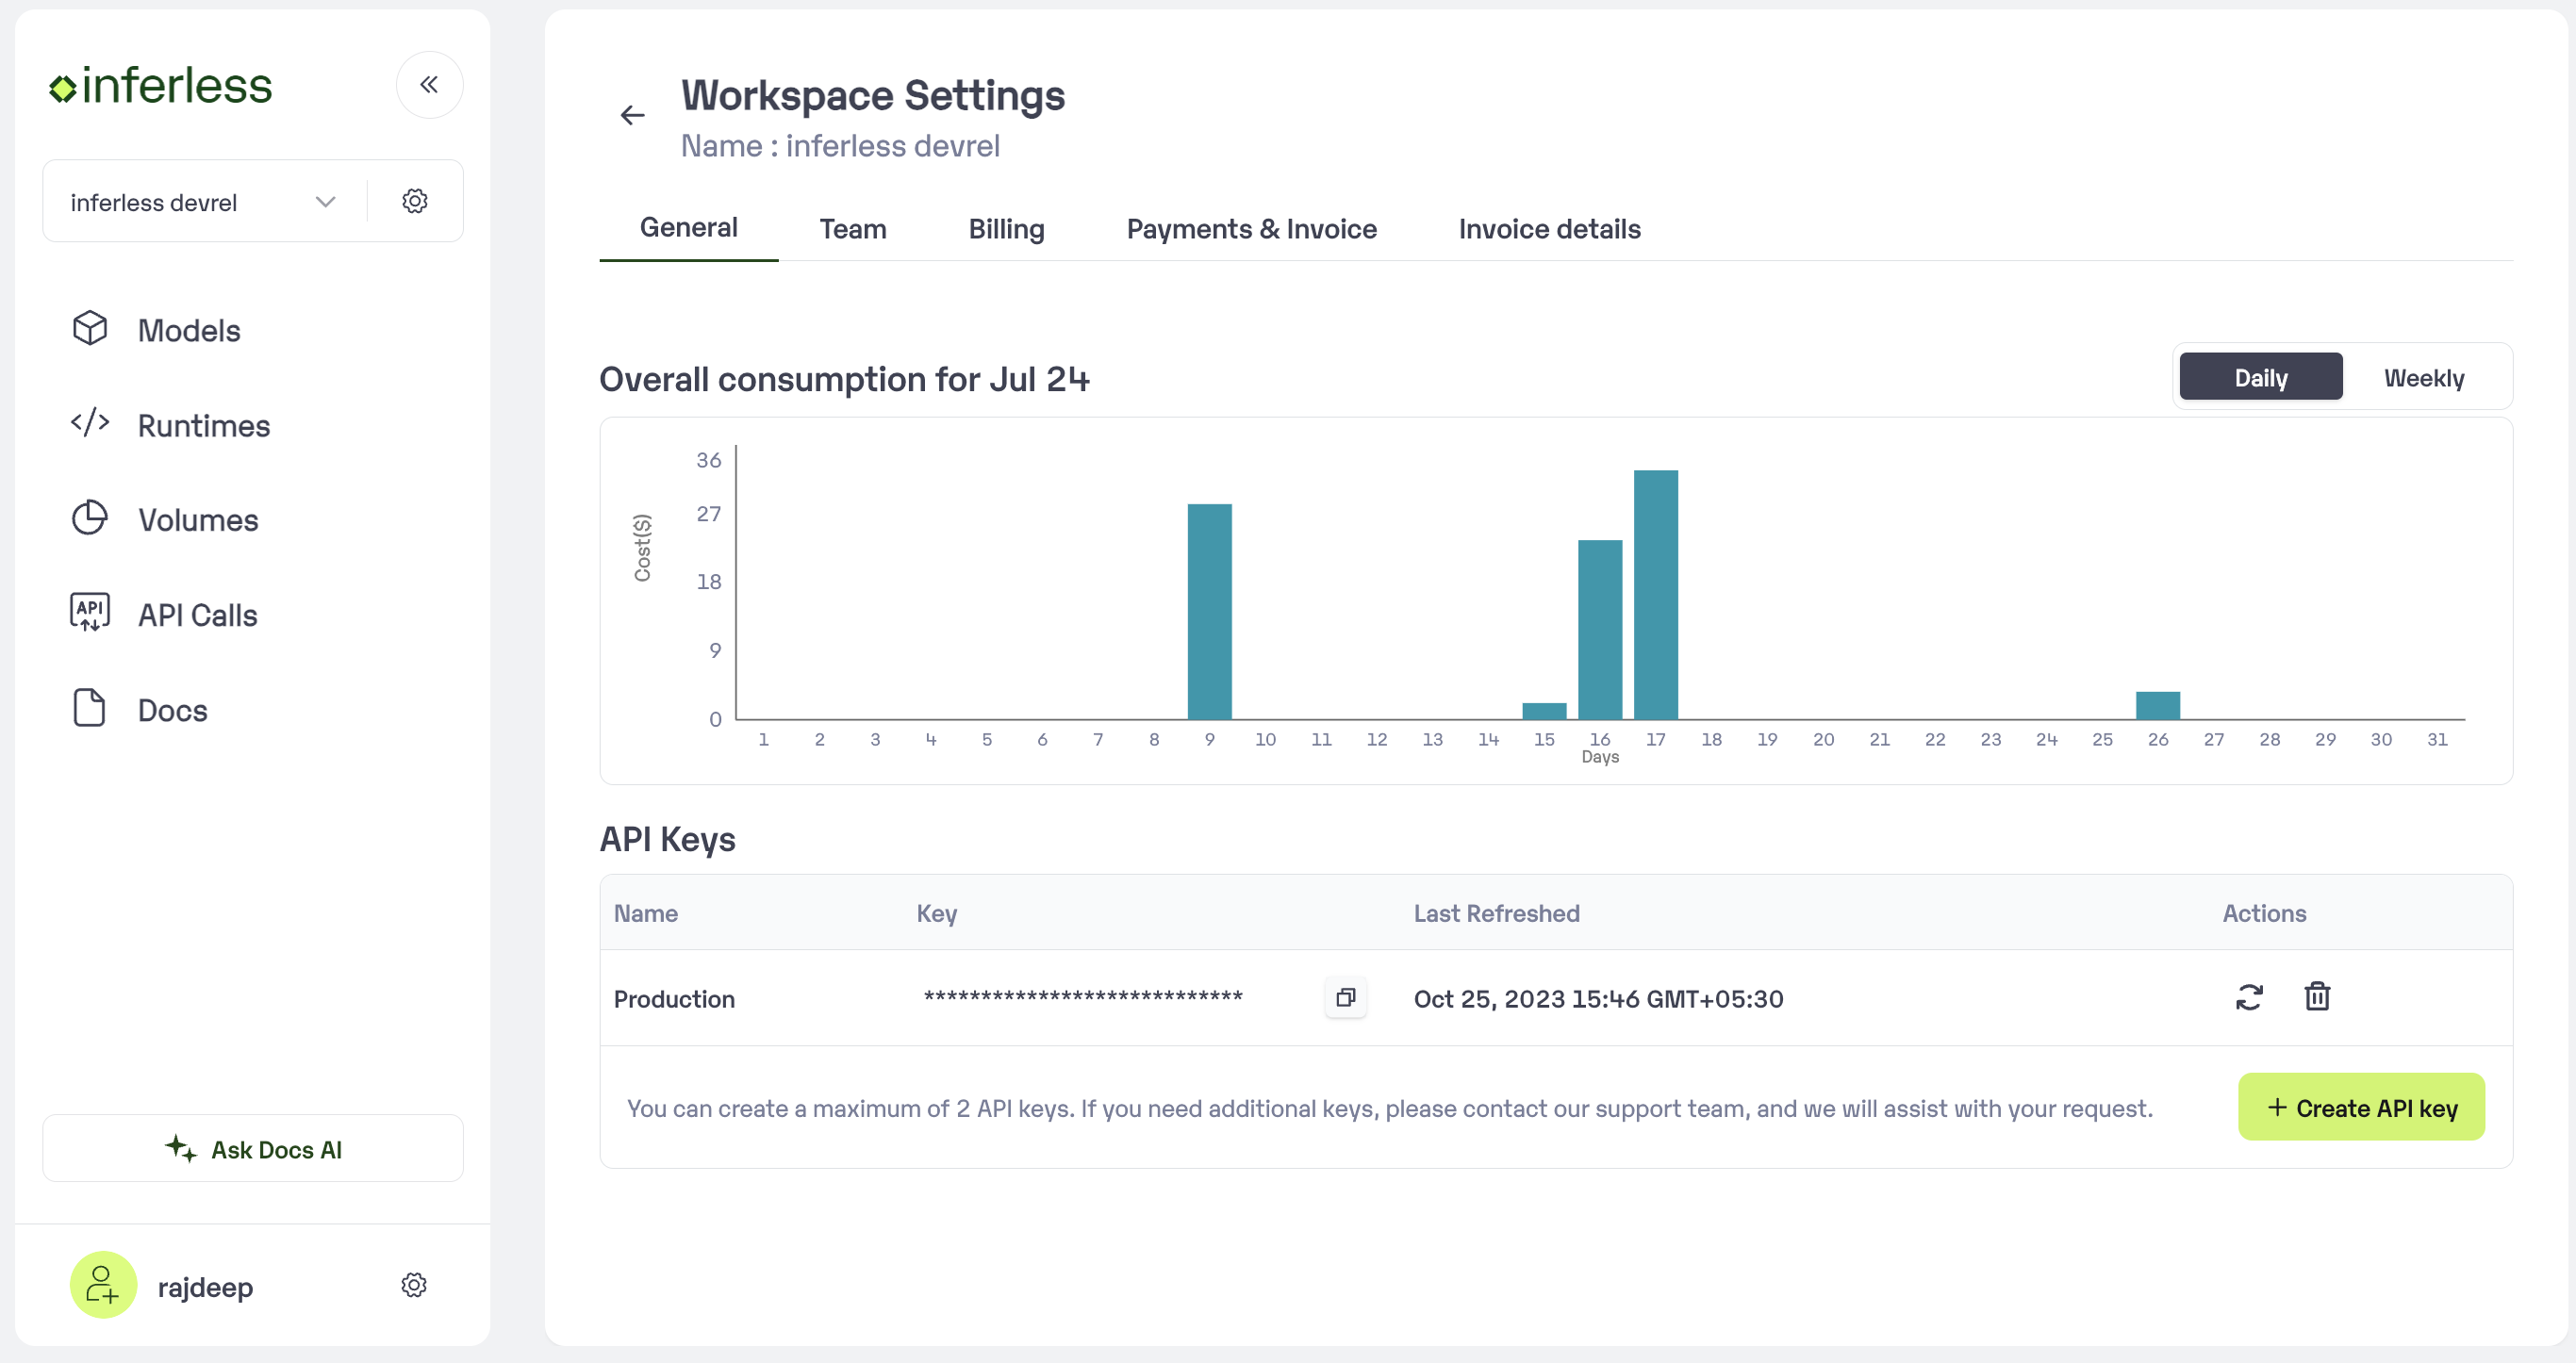
 ### Extra Step: Getting API key details
* You can now call using this from your end. The inference result would be the output for these calls.
* In case you need help with API Keys:
* Click on settings, available on the top, next to your Workspace Name
* Click on "Workspace API keys"
* You can view the details of your key or generate a new one\\
### Extra Step: Getting API key details
* You can now call using this from your end. The inference result would be the output for these calls.
* In case you need help with API Keys:
* Click on settings, available on the top, next to your Workspace Name
* Click on "Workspace API keys"
* You can view the details of your key or generate a new one\\
 Here is a sample video of the whole process for a 7GB Stable diffusion Model : [Click to view](https://www.youtube.com/watch?v=5vYsmPu9pZM)
### Using CLI
You can use any model you want from Huggingface and deploy with us
1. Connect your [Huggingface](https://huggingface.co/login) account using this command(below) and enter the name and apikey. Make sure your github account is integrated with [Inferless](https://console.inferless.com/user/integration)
```bash theme={null}
inferless integration add HF --name --api-key
```
2. Once you’re done with integration. Run this command to initialise the model
```bash theme={null}
inferless init hf --name --hfmodelname --modeltype --tasktype
```
Transformer options:
* audio-classification
* automatic-speech-recognition
* conversational
* depth-estimation
* document-question-answering
* feature-extraction
* fill-mask
* image-classification
* image-segmentation
* image-to-text
* object-detection
* question-answering
* summarization
* table-question-answering
* text-classification
* text-generation
* text2text-generation
* token-classification
* translation
* video-classification
* visual-question-answering
* zero-shot-classification
* zero-shot-image-classification
* zero-shot-object-detection
Diffuser options:
* Depth-to-Image
* Image-Variation
* Image-to-Image
* Inpaint
* InstructPix2Pix
* Stable-Diffusion-Latent-Upscaler
3. Now that your model is initialised.
* To do default deployment use this command
```bash theme={null}
inferless deploy --gpu t4
```
* To do customised deployment use this command
```bash theme={null}
inferless deploy --gpu t4 --region --runtime --volume --fractional
```
Here is a sample video of the whole process for a 7GB Stable diffusion Model : [Click to view](https://www.youtube.com/watch?v=5vYsmPu9pZM)
### Using CLI
You can use any model you want from Huggingface and deploy with us
1. Connect your [Huggingface](https://huggingface.co/login) account using this command(below) and enter the name and apikey. Make sure your github account is integrated with [Inferless](https://console.inferless.com/user/integration)
```bash theme={null}
inferless integration add HF --name --api-key
```
2. Once you’re done with integration. Run this command to initialise the model
```bash theme={null}
inferless init hf --name --hfmodelname --modeltype --tasktype
```
Transformer options:
* audio-classification
* automatic-speech-recognition
* conversational
* depth-estimation
* document-question-answering
* feature-extraction
* fill-mask
* image-classification
* image-segmentation
* image-to-text
* object-detection
* question-answering
* summarization
* table-question-answering
* text-classification
* text-generation
* text2text-generation
* token-classification
* translation
* video-classification
* visual-question-answering
* zero-shot-classification
* zero-shot-image-classification
* zero-shot-object-detection
Diffuser options:
* Depth-to-Image
* Image-Variation
* Image-to-Image
* Inpaint
* InstructPix2Pix
* Stable-Diffusion-Latent-Upscaler
3. Now that your model is initialised.
* To do default deployment use this command
```bash theme={null}
inferless deploy --gpu t4
```
* To do customised deployment use this command
```bash theme={null}
inferless deploy --gpu t4 --region --runtime --volume --fractional
```